


Side window replacement DIY requires understanding specialized tools and precise techniques for safe, structural integrity maintenance. Gather essential tools, materials including new glass, sealing putty knives, compatible silicone sealant, tape measure, frame straightening tool, auto painting supplies, and automotive-specific products. Follow a comprehensive guide for initial preparation, removal of old windows, cleaning frames, installing new ones, and ensuring proper sealing for water tightness and fuel efficiency.
Looking to replace your car’s side windows? Our complete beginner’s guide breaks down the process step-by-step, from understanding the basics of side window replacement to gathering the necessary tools and materials. We’ll walk you through each phase, ensuring a successful DIY installation. Learn how to navigate this seemingly daunting task with ease, saving time and money while enhancing your vehicle’s safety and comfort.
- Understanding Side Window Replacement Basics
- Tools and Materials for the Job
- Step-by-Step Guide to Installation Process
Understanding Side Window Replacement Basics

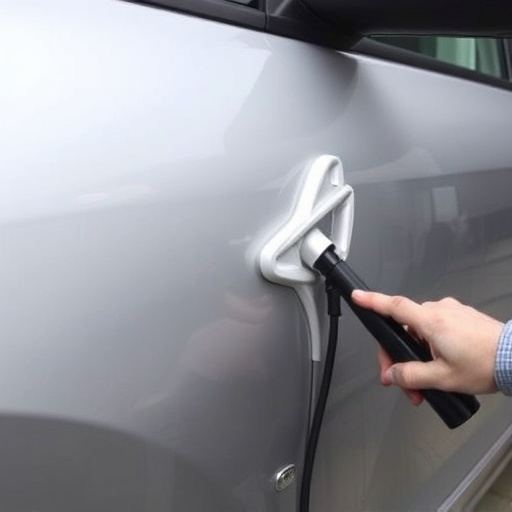
Understanding side window replacement is a crucial first step for any complete beginner tackling this DIY project. The basic process involves removing the old, damaged or broken side window and installing a new one, ensuring proper sealing for water and air tightness. This often requires specialized tools like impact wrenches, heat guns, and adhesive removers to disassemble and prepare the existing components accurately.
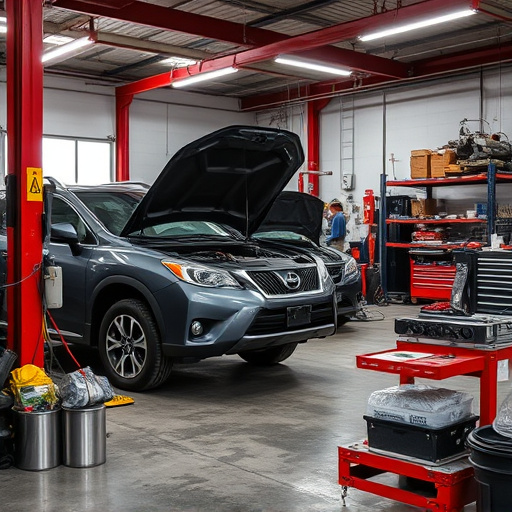
Automotive collision repair experts emphasize the importance of precision during this process to maintain vehicle safety and structural integrity. The side window replacement involves intricate details such as adjusting the door frame, aligning the new window, and applying weatherstripping to create an effective seal. Merely replacing a side window is not just about fitting a new pane; it’s about ensuring the entire mechanism functions seamlessly without compromising the overall quality of autobody repairs.
Tools and Materials for the Job
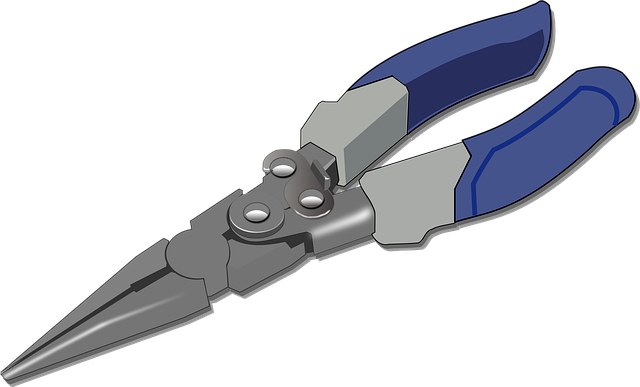
To tackle a side window replacement successfully, several essential tools and materials are required. At the very core, you’ll need specialized equipment like a new side window glass panel, a putty knife for sealing, and a silicone sealant compatible with automotive applications. For precise measurements, a tape measure and marker will be invaluable. Additionally, a frame straightening tool might be needed to adjust any misalignments in your vehicle’s bodywork, ensuring a smooth installation process.
Beyond these basics, consider having access to auto painting supplies for touch-ups if necessary, as side window replacements can sometimes disturb the surrounding vehicle bodywork. A complete kit should also include sandpaper, primer, and paint tailored for automotive use. These materials collectively empower you to achieve a professional-grade side window replacement, enhancing both functionality and aesthetics of your vehicle.
Step-by-Step Guide to Installation Process

Side window replacement is a process that many car owners might consider, especially after an accident or when their vehicle’s windows show signs of wear and tear. If you’re thinking about undertaking this project yourself, here’s a straightforward guide to help you navigate the installation process. Begin by gathering all the necessary tools and materials, including the new side window, installation kit (which typically includes sealing compounds and fasteners), and safety gear like gloves and goggles. Next, carefully remove the old window by unfastening it from its tracks, taking note of how each component is attached. This step requires patience as you need to ensure that no damage is done to other parts of your vehicle during removal.
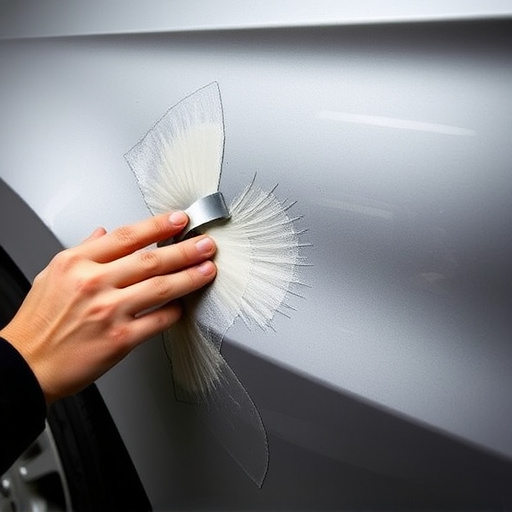
Once the old window is out, clean the window frame thoroughly to eliminate any debris or contaminants. It’s crucial to follow manufacturer instructions for preparing the frame to receive the new window. This usually involves applying a bead of sealing compound along the inner edge of the frame. Carefully insert the new side window, ensuring it aligns perfectly with the frame. Use the provided fasteners to secure it in place, following the specified torque guidelines. After installation, check for any gaps or misalignments and make adjustments as needed. Remember, proper sealing is vital to ensure water tightness and prevent air leaks, which could compromise your vehicle’s comfort and fuel efficiency—something that a collision center or vehicle body shop would emphasize during car dent removal processes.
Side window replacement is a project that, with the right guidance, can be tackled successfully by beginners. By understanding the basics, gathering the necessary tools and materials, and following a detailed step-by-step guide, you’ll be well on your way to enhancing your vehicle’s appearance and functionality. Remember, safety is paramount, so ensure you prioritize it throughout the installation process. With dedication and these expert tips, you can achieve professional-quality results for your auto side window replacement project.