


Tesla electrical repair is crucial for addressing issues stemming from damage, collisions, or aging. Common problems include loose connections, damaged connectors, and torn wires. Early diagnosis through visual inspection and advanced tools is vital. Trained auto body professionals use specialized equipment to accurately identify issues within complex wiring harnesses. Repairs involve structured steps: identifying the issue, gathering tools, isolating power, accessing wiring, soldering connections, replacing/securing connectors, and reattaching panels. Professional services are recommended for safe and precise resolution of Tesla electrical system problems, ensuring optimal performance and safety.
Tesla owners often face the challenge of damaged wiring and connectors, leading to costly repairs. This article is a comprehensive guide to navigating Tesla electrical systems and fixing common issues. We’ll start by demystifying Tesla’s intricate electrical network and identifying typical problems like frayed wires and loose connections. Then, we provide a step-by-step tutorial for beginners, empowering you with the knowledge and skills to perform safe and effective Tesla electrical repair.
- Understanding Tesla Electrical Systems and Common Wiring Issues
- Diagnosing Damaged Wires and Connectors in Your Tesla
- Step-by-Step Guide to Tesla Electrical Repair for Beginners
Understanding Tesla Electrical Systems and Common Wiring Issues
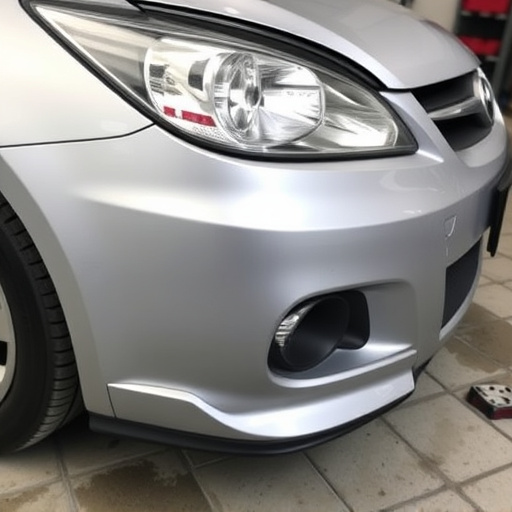
Tesla electrical systems are renowned for their advanced technology and innovative design. However, like any complex system, they can experience issues over time, especially if the vehicle has been involved in a collision or sustained damage. Common Tesla wiring problems often stem from vehicle collisions, where impacts can cause loose connections, damaged connectors, or even torn wires. These issues may go unnoticed initially but can lead to more serious problems, such as electrical malfunctions, reduced performance, and even safety hazards.
Understanding the intricate network of Tesla’s electrical systems is crucial for effective repairs. This includes knowledge of various components like control modules, sensors, and power distribution units. When addressing wiring problems, whether from a collision or regular wear and tear, professional Tesla electrical repair services are recommended. Skilled technicians use specialized tools and diagnostic equipment to identify the source of the issue, ensuring precise and safe vehicle restoration, comparable to top-tier automotive repair for any make or model.
Diagnosing Damaged Wires and Connectors in Your Tesla
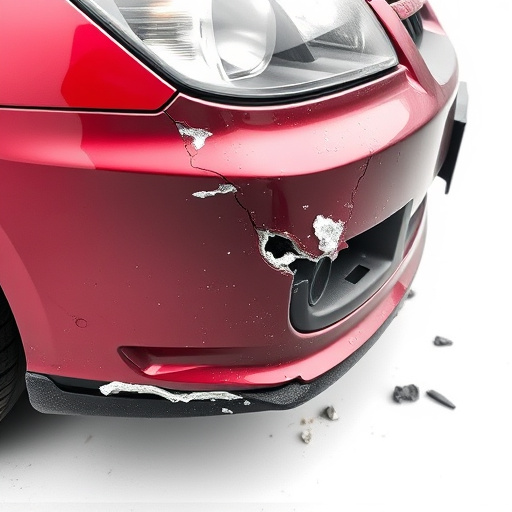
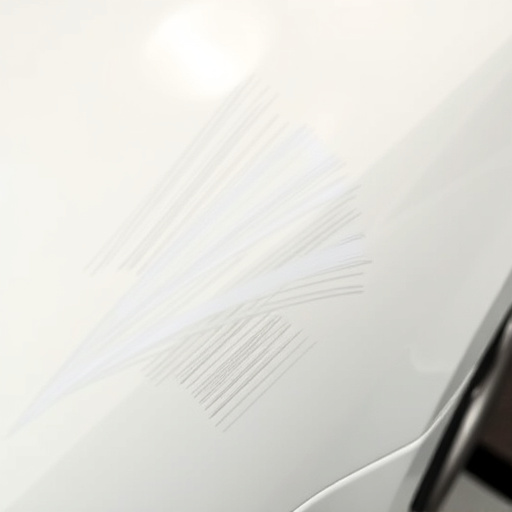
Damaged wiring and connectors can be a common issue in Teslas, often resulting from various factors like road debris impact, severe weather conditions, or aging components. Diagnosing these issues early is crucial for maintaining your Tesla’s optimal performance and safety. A thorough inspection should be conducted to identify any visible signs of damage, such as frayed wires, corroded connectors, or burnt insulation.
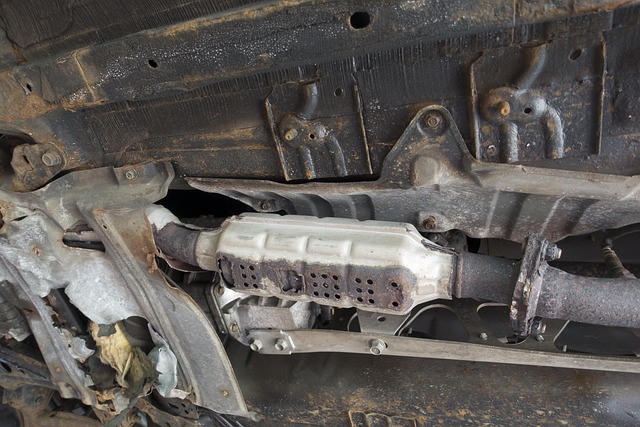
In many cases, a combination of advanced diagnostic tools and expert knowledge is required to pinpoint the exact location and nature of the problem. Auto body services professionals with specialized training in Tesla electrical repair can leverage their expertise to navigate complex wiring harnesses and connector systems, ensuring accurate identification. Once diagnosed, these issues can be efficiently addressed through replacement or repair, restoring your Tesla’s electrical system to its original condition, like a visit to a reliable auto body shop.
Step-by-Step Guide to Tesla Electrical Repair for Beginners
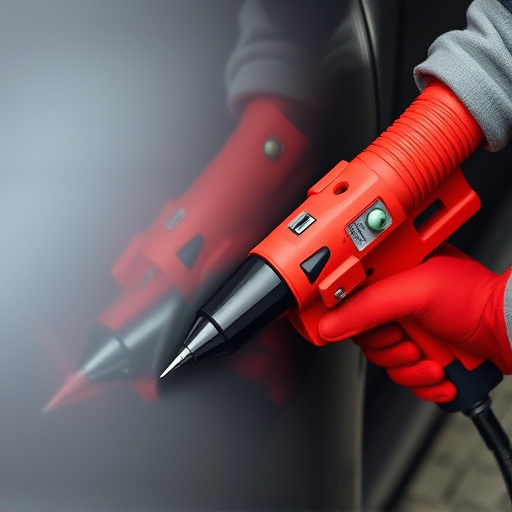
Repairs for Tesla electrical systems can seem daunting to beginners, but with a systematic approach, it’s possible to tackle common issues effectively. Start by identifying the problem—is it loose connections, frayed wires, or damaged connectors? Gather the necessary tools and materials, including wire strippers, soldering iron, and high-quality replacement connectors designed specifically for Tesla models.
Follow these steps:
1. Isolate Power: Ensure the vehicle is unplugged to avoid short circuits.
2. Access and Inspect: Carefully remove any panels or covers to access the damaged wiring. Examine the extent of the damage and take note of component locations.
3. Strip and Clean: Use wire strippers to carefully remove the damaged insulation, taking care not to cut into nearby wires. Clean the exposed wire ends with a wire brush to ensure good conductivity.
4. Solder and Connect: Apply solder to the joint, heating it until it flows onto both wires. Ensure a strong connection by holding the iron steady and testing for continuity.
5. Replace and Secure: Install the new connector, tightening securely to prevent future loosening. Reattach any panels or covers.
When it comes to Tesla electrical repair, understanding your vehicle’s intricate wiring system and common issues is key. By mastering diagnosis techniques and following a structured approach, you can effectively address damaged wires and connectors. This guide empowers owners to take control of their electric vehicles’ maintenance, ensuring optimal performance and safety. Remember, timely action on electrical repairs can prevent more serious problems down the line, making it an essential skill for every Tesla owner to acquire.