


The Tesla chrome delete repair involves removing or repairing metallic chrome accents on Tesla vehicles. Beginners can follow a DIY guide with step-by-step instructions. Essential tools include adjustable wrenches, screwdrivers, pliers, and a chrome restoration kit. Proper preparation ensures professional results. Gather materials like a restore kit, sandpaper, and protective gear. Clean affected areas with isopropyl alcohol, dry thoroughly, and treat stubborn stains for successful restoration.
“Unsure about tackling a Tesla chrome delete repair? This comprehensive guide is your perfect starting point. We’ll walk you through the process, from grasping the fundamentals of chrome deletion to gathering the essential tools and materials. By the end, you’ll be equipped with the knowledge to successfully restore your Tesla’s look. Whether you’re a novice or seeking a quick refresh, this step-by-step guide ensures you achieve professional results, eliminating any unwanted chrome elements on your electric vehicle.”
- Understanding Tesla Chrome Delete Process
- Tools and Materials Required for Repair
- Step-by-Step Guide to Successful Chrome Restore
Understanding Tesla Chrome Delete Process

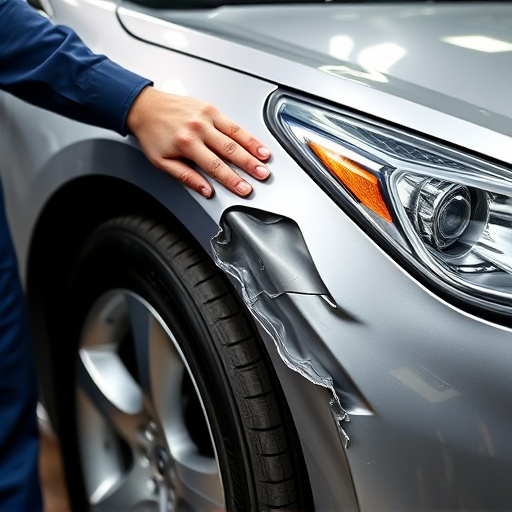
The Tesla Chrome Delete process involves removing or repairing the chrome accents found on various parts of a Tesla vehicle, such as door handles, mirrors, and trim. This DIY guide is designed to help beginners tackle this repair themselves, saving time and money. Understanding the steps involved in Tesla chrome delete repair is crucial before diving in. It begins with identifying the specific components to be modified and gathering the necessary tools and materials.
For those unfamiliar with automotive repairs, a quick trip to an automotive body shop or mercedes benz collision repair center can offer valuable insights into the process. While some aspects of Tesla chrome delete may seem daunting, many auto repair near me services provide expert advice and quality parts for those who prefer not to undertake it themselves. With the right preparation and resources, anyone can master this repair, enhancing their vehicle’s aesthetic appeal with a custom, sleek look.
Tools and Materials Required for Repair
To tackle a Tesla chrome delete repair, you’ll need a few essential tools and materials. Start with basic automotive tools like a set of adjustable wrenches, screwdrivers (both flathead and Phillips), and pliers. These will help you disassemble and reassemble components. For the actual repair, you’ll require specialized products such as a chrome restoration kit, which often includes a primer, paint, and clear coat designed for chrome or stainless steel. Don’t forget to grab some microfiber cloths for polishing and cleaning; these are crucial for achieving a smooth, professional finish.
Additionally, consider having a frame straightening tool on hand, although this is more for ensuring the overall alignment of your vehicle’s body after the repair. Scratch repair kits can also be beneficial if there are minor scratches or dents around the chrome area that need touch-ups. Remember, proper preparation is key; use these tools and materials to lay the foundation for a successful Tesla chrome delete repair.
Step-by-Step Guide to Successful Chrome Restore

Restoring your Tesla’s chrome delete is an achievable task for beginners with the right guide. Here’s a step-by-step approach to ensure success:
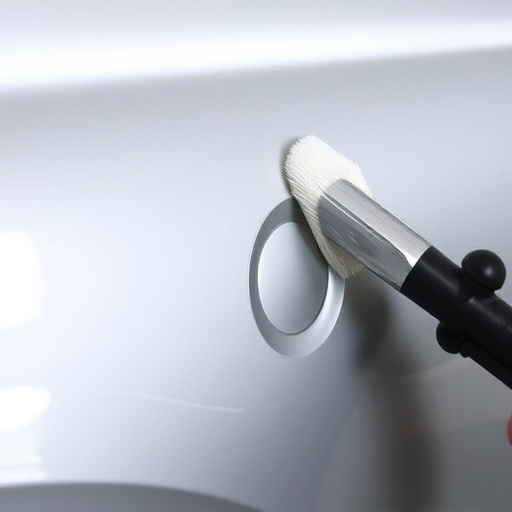
1. Preparation: Start by gathering all necessary materials, including a high-quality chrome restore kit, sandpaper (grit 220-600), a microfiber cloth, and isopropyl alcohol. Ensure your work area is well-ventilated. For safety, wear gloves and goggles to protect against chemicals and debris.
2. Cleaning: Thoroughly clean the affected areas with a mixture of isopropyl alcohol and water, using a soft brush or cloth to remove any dirt, grease, or residue. Dry completely with a microfiber cloth. This step is crucial as it ensures your restoration adheres properly. For stubborn stains, consider using dedicated car dent repair solutions designed for chrome. Following the instructions on these products will ensure optimal results when integrated into your Tesla chrome delete repair process.
For those new to the world of Tesla chrome delete repairs, this guide offers a comprehensive yet straightforward approach. By following these steps and utilizing the suggested tools and materials, you can successfully restore your Tesla’s chrome without prior professional experience. Remember, understanding the process is key, so take your time and refer back to each section as needed. With dedication and the right resources, you’ll be able to achieve a factory-like finish, enhancing your Tesla’s aesthetic appeal.