


Before attempting a Tesla door handle repair, gather essential tools including replacement handles, various screwdrivers and wrenches, pliers, and automotive fluids. Follow a detailed guide for disassembly of old handles and installation of new ones, aligning screws carefully. Anticipate challenges like stiff or loose handles, prioritize safety by securing vehicle and electrical connections, and check for underlying issues during repair. Use suitable tools and model-specific guides for optimal results in Tesla door handle repair.
Looking to fix your Tesla’s stubborn or broken door handle? This DIY guide is your solution! We’ll walk you through the process, from gathering the necessary tools and materials to a step-by-step replacement. Learn how to troubleshoot common issues and finish with a fully functional door handle. With our simple instructions, you’ll be back on the road in no time, ensuring a safe and satisfying repair experience for your Tesla.
- Tools and Materials Required for Repair
- Step-by-Step Guide to Replacing Door Handles
- Troubleshooting Common Issues and Tips
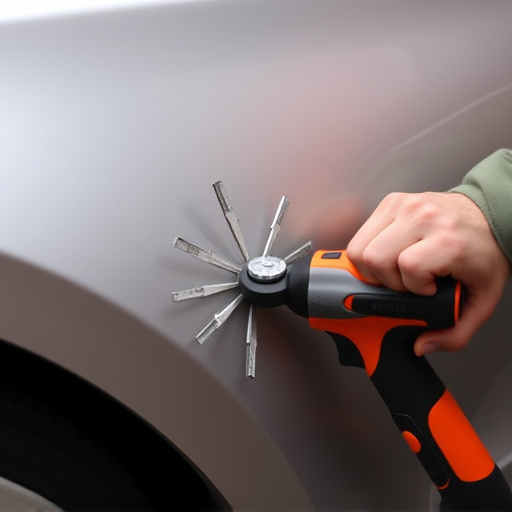
Tools and Materials Required for Repair

Before starting any Tesla door handle repair, ensure you have all the necessary tools and materials. For a successful DIY project, gather these essentials: high-quality replacement handles, socket wrenches, screwdrivers (both flathead and Phillips), pliers, and a set of hex keys in various sizes. These tools will enable you to disassemble and reassemble your vehicle’s door handle system with precision.
Additionally, consider having some basic automotive fluids like lubricant and sealants on hand for any necessary cleaning or maintenance. While most auto repair shops might offer these services as part of their Autobody repairs, with the right tools and knowledge, you can tackle minor repairs yourself. Remember, proper preparation is key to a successful Tesla door handle repair project.
Step-by-Step Guide to Replacing Door Handles

Replacing Tesla door handles can be a straightforward DIY project for enthusiasts. Here’s a step-by-step guide to help you navigate the process with ease. Start by gathering all necessary tools and parts, ensuring compatibility with your specific Tesla model. Disassemble the old door handle by carefully removing any screws or clips holding it in place, taking note of their positions for future reference. With the old handle removed, clean the surrounding area thoroughly to ensure a secure fit for the new one.
Next, install the new door handle according to the provided instructions. This typically involves attaching the handle assembly to the vehicle’s body using new screws or clips, ensuring they align correctly with the pre-existing holes. Once secured, test the handle’s functionality, confirming it opens and closes smoothly. Remember that proper alignment is crucial for a seamless fit, especially when dealing with intricate vehicle bodywork like that of Teslas.
Troubleshooting Common Issues and Tips

If you’re tackling a Tesla door handle repair as a DIY project, it’s important to be prepared for potential challenges. One common issue is a loose or stiff door handle, which could indicate worn-out components or debris buildup. Before attempting any repairs, ensure your vehicle is properly supported and all electrical connections are secure to avoid short circuits. A simple check for loose screws or damaged parts can go a long way in resolving these issues.
Additionally, keep an eye out for unusual noises or vibrations during the repair process, as they might point to underlying problems with the door mechanism or alignment. Regular auto maintenance includes keeping an eye on these details, and it’s no different when handling Tesla door handle repair. Utilizing the right tools and following a step-by-step guide tailored for your specific vehicle model can significantly enhance the outcome of your DIY effort.
Tesla door handle repair can be a straightforward DIY project with the right tools and guidance. By understanding the essential steps outlined in this article, from gathering the necessary tools and materials to troubleshooting common issues, you’re well-equipped to tackle this task. With a bit of patience and precision, you’ll not only save on repair costs but also gain valuable skills for future maintenance. So, whether it’s a loose handle or a complete replacement, armed with knowledge, you can ensure your Tesla’s doors operate smoothly and securely.