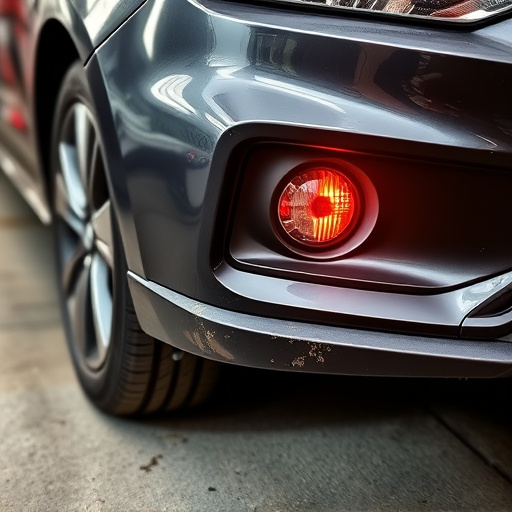


Before repairing a plastic bumper cover, clear debris, ensure ventilation, organize tools and materials, wear protective gear, and cover adjacent surfaces. Gather necessary tools like wrenches, pliers, screwdrivers, safety goggles, drop cloths, isopropyl alcohol, microfiber cloths, and replacement parts if needed. Secure the work area to protect surrounding surfaces. After repair, meticulously clean the bumper using fine-grit sandpaper, water, mild detergent, and microfibre cloths for a flawless finish.
After a plastic bumper repair, proper cleaning is crucial for a flawless finish. This guide outlines best practices to ensure your vehicle’s exterior looks as good as new. First, prepare your workspace with ample room and protect surrounding areas. Next, gather specialized tools and cleaning materials designed for plastic. Then, follow our step-by-step process, paying meticulous attention to detail. By adhering to these simple yet effective practices, you’ll achieve outstanding results in your plastic bumper cover repair cleanup.
- Prepare Your Workspace for Efficient Cleaning
- Gather Necessary Tools and Materials
- Follow Step-by-Step Guide for Thorough Cleaning
Prepare Your Workspace for Efficient Cleaning

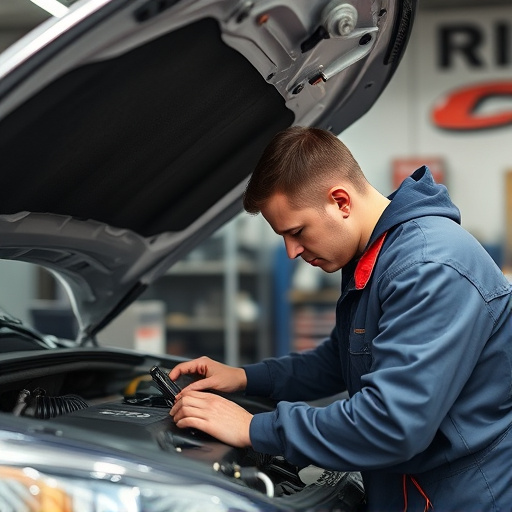
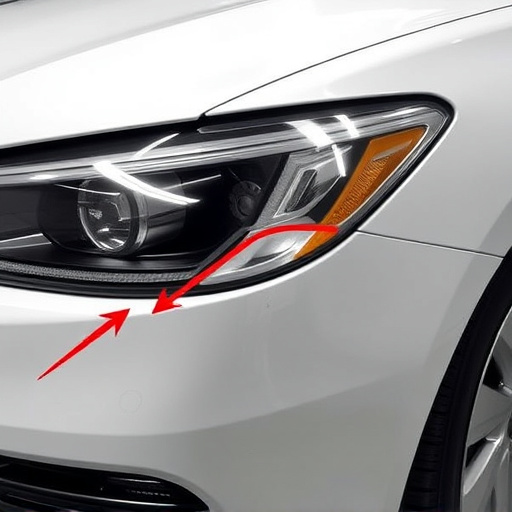
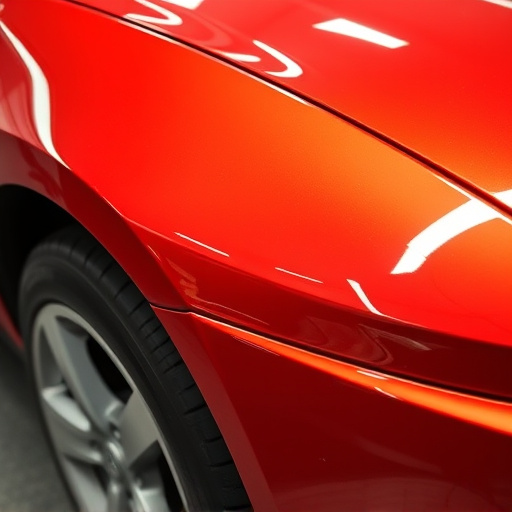
Before beginning any plastic bumper cover repair, it’s crucial to prepare your workspace for efficient cleaning. This involves clearing the area of any loose debris and ensuring proper ventilation. Having a well-organized workspace not only makes the repair process smoother but also facilitates effective post-repair cleaning. A clean environment prevents contaminants from settling on the newly repaired surface, ensuring that your work is not compromised.
To facilitate this preparation, lay out all the necessary tools and materials required for both the repair and subsequent cleaning. Use protective gear such as gloves to avoid direct contact with chemicals or debris. Additionally, cover adjacent surfaces with drop cloths or old towels to shield them from any accidental spills or splashes. By implementing these practices, you’re setting the stage for a thorough and successful plastic bumper cover repair, minimizing post-repair cleanup efforts and ensuring optimal results.
Gather Necessary Tools and Materials

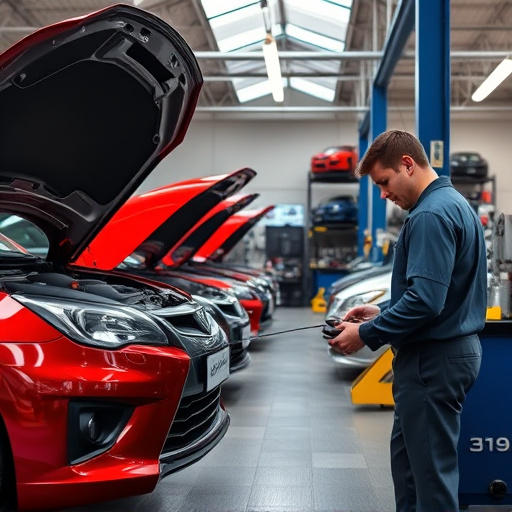
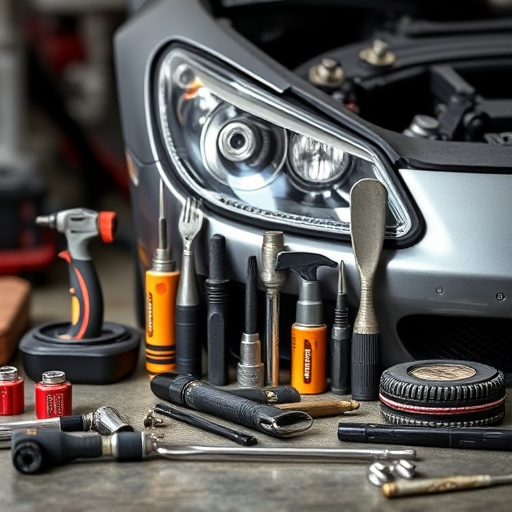
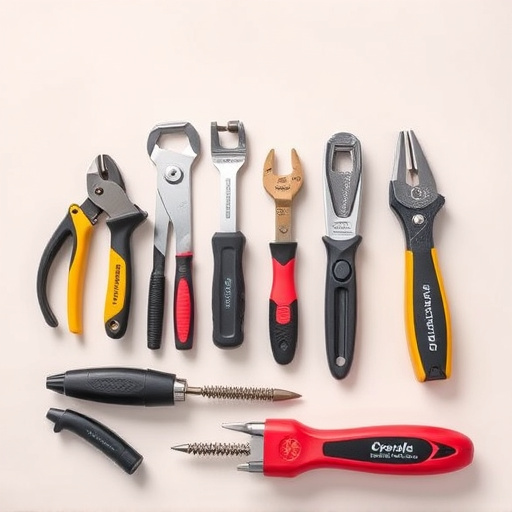
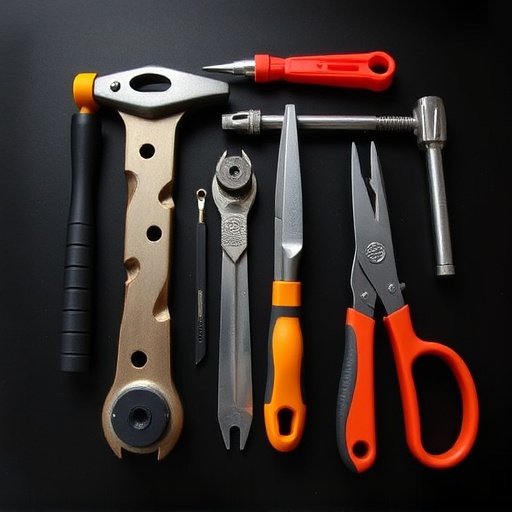
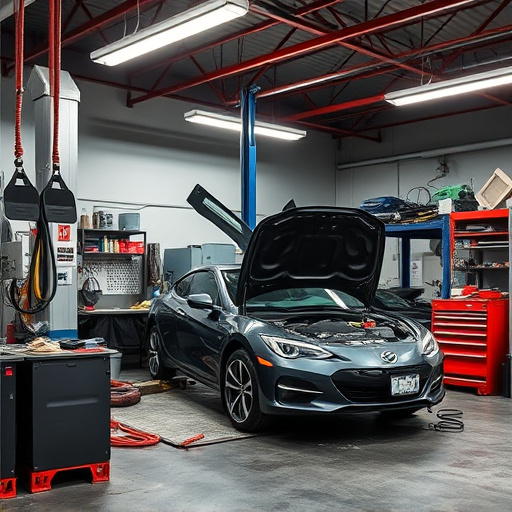
Before starting any plastic bumper cover repair, it’s crucial to gather all the necessary tools and materials. This includes a variety of specialized equipment designed for precise and careful work on car bumpers, such as adjustable wrenches, pliers, screwdrivers, and safety goggles. Additionally, secure your work area with drop cloths or old towels to protect surrounding surfaces from debris and damage. Don’t forget about essential cleaning supplies like isopropyl alcohol and microfiber cloths; these will help remove any dirt, grease, or remaining adhesive residue before you begin the repair process.
For a successful plastic bumper cover repair, consider having high-quality replacement parts on hand, especially if your bumper has been severely damaged. While some minor repairs might only require bonding agents or fillers, more extensive frame straightening and auto painting services may be needed for significant dents or cracks. Ensure you have the right products to match your bumper’s original color accurately, as this will help blend in the repair seamlessly during the collision repair process.
Follow Step-by-Step Guide for Thorough Cleaning

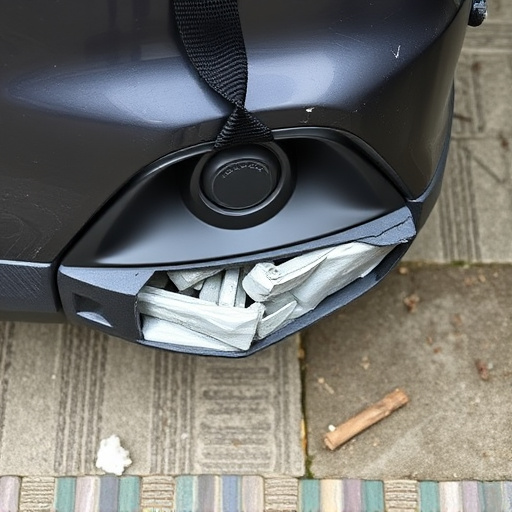
After a plastic bumper cover repair, following a comprehensive, step-by-step cleaning guide is essential for achieving optimal results. Start by removing any loose debris or damaged material from around the repaired area using fine-grit sandpaper. This initial step ensures a smooth surface for the next phase. Next, thoroughly rinse the bump and surrounding panel with water to flush out any remaining dust or dirt particles.
For deep cleaning, use a mild detergent mixed with warm water, gently rubbing away any stains or marks. Be sure to pay extra attention to the repair site, as this is where debris can easily become trapped. Rinse again with clean water and dry completely using microfibre cloths for a spotless finish that complements your vehicle’s overall aesthetic, whether it involves fleet repair services or individual vehicle dent repairs.
After successfully repairing your plastic bumper, proper cleaning is crucial for a professional finish. By preparing your workspace, gathering the right tools, and following a step-by-step guide, you can ensure a thorough clean that enhances the appearance of your plastic bumper cover repair, leaving it looking as good as new.