


Tesla black trim restoration is vital for maintaining the vehicle's sleek, modern aesthetic. Professional shops use specialized techniques including cleaning, filling, sanding, and matching paint to revive faded or damaged trim. Proper maintenance through regular washing, protection from elements, and prompt repair of minor damage ensures the restored trim remains in excellent condition.
Revive your Tesla’s sleek aesthetic with a deep dive into the art of restoring its black trim. Over time, this element undergoes degradation due to environmental factors and daily use, impacting the vehicle’s overall look. This comprehensive guide details the process of revitalizing both front fascia and side skirts, ensuring a factory-like finish. From preparation to final touches, each step is meticulously explained for DIY enthusiasts aiming to breathe new life into their Tesla’s black trim, maintaining its durability and visual appeal.
- Understanding Tesla Black Trim Degradation
- Restoration Process: Step-by-Step Guide
- Maintaining Your Restored Black Trim
Understanding Tesla Black Trim Degradation

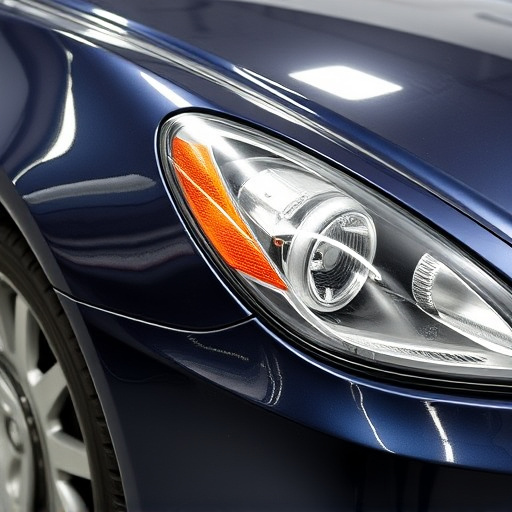
Over time, Tesla’s iconic black trim can show signs of wear and degradation, especially on the front fascia and side skirts where it’s most exposed. This is a common issue for vehicle owners, as environmental factors like sun exposure, road salt, and airborne debris can accelerate the fading or chipping of this exterior detailing. The black trim often starts to lose its luster, becoming dull or developing unsightly scratches and cracks. Understanding these degradation patterns is crucial when considering Tesla black trim restoration.
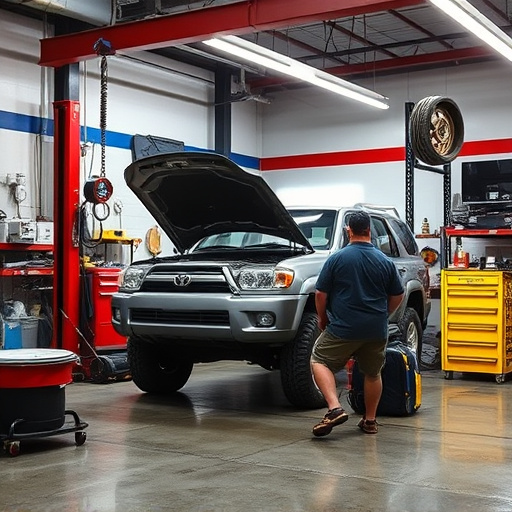
Many car body shops offer specialized services for such restoration, aiming to revive the trim’s original appearance. By using appropriate restoration techniques and materials, a professional car repair service can effectively address these issues, ensuring your Tesla retains its sleek and modern aesthetic. This process involves careful cleaning, filling, sanding, and painting, with meticulous attention given to matching the trim’s original finish seamlessly.
Restoration Process: Step-by-Step Guide

Restoring the Tesla black trim involves a meticulous process that can bring your vehicle’s front fascia and side skirts back to their original sleek appearance. Here’s a step-by-step guide for a successful restoration:
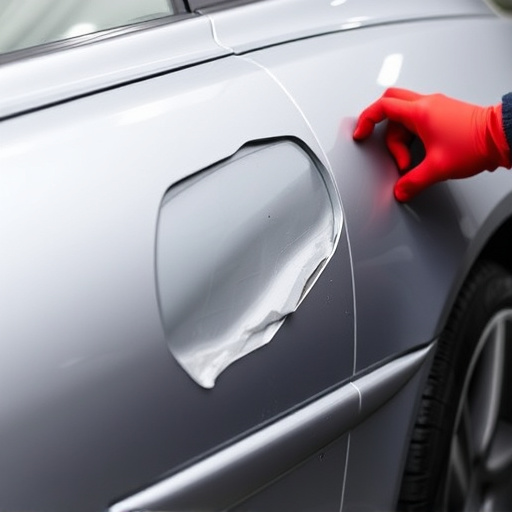
1. Inspect and Prepare: Begin by thoroughly inspecting the damaged areas, identifying any deep scratches or dents. Remove any loose debris using a soft brush. Clean the surface with a dedicated vehicle cleaner to ensure no dirt or grime remains, which could hinder the repair process.
2. Sand and Smooth: Using fine-grit sandpaper, gently sand the affected trim panels. Start with a coarser grade for deeper scratches and work your way up to finer grits for a smooth finish. Pay close attention to contoured surfaces and curves to avoid damaging surrounding areas. This step is crucial in preparing the surface for painting or sealing.
3. Fill and Smooth Out: Apply an appropriate filler compound to cover any depressions or imperfections left by sanding. Use a putty knife to smoothly spread the filler, ensuring it blends with the existing trim material. Allow it to dry completely according to the product instructions. Sand again gently to create a smooth base for the final finish.
4. Mask and Apply Paint: Protect surrounding areas with painter’s tape and mask the edges of the trim. Select a high-quality paint that matches your Tesla’s black trim perfectly. Using a small brush or spray gun, apply several thin coats, allowing each coat to dry before adding the next. This method ensures even coverage and prevents overspray onto other parts of your vehicle.
5. Seal and Buff: Once the final coat is dry, seal the restored trim with a clear coat or sealant to protect against future damage and fading. Buff the surface gently with a microfiber cloth to achieve a glossy finish, enhancing the appearance of the black trim.
Maintaining Your Restored Black Trim

After successfully completing your Tesla black trim restoration on the front fascia and side skirts, proper maintenance is key to preserving the sleek and modern look. Regular washing with a dedicated car shampoo and soft cloth will help maintain the restored finish, ensuring it remains free from scratches, stains, and dirt buildup. Avoid using abrasive cleaning tools or hard-bristled brushes that could damage the delicate trim.
Additionally, protecting your Tesla’s black trim from the elements is essential. Consider applying a high-quality automotive wax or sealant to create a barrier against UV rays, bird droppings, tree sap, and other environmental contaminants. Regularly inspecting the trim for any signs of damage, such as cracks or chips, will allow you to address issues promptly. Should minor dents or scratches appear, addressing them quickly with services like dent removal or bumper repair from reputable auto repair shops can help maintain the overall aesthetics of your Tesla’s exterior.
Restoring your Tesla’s black trim is a valuable process that not only enhances the vehicle’s aesthetic appeal but also preserves its original look. By following the step-by-step guide provided, you can effectively restore the front fascia and side skirts to their former glory. Regular maintenance will ensure these components remain in top condition, keeping your Tesla looking vibrant and stylish for years to come. For those seeking a meticulous approach to Tesla black trim restoration, this comprehensive guide is a must-read.