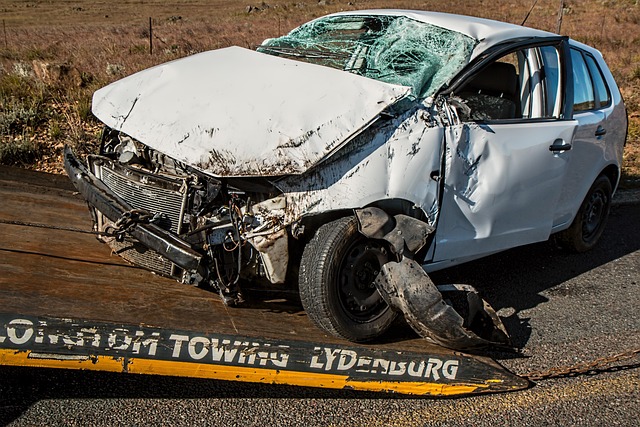
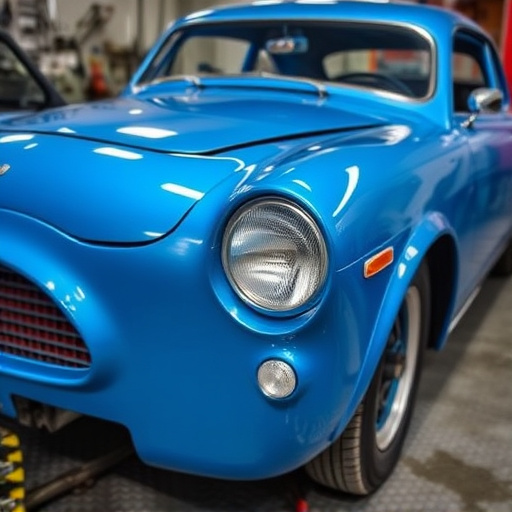
Tesla PPF (paint protection film) repair requires skilled technicians to overcome challenges like bubbling and peeling. It involves specialized tools, high-quality materials, and meticulous surface preparation for optimal bonding. The process includes steps like controlled heat application, precise pressing, advanced air compressor techniques, and clean trimming for a flawless finish, maintaining Tesla's sleek aesthetics.
“Tesla vehicles are renowned for their sleek design, but even with the protective layer of Paint Protection Film (PPF), they can suffer from damage and bubbles over time. This article guides you through understanding and repairing common Tesla PPF issues, specifically focusing on bubble-free reapplication. Learn about the necessary tools, materials, and step-by-step instructions to restore your vehicle’s original finish seamlessly.”
- Understanding Tesla PPF Damage and Common Issues
- Tools and Materials Required for Repair
- Step-by-Step Guide to Bubble-Free Reapplication
Understanding Tesla PPF Damage and Common Issues
Tesla’s Paint Protection Film (PPF) is designed to safeguard the car’s paintwork from scratches, chips, and other environmental damage. However, over time, PPF can develop issues like bubbling, peeling, or losing its original clarity due to various factors, including exposure to harsh weather conditions, improper installation, or even normal wear and tear. Recognizing these common problems is crucial for effective Tesla PPF repair.
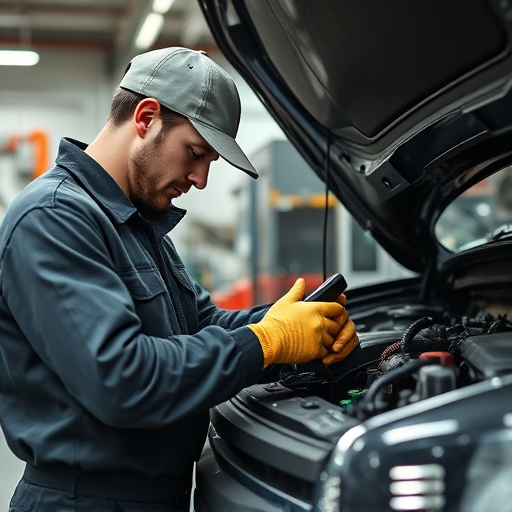
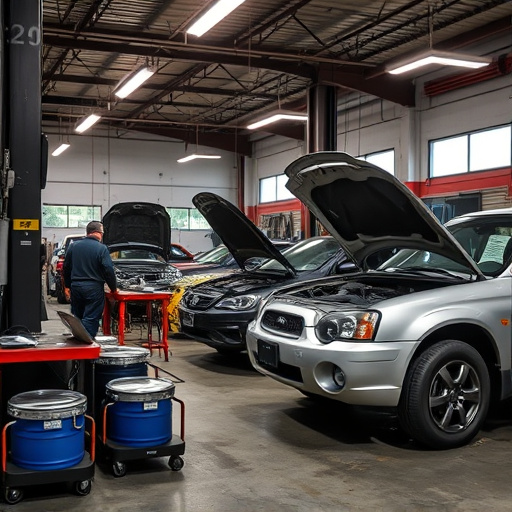
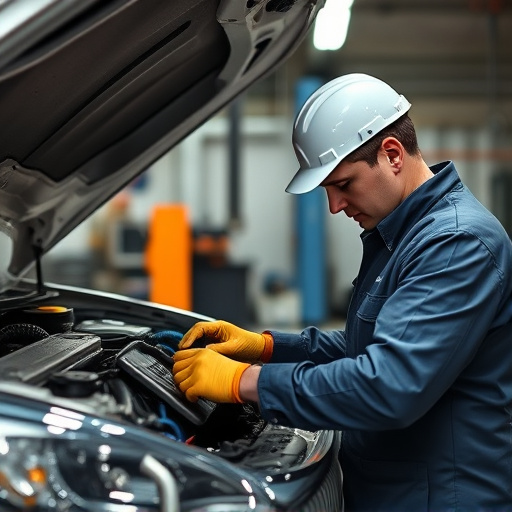
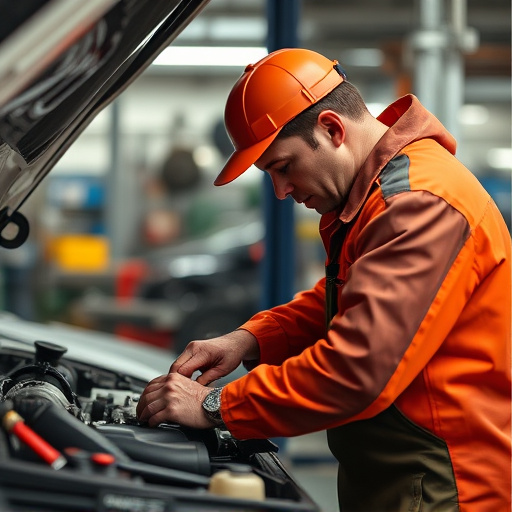
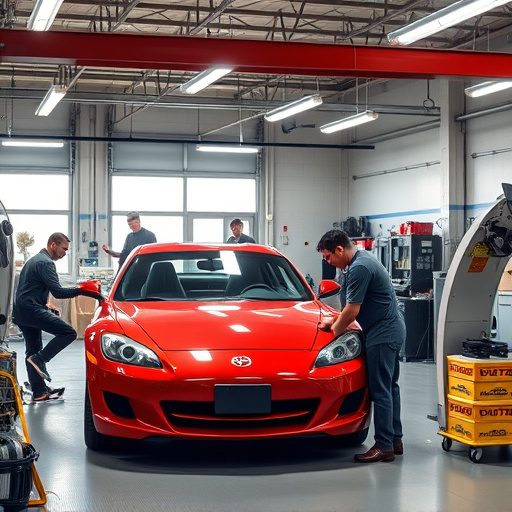
For fleet repair services or luxury vehicle repairs at an auto repair shop, addressing PPF damage requires skill and precision. Repair technicians must carefully inspect the film, identifying the root cause of the issue, whether it’s a simple reapplication due to bubbling or more complex removal and replacement needed for severe peeling. Proper techniques and high-quality materials are essential to ensure the new application is bubble-free and provides long-lasting protection for the vehicle’s paintwork.
Tools and Materials Required for Repair
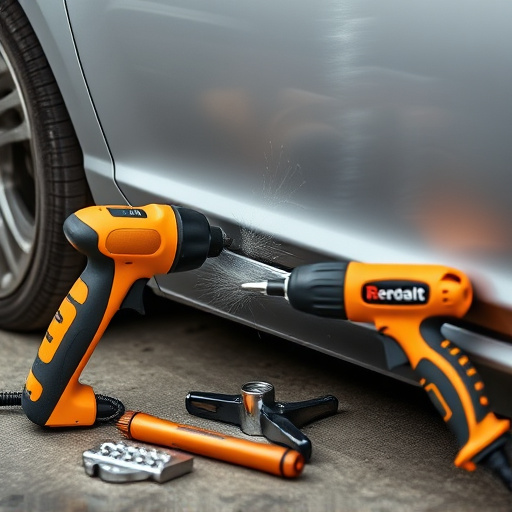
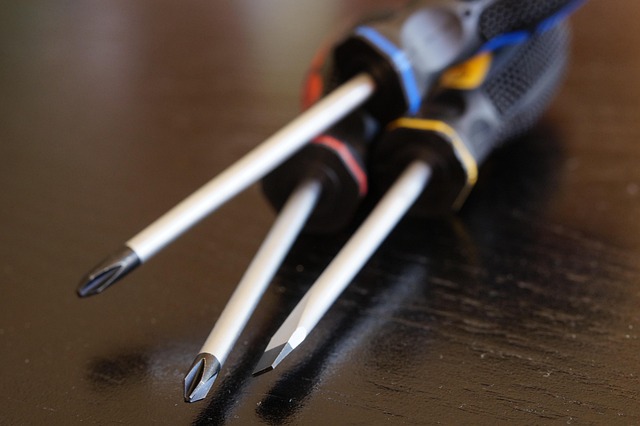
To effectively undertake Tesla PPF (paint protection film) repair, several specific tools and materials are required. These include specialized knives for precise cutting and peeling, as well as a variety of adhesive removers to effectively strip away damaged or bubbled film without harming the underlying paint. Additionally, you’ll need clean-up solutions, cloth buffers, and new PPF sheets that perfectly match your vehicle’s make and model.
For a seamless reapplication, consider using high-quality applicator tools designed for PPF installation. This ensures an even spread of adhesive and minimizes bubbles. Moreover, preparing the surface meticulously is crucial; this involves thorough washing, degreasing, and drying to create an optimal bonding surface. Remember that the right materials and meticulous preparation are key to achieving professional-looking auto body repairs, whether following a car collision repair or routine maintenance.
Step-by-Step Guide to Bubble-Free Reapplication
When reapplying Tesla PPF (paint protection film), achieving a bubble-free finish is crucial for maintaining the vehicle’s sleek appearance. Here’s a step-by-step guide to help you achieve this:
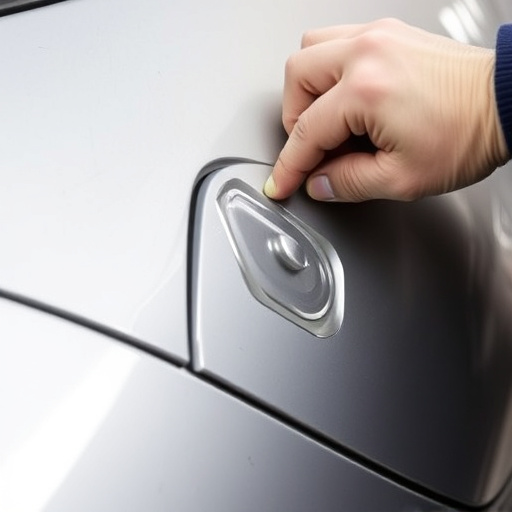
1. Prepare the Surface: Begin by thoroughly cleaning and inspecting the area where the PPF will be reapplied. Remove any debris, dirt, or existing damage like scratches or car dents using specialized automotive repair tools designed for delicate surfaces.
2. Apply Heat (if necessary): Some Tesla PPF applications may require heat to ensure proper adhesion. Use a heat gun set at a safe temperature to warm the surface and the film slightly. This step helps to reduce bubbles and promotes even adherence, akin to professional autobody repairs.
3. Press and Smooth: Position the new PPF film carefully over the target area. Apply even pressure with your hands or a smooth tool while ensuring no air bubbles get trapped beneath. Start from the center and work towards the edges, smoothing out any wrinkles or gaps.
4. Use Air Compressor (for advanced technique): For a truly bubble-free result, consider using an air compressor to remove any remaining air pockets. This step is similar to car dent repair techniques, where precise air pressure is used to smooth out imperfections.
5. Trim and Finish: Once the film is securely in place, trim off any excess material using a clean, sharp knife or scissors. Ensure a tight seal around edges, avoiding any gaps that could lead to water damage or future bubble formation.
Tesla PPF (paint protection film) repair is a meticulous process that, when done right, can extend the life of your vehicle’s finish. By understanding common damage and following a bubble-free reapplication guide, you can ensure a professional and seamless result. With the right tools and materials, you’ll be able to restore your Tesla’s protective barrier, keeping it looking as good as new.