


After a parking incident, promptly assess Tesla taillight assemblies for cracks, chips, or broken parts. Minor damage can often be repaired by replacing components with high-quality aftermarket parts. For more severe damage, seek professional collision repair. Regular inspections and maintenance prevent future issues, ensuring the vehicle's lighting system remains functional and aesthetically pleasing.
Tesla owners often face the dilemma of damaging their taillight assemblies due to reverse or parking incidents. This comprehensive guide delves into the intricacies of repairing your Tesla’s taillight assembly, offering a step-by-step approach for DIY enthusiasts and professionals alike. Understanding common damage types and prevention strategies is key to safeguarding against future issues. Master the art of Tesla taillight assembly repair and restore your vehicle’s safety features and aesthetic appeal.
- Understanding Tesla Taillight Assembly Damage
- Step-by-Step Repair Process for Taillights
- Preventing Future Damages After Reversing or Parking Incidents
Understanding Tesla Taillight Assembly Damage

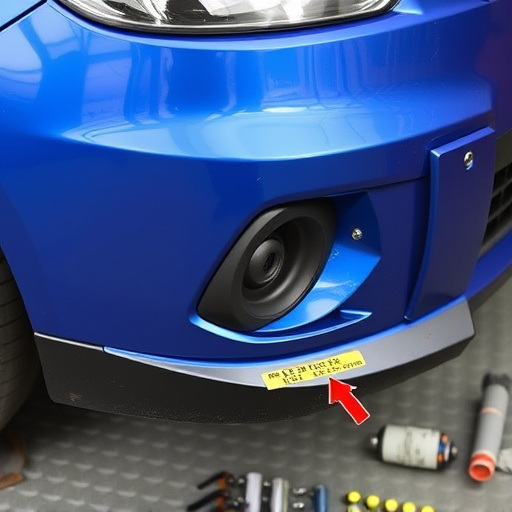
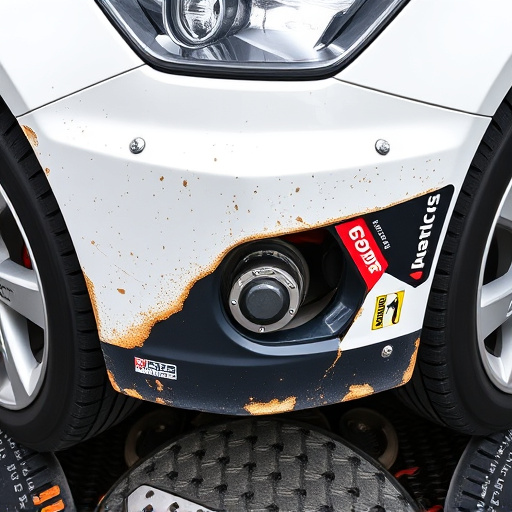
Tesla taillight assemblies are complex components that can sustain damage in various ways, often during reverse parking or similar incidents. Understanding the potential types of damage is crucial when considering Tesla taillight assembly repair. Cracks, chips, or complete shattering of the polycarbonate lenses are common issues, as these materials are susceptible to impact and pressure. Additionally, the mounting hardware might be bent or broken, requiring replacement parts for proper reinstallation.
Identifying the specific type of damage is essential for effective repairs. Minor chips can often be addressed with car paint repair techniques, while more significant alterations may necessitate collision repair services. Timely intervention is key; prompt repair not only ensures optimal safety but also preserves the vehicle’s aesthetic appeal by preventing further deterioration or the need for a complete replacement.
Step-by-Step Repair Process for Taillights
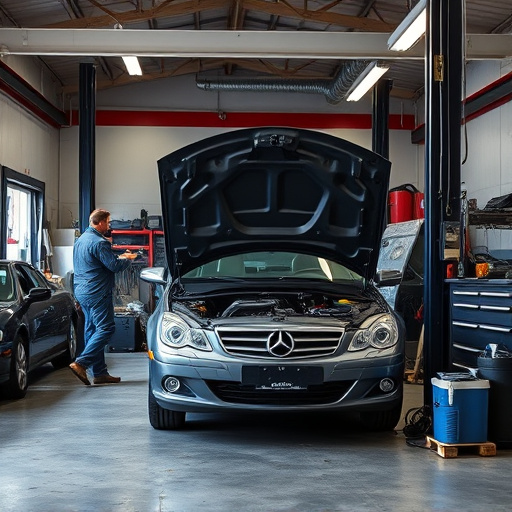
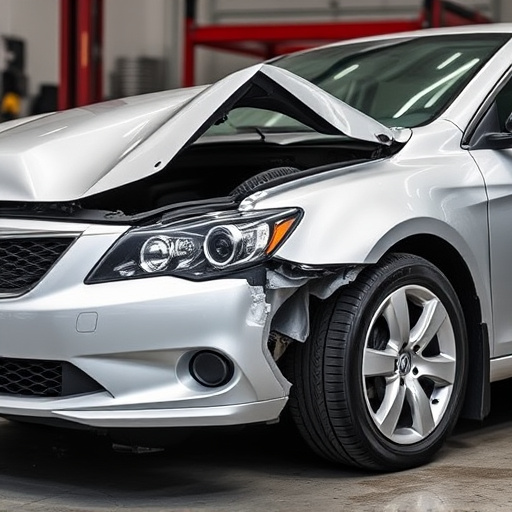
After a reverse or parking incident, your Tesla’s taillight assembly might be damaged. Here’s a straightforward step-by-step guide to help you with the repair process. Begin by locating the faulty taillight(s) and inspecting them for any visible cracks, breaks, or dislodged components. If the damage is minor, such as a cracked lens or a loose connection, proceed to the auto body shop to gather the necessary replacement parts.
Next, ensure your car is securely parked and the battery is disconnected to prevent electrical shorts during the repair. Remove any debris or foreign objects from around the taillight assembly, then carefully disassemble the components according to your vehicle’s specific model. This may involve unscrewing or unclipping various parts. Once separated, inspect each component for damage and replace as needed using high-quality aftermarket parts if available. Reassemble the tail light assembly, ensuring all screws are securely fastened. Test the functionality of the taillights before driving off to confirm a successful Tesla taillight assembly repair.
Preventing Future Damages After Reversing or Parking Incidents

After experiencing a reverse or parking incident, it’s crucial to act swiftly with Tesla taillight assembly repair to prevent further damage. The first step is to assess the extent of the harm. If the impact caused any dents or cracks in the assembly, taking your vehicle to a reputable auto body shop for professional repairs is essential. Skilled technicians can perform precise dent repair and ensure the taillight components are aligned correctly.
Regular maintenance also plays a significant role in preventing future issues. Keep an eye on your taillights’ condition, inspecting them periodically for any signs of wear or damage. Early detection can often lead to simpler fixes, saving you from more complex (and costly) Tesla taillight assembly repair down the line. Remember, prompt action after an incident and routine maintenance are key to maintaining your vehicle’s lighting system in optimal condition.
After exploring the intricacies of Tesla taillight assembly repair, it’s clear that addressing damage promptly is key. By understanding common causes like reverse or parking incidents, you can take proactive measures to prevent future issues. Following the step-by-step repair process outlined in this guide ensures a meticulous and effective fix. Remember, regular maintenance and being mindful during parking maneuvers are essential to keeping your Tesla’s lighting system in top condition.