


The Tesla Model 3's front fascia is crucial for its advanced driver assistance systems and aesthetics. Repairs require skilled technicians to address sensor integration issues caused by debris or environmental damage, using precise techniques to restore functionality and preserve visual appeal. This guide outlines a structured approach for Tesla Model 3 front fascia repair, emphasizing tool preparation, assessment, gap filling, sensor realignment, and seeking specialized services for optimal results.
Tesla Model 3 owners often face challenges with sensor integration accuracy, impacting vehicle performance. This article guides you through the essential process of Tesla Model 3 front fascia repair, focusing on resolving sensor issues for enhanced accuracy. We’ll explore the intricate front fascia design and common problems, offering a comprehensive step-by-step guide to ensure an efficient DIY or professional repair. Optimize your Tesla’s sensors and rediscover seamless driving with these expert tips.
- Understanding Tesla Model 3 Front Fascia Design
- Common Issues with Sensor Integration in Model 3
- Step-by-Step Guide to Efficient Fascia Repair
Understanding Tesla Model 3 Front Fascia Design
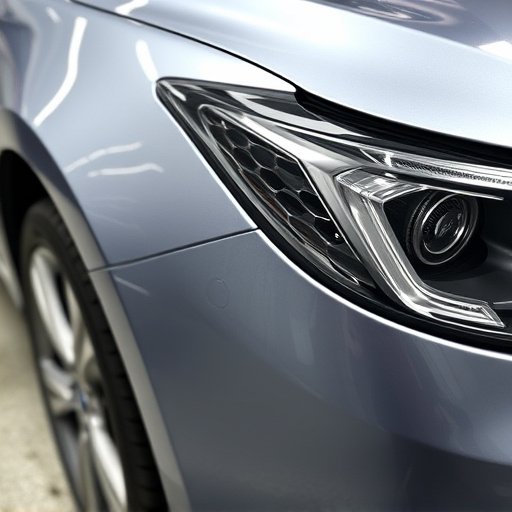
The Tesla Model 3 boasts a sleek and modern aesthetic, with its front fascia playing a pivotal role in defining its distinctive look. This component houses various sensors crucial for advanced driver-assistance systems (ADAS) and autonomous driving capabilities. The design integrates these sensors seamlessly, ensuring optimal performance and accuracy. However, in the event of damage, such as from a fender bender or autobody repairs, the front fascia may require careful Tesla Model 3 front fascia repair to maintain these essential sensor integrations.
Understanding the intricate design involves recognizing the balance between aesthetics and functionality. The front fascia’s material composition and construction methods are designed to both enhance visual appeal and provide structural integrity. Any repair process must consider these factors to ensure not just accurate sensor alignment but also the preservation of the vehicle’s overall aesthetic, akin to a classic car restoration.
Common Issues with Sensor Integration in Model 3
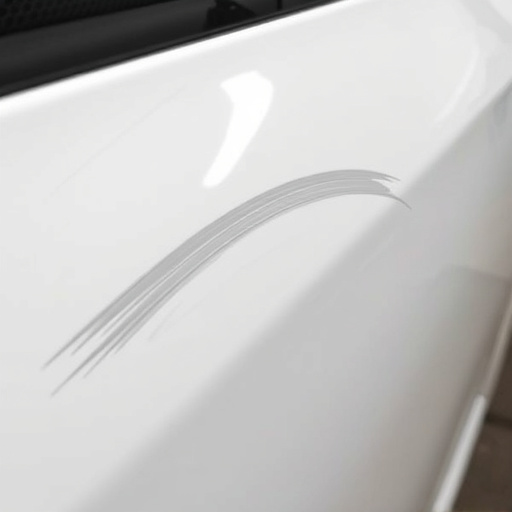
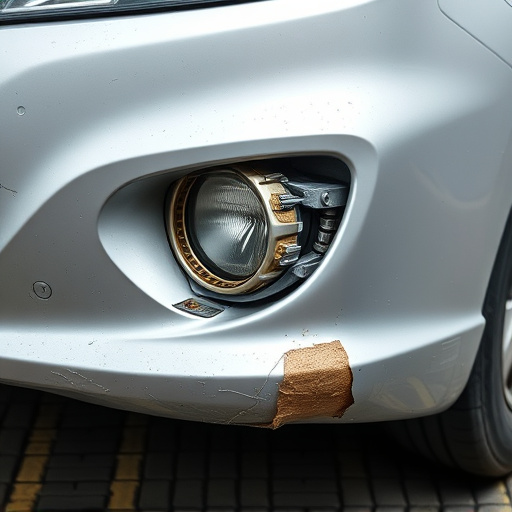
The Tesla Model 3, an electric vehicle renowned for its sleek design and advanced technology, has gained popularity among car enthusiasts. However, like any modern automotive, it’s not immune to sensor integration issues. Common problems include inaccurate data readings from sensors crucial for safety features, such as adaptive cruise control and lane departure warnings. These errors can be attributed to various factors, including debris accumulation on the front fascia, which can block or distort the sensors’ view. Over time, the continuous exposure to environmental elements like dust, dirt, and bird droppings can cause damage to the sensitive components beneath the surface, leading to inconsistent performance.
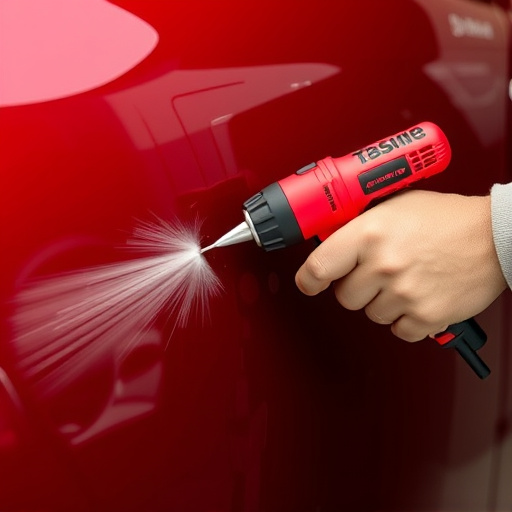
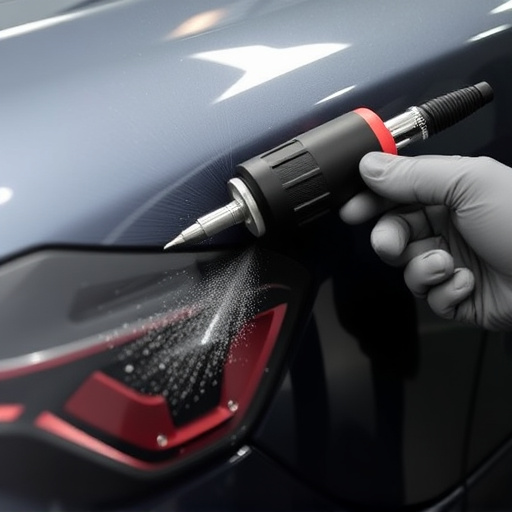
A Tesla Model 3 front fascia repair becomes necessary when these issues persist despite routine maintenance. Autorepair experts often address this by thoroughly inspecting the area for any visible damage or debris buildup. Advanced automotive body work techniques are employed to ensure minimal disruption to the vehicle’s overall aesthetics while restoring optimal sensor functionality. This process involves precise scraping, sanding, and repainting, or utilizing specialized tools for scratch repair to eliminate interference and enhance the accuracy of integral sensors, ultimately enhancing the Model 3’s safety and performance on the road.
Step-by-Step Guide to Efficient Fascia Repair
Performing a Tesla Model 3 front fascia repair requires precision and a systematic approach to ensure optimal sensor integration accuracy. Here’s a step-by-step guide for an efficient fascia repair process:
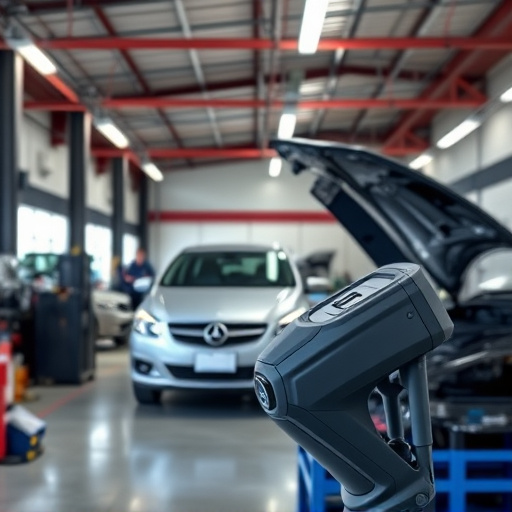
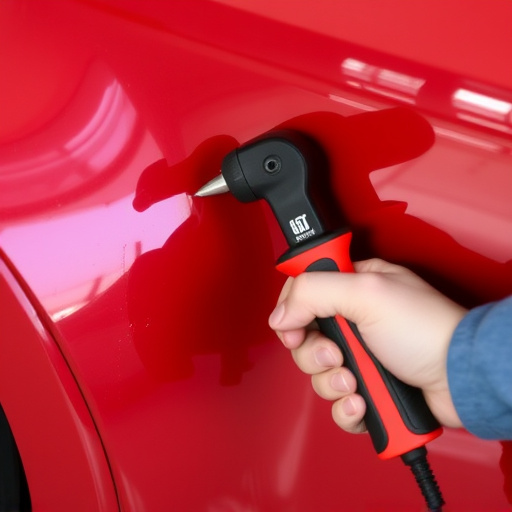
1. Preparation: Begin by gathering all necessary tools, including specialized adhesives, body filler, sandpaper, and protective gear. Ensure your workspace is clean, well-lit, and has adequate ventilation. Remove any debris or damaged components from the front fascia to create a pristine surface for repairs.
2. Assessment: Inspect the damaged area thoroughly. Identify the extent of the damage, taking note of cracks, dents, or missing pieces. This step is crucial as it dictates the repair techniques and materials required. Compare the damaged fascia with the original design to ensure precise restoration.
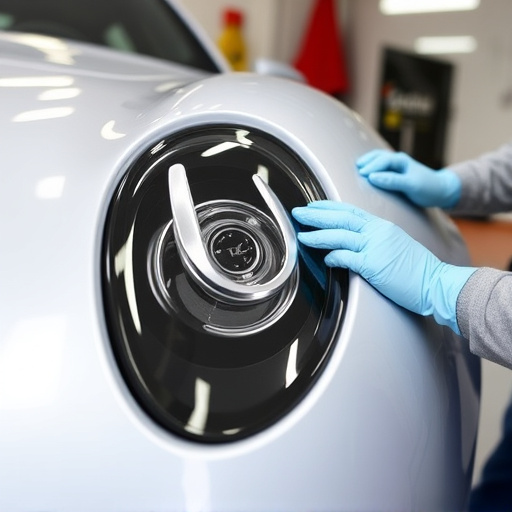
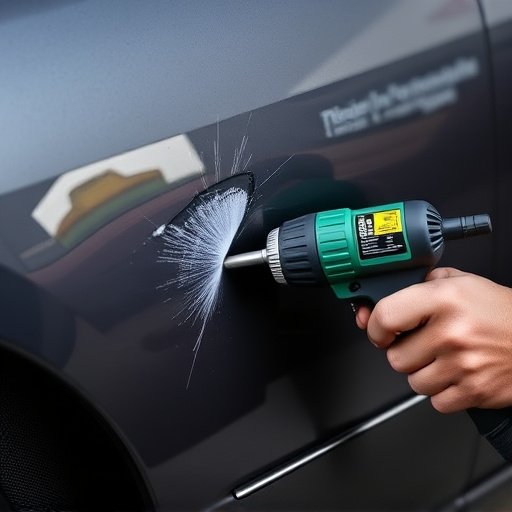
3. Removal: Carefully disassemble any surrounding components that might be affected by the repair. This could include sensors, cameras, or lights. Securely cover these parts to prevent damage during the repair process. With the help of specialized tools, carefully remove the old or damaged fascia, taking note of its alignment and fixings for accurate replacement.
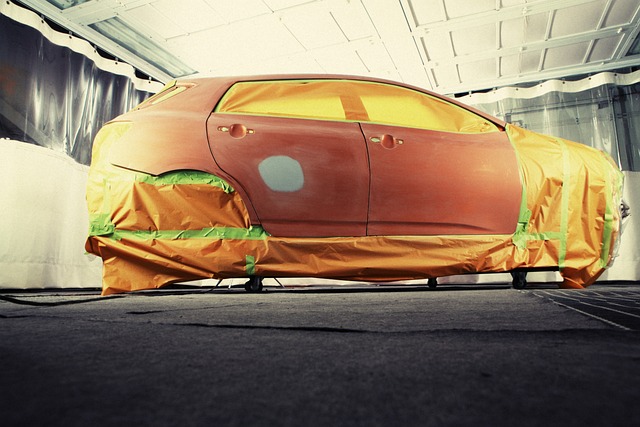
4. Repair: Using high-quality body filler, fill in any gaps or imperfections on the underlying panel. Smoothen the surface and allow it to dry completely. Once dry, sand the area gently to achieve a seamless finish. Clean the surface thoroughly before applying adhesive. Attach the new fascia, ensuring proper alignment with the vehicle’s design. Reinforce it using suitable fixings, following the manufacturer’s guidelines.
5. Reinstallation: Carefully reinstall the sensors, cameras, and other components that were removed earlier. Double-check their functionality to ensure they work seamlessly with the newly repaired fascia. Conduct a thorough test drive to verify the accuracy of sensor integration and overall performance.
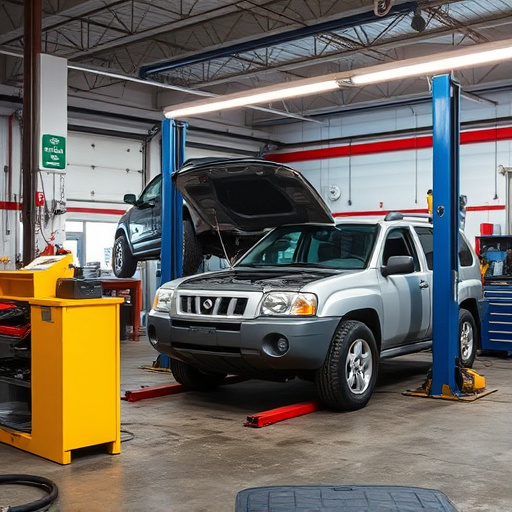
For optimal results, consider seeking services from a reputable collision repair shop or body shop specializing in Tesla Model 3 repairs. Their expert technicians can navigate these steps efficiently, ensuring your vehicle’s safety and aesthetic appeal are maintained.
Repairing and integrating sensors into the Tesla Model 3’s front fascia is a crucial process that ensures optimal performance and safety. By understanding the vehicle’s unique design and addressing common issues, owners can effectively tackle sensor integration problems. Following a structured approach, as outlined in this guide, allows for accurate repairs, enhancing the Model 3’s overall capabilities. With these steps, you can ensure your Tesla maintains its cutting-edge technology and delivers a seamless driving experience.