


Thoroughly clean and inspect windshields for damage. Measure and cut new moldings precisely. Install moldings with a tight fit and sealant for optimal protection, enhancing aesthetics and aiding future collision repair.
Looking to enhance your vehicle’s aesthetics and protect its windshield? This guide will walk you through the process of applying windshield moldings for a sleek, professional finish. We’ll cover everything from preparing your windshield for replacement to installation and sealing for optimal protection. By following these steps, you’ll achieve a custom fit that boosts both style and safety. Discover how to transform your car’s look with effective windshield molding replacement techniques.
- Prepare Your Windshield for Molding Replacement
- Measure and Cut Custom Windshield Moldings
- Install and Seal for Optimal Protection
Prepare Your Windshield for Molding Replacement

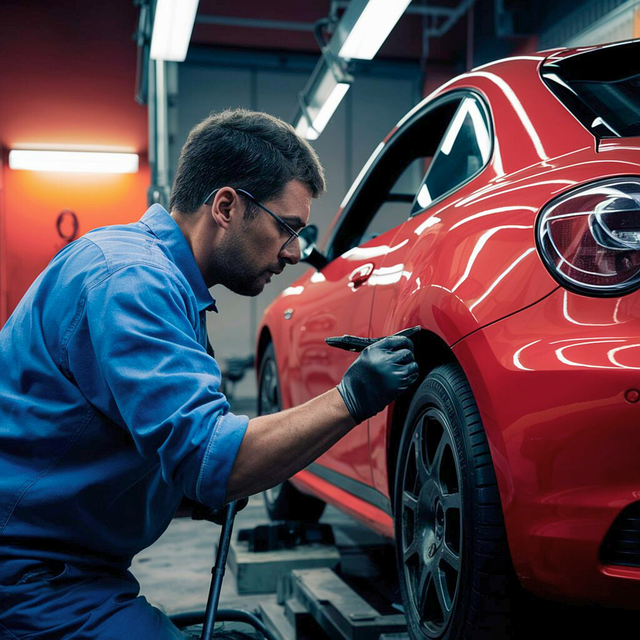
Before applying new windshield moldings, it’s crucial to prepare your windshield for molding replacement. Start by thoroughly cleaning the windshield to remove any dirt, grime, or residue that could interfere with adhesion. Use a dedicated windshield cleaner and ensure there are no streaks or spots left behind. This step is essential as clean glass provides a better surface for the new moldings to adhere to, ensuring a longer-lasting and more secure fit.
Once cleaned, inspect the windshield for any chips, cracks, or damage that could compromise the integrity of the molding. If you notice any issues, consider taking your vehicle to a collision repair center for professional auto maintenance. Vehicle collision repair experts can assess and fix these problems, ensuring a smooth surface for molding application. Proper preparation guarantees that your new moldings will not only look great but also provide optimal protection for years to come.
Measure and Cut Custom Windshield Moldings

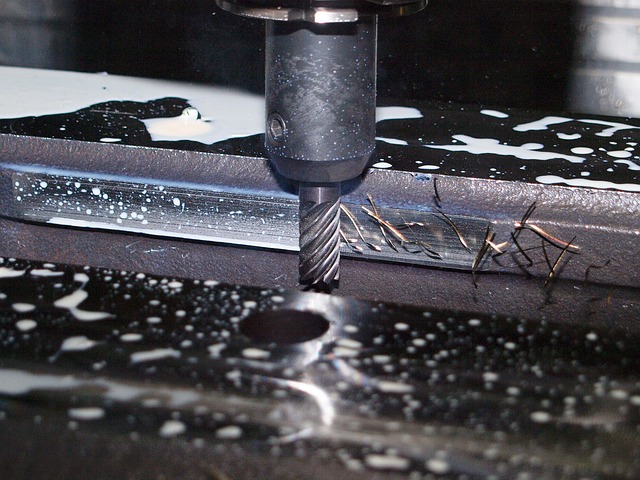
To achieve the best results when installing windshield moldings, precise measurement and custom cutting are crucial steps. Start by carefully measuring the contour of your vehicle’s windshield using a flexible tape measure. Take note of any unique curves or angles to ensure the new moldings will fit perfectly. Once you have accurate measurements, cut your custom windshield moldings to size using a sharp pair of scissors or a utility knife designed for such tasks. Ensure smooth cuts by following the contours of your vehicle’s design closely.
This meticulous process is essential for aligning with the car restoration or vehicle body repair goals you may have. Accurate measurements and custom cuts help avoid issues like ill-fitting moldings, which can compromise the overall aesthetics during what might otherwise be a successful car paint repair job.
Install and Seal for Optimal Protection

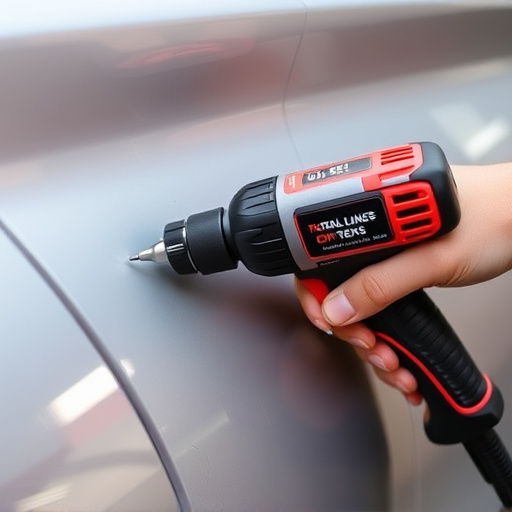
After carefully measuring and cutting the windshield molding to size, the next step is installation for optimal protection. Begin by ensuring your workspace is clean and free from debris to prevent any contaminants from affecting the seal. Position the molding along the edge of the windshield, aligning it precisely with the vehicle’s contours. Use a suitable adhesive or sealant recommended for automotive applications to secure the molding in place. This critical step ensures a tight fit, creating an effective barrier against elements like dirt, water, and bugs.
Proper sealing is paramount to achieving long-lasting protection through windshield molding replacement. Apply the sealant along the entire length of the molding’s contact point with the windshield, following the manufacturer’s instructions for application and curing time. This step reinforces the bond between the molding and glass, preventing any gaps or weaknesses that could compromise structural integrity. In addition to enhancing visual appeal, a well-sealed windshield molding also contributes to better collision repair services by minimizing the risk of damage during future incidents, such as car dent removal.
When properly installed, windshield moldings offer both aesthetic appeal and functional protection. By following these steps—preparing your windshield, measuring and cutting custom moldings, then installing and sealing them—you can ensure a seamless fit and optimal shielding from the elements. Remember, a quality windshield molding replacement enhances both the look and safety of your vehicle.