


Tesla bumper camera repair involves addressing issues like obstruction, malfunction, and damage. DIY repairs for minor problems include cleaning or replacing lenses, while severe cases require professional technicians with specialized tools to fix lens damage, replace sensors, calibrate cameras, and ensure safety and visibility. Tools needed include precision screwdrivers, prying tools, cleaning kits, and safety gear. A step-by-step guide provides instructions for disassembling and reassembling the bumper camera, emphasizing careful navigation and obtaining parts from authorized dealers. Complex issues may need professional assistance.
Struggling with a fogged-up or blocked Tesla bumper camera? You’re not alone. These advanced driver-assistance systems (ADAS) can be affected by dirt, debris, or even condensation. This comprehensive guide delves into the common issues plaguing Tesla bumper cameras and provides a step-by-step repair process using readily available tools and materials. By following these instructions, you’ll restore your vehicle’s crucial safety feature to optimal condition.
- Understanding Tesla Bumper Camera Issues
- Tools and Materials for Repair
- Step-by-Step Guide to Replacement
Understanding Tesla Bumper Camera Issues
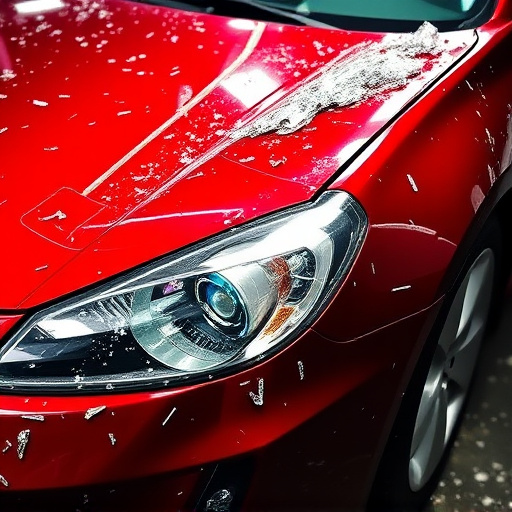
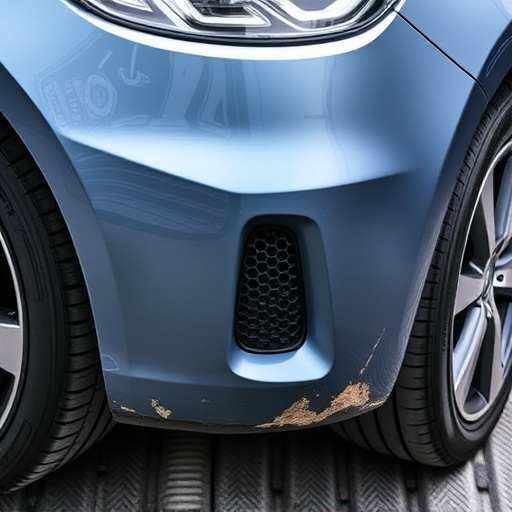
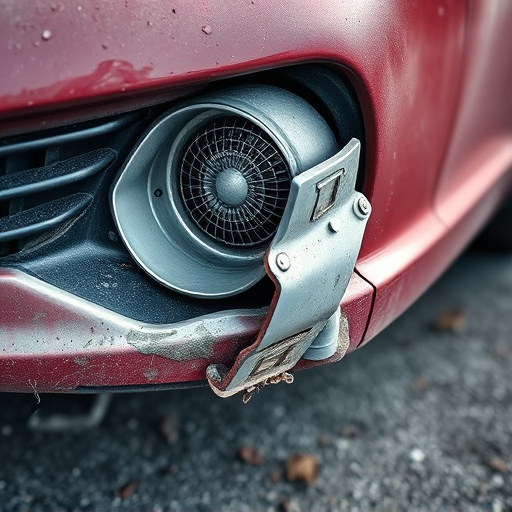
Tesla bumper cameras are an integral part of the vehicle’s advanced driver-assistance systems (ADAS), offering improved safety and convenience. However, these cameras can face several issues, leading to reduced visibility and potential safety hazards. Common problems include obstructed lenses due to dirt, debris, or even minor collisions, as well as sensor malfunction from extreme temperatures or over exposure to sunlight.
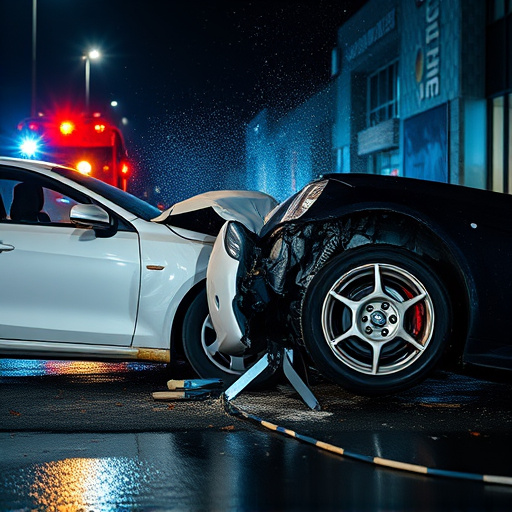
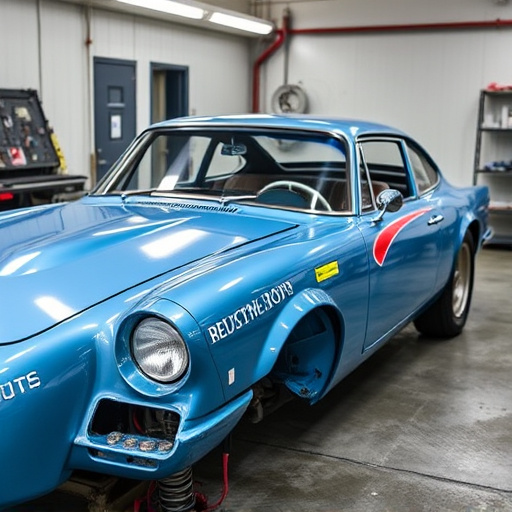
Proper Tesla bumper camera repair is crucial for maintaining optimal performance. Many owners may initially attempt simple cleaning methods, but for more severe cases, professional automotive body work and fender repair might be necessary. Skilled technicians can address lens damage, replace faulty sensors, and ensure proper calibration, restoring full functionality and enhancing the overall driving experience.
Tools and Materials for Repair
For a successful Tesla bumper camera repair, the right tools and materials are essential. This includes a set of precision screwdrivers, suitable for the tiny screws securing the camera housing, as well as thin, flexible prying tools to gently dislodge any stuck components. A magnifying glass or microscope can aid in fine-tuning the adjustments, ensuring precise alignment. In many cases, a replacement lens or cleaning kit is also required, especially if the original lens is obstructed or heavily contaminated. While Tesla offers specialized repair kits, generic automotive or electronics spare parts stores may have compatible options. For those tackling this repair on their own, investing in a high-quality camera cleaner and microfibers can significantly enhance the outcome, much like how a Mercedes Benz owner might prepare for an intricate car dent repair.
Additionally, having basic safety gear such as gloves to protect against small parts and a static wrist strap (to prevent damaging the electronics) can streamline the process. Remember that careful navigation is key when dealing with compact components, similar to the meticulous work involved in auto glass replacement. The goal is to restore clear vision for the Tesla bumper camera without causing further damage.
Step-by-Step Guide to Replacement
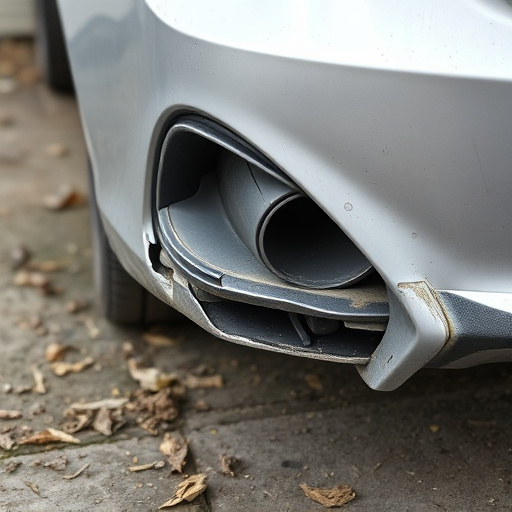
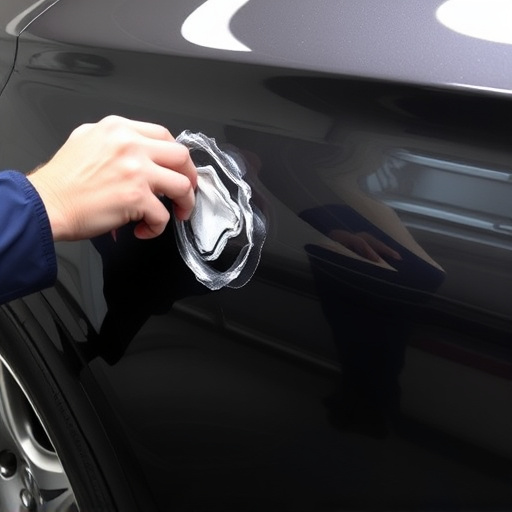
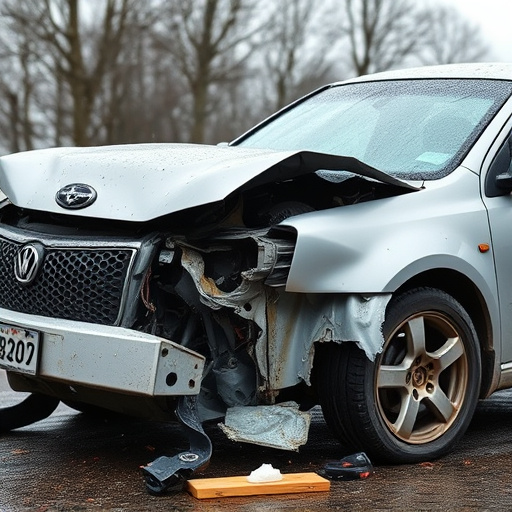
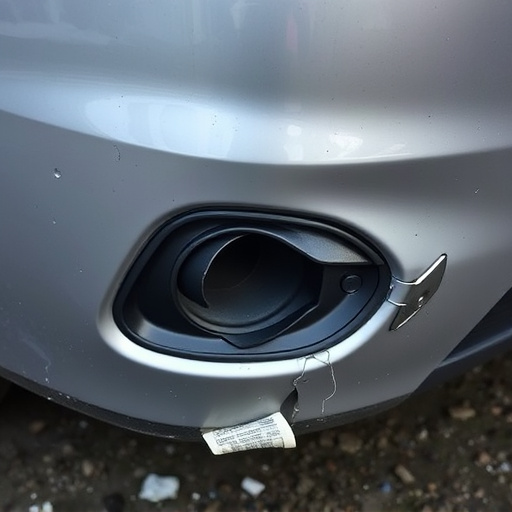
Repairing a Tesla bumper camera when it’s obstructed or dirty is an essential task for maintaining optimal visibility and driving safety. Here’s a step-by-step guide to help you through the process, allowing you to tackle this issue yourself. Start by locating the camera, typically nestled within the front or rear bumper. Next, assess the extent of the obstruction—is it debris, car paint chips, or collision damage? If it’s minor, cleaning might suffice; for more severe cases, a replacement may be necessary.
Disassemble the affected area with care, taking note of how each component connects to prevent unnecessary damage. Remove any dirt or debris using specialized tools designed for car paint repair and make sure to clean the lens thoroughly. For replacements, procure a compatible Tesla bumper camera from an authorized dealer. Install it by following the reverse disassembly process, ensuring proper alignment before securing all parts. Keep in mind that this guide is intended for informational purposes; for complex cases or significant collision damage repair, professional assistance is highly recommended.
Tesla bumper cameras are crucial for safety, but they can fall victim to obstructions or dirt buildup. Luckily, with the right tools and a simple guide, you can easily perform a Tesla bumper camera repair. By understanding common issues and following the step-by-step replacement process outlined in this article, you’ll have your vehicle’s safety features back up and running in no time. Remember, prompt action on dirty or obstructed lenses is key to maintaining optimal driving assistance.