


Tesla panel gap restoration is crucial for maintaining vehicle aesthetics, safety, and value. Prioritize safety by inspecting for hidden damage and using proper tools. DIY restoration involves preparing, filling, sanding, priming, and painting to match original color. Professional services are available for complex issues.
Tesla vehicles are renowned for their sleek design, but one common issue owners face is the development of panel gaps over time. This article explores the art of Tesla panel gap restoration using safe DIY techniques. We’ll first demystify the causes and effects of these gaps, emphasizing the importance of proper preparation. Then, we provide a detailed step-by-step guide armed with essential tools to restore your Tesla’s pristine appearance.
- Understanding Tesla Panel Gaps: Causes and Effects
- Safety First: Essential Tools and Preparation Tips
- DIY Restoration Techniques: Step-by-Step Guide
Understanding Tesla Panel Gaps: Causes and Effects
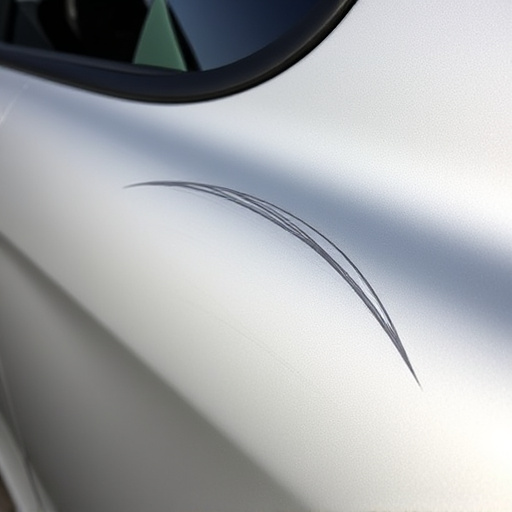
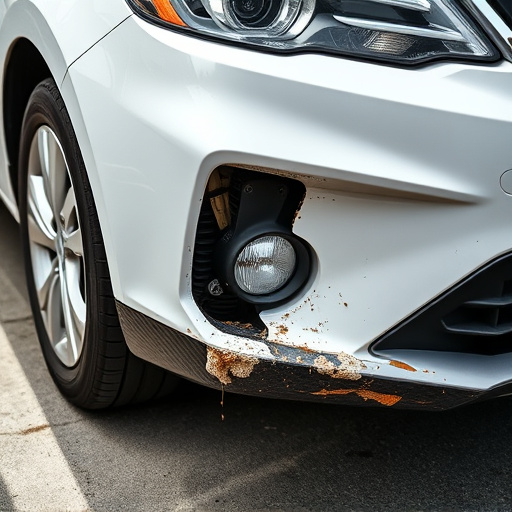
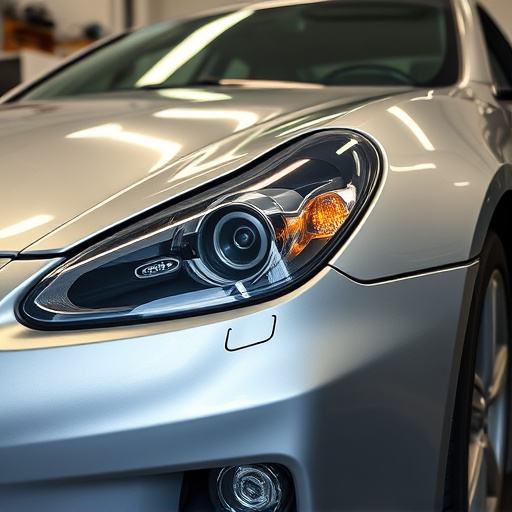
Tesla vehicles are renowned for their sleek design and innovative technology, but like any car, they’re not immune to damage. One common issue that owners may encounter is the development of Tesla panel gaps—small openings or separations in the car’s exterior panels. These gaps can be both aesthetically displeasing and a potential safety hazard, as they compromise the structural integrity of the vehicle.
There are several factors that contribute to Tesla panel gap restoration needs. The primary causes include manufacturing defects, accidental damage from bumps or collisions, and the natural aging process where metal parts expand and contract due to temperature variations. While minor gaps might not affect performance, significant openings can lead to water intrusion, corrosion, and even structural weakness in the autobody repairs. Prompt attention to these issues is crucial to maintain the vehicle’s value and ensure proper functionality of all components within the auto repair shop.
Safety First: Essential Tools and Preparation Tips
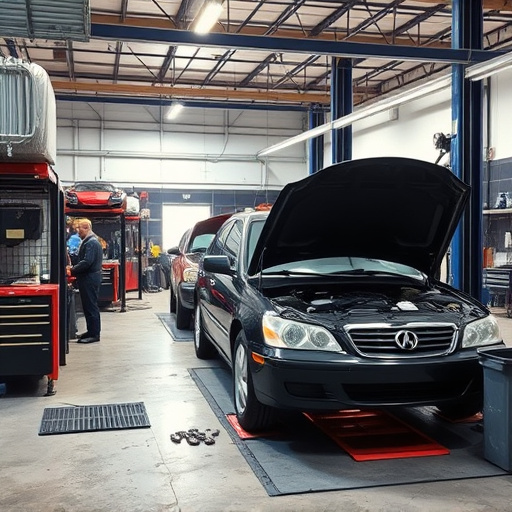
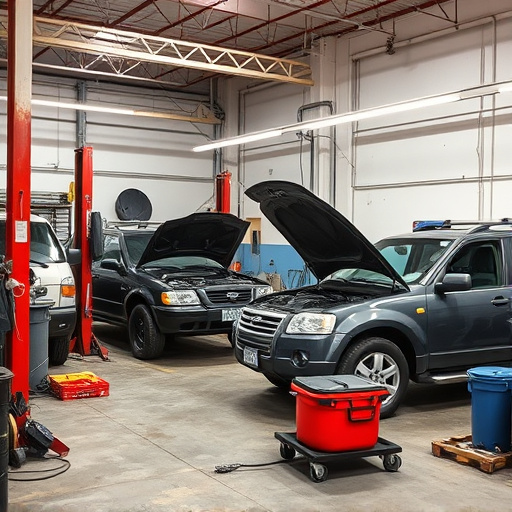
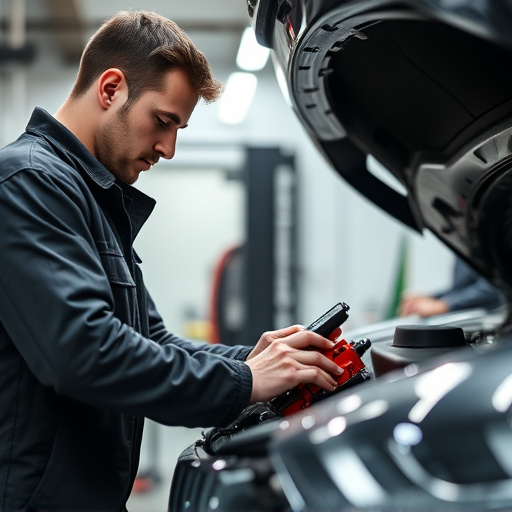
Before tackling any Tesla panel gap restoration, safety should always be your top priority. A fender bender or minor collision can cause significant damage to your car’s bodywork, and improper DIY attempts might lead to further complications. Invest in high-quality tools designed for precise adjustments and repairs, such as a mallet, suction cups, and a set of precision screwdrivers. Ensure your workspace is well-lit and clear of obstacles, allowing for easy access to all panels. Protect yourself by wearing safety glasses and gloves; these simple precautions will safeguard you from any sharp edges or debris during the restoration process.
Remember that collision repair services are readily available if the damage extends beyond your DIY capabilities. Professional mechanics have the expertise and specialized tools to handle complex repairs, ensuring your Tesla’s structural integrity remains intact. Keep a well-stocked toolkit at hand as a preventive measure, enabling you to address minor issues promptly without risking further damage to your vehicle’s bodywork.
DIY Restoration Techniques: Step-by-Step Guide

Restoring your Tesla’s panel gap with a DIY approach can be both rewarding and cost-effective. Before beginning, gather the necessary tools and materials, including a putty knife, automotive-grade filler, primer, paint, and sandpaper. Start by inspecting the damaged area closely to understand its extent. Using the putty knife, carefully scrape away any loose debris or existing filler. This step ensures a clean canvas for your restoration work.
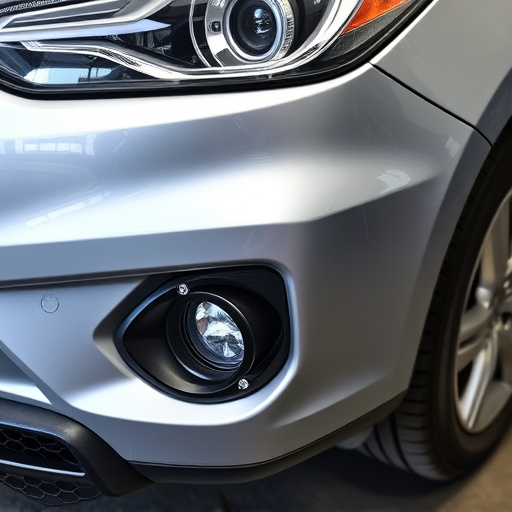
Next, apply a thin layer of automotive-grade filler to the gap, using the putty knife to smoothen and shape it. Allow the filler to dry completely, typically within 24 hours. Once cured, sand the area gently with fine-grit sandpaper to achieve a seamless finish. After sanding, wipe away any dust and inspect your work, making adjustments as needed. Prime the restored area, letting the primer dry evenly. Finally, apply a coat of paint that matches your Tesla’s original color, allowing each layer to dry thoroughly before adding another for a flawless Tesla panel gap restoration.
Tesla panel gap restoration is no longer a daunting task with the right DIY techniques. By understanding the causes and effects of these gaps, prioritizing safety with proper tools and preparation, and following a step-by-step guide, you can effectively restore your Tesla’s sleek and modern appearance. Remember, maintaining your vehicle’s aesthetics not only enhances its beauty but also preserves its value. So, take control and tackle those panel gaps like a pro!