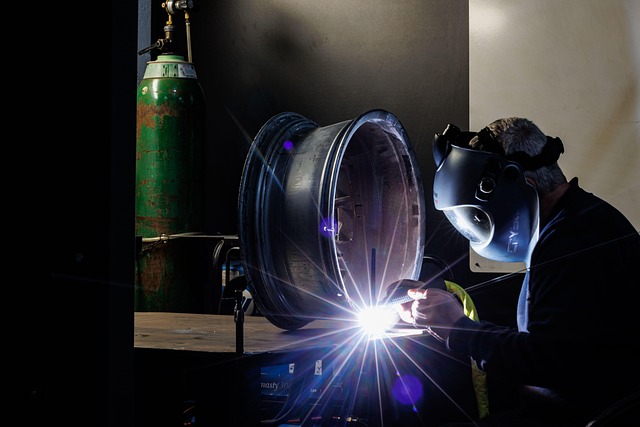


Tesla ultrasonic sensor repair is crucial for maintaining advanced driver-assistance systems (ADAS) functionality. These sensors detect objects using high-frequency sound waves but can suffer damage from road debris, accidents, or harsh weather, leading to malfunctions in proximity alerts. Repair involves replacing faulty sensors, addressing misalignment, manufacturing defects, and extreme temperatures impact. Precision disassembly, component replacement, secure reassembly, testing, and regular maintenance are required for optimal sensor performance and safe driving.
Experiencing malfunctioning proximity alerts on your Tesla? It might be time for a Tesla ultrasonic sensor repair. These sensors, vital for safety features like automatic braking, rely on precise ultrasonic waves to detect obstacles. However, issues like dirt buildup, damage, or hardware faults can cause false readings. This article guides you through understanding Tesla ultrasonic sensors, identifying common problems, and offers a step-by-step approach to effective repair and maintenance, ensuring your Tesla’s safety systems function optimally.
- Understanding Tesla Ultrasonic Sensors and Their Function
- Common Issues and Causes of Proximity Alert Malfunctions
- Step-by-Step Guide to Effective Sensor Repair and Maintenance
Understanding Tesla Ultrasonic Sensors and Their Function
Tesla’s ultrasonic sensors are a key component in their advanced driver-assistance systems (ADAS). These sensors use high-frequency sound waves to detect objects around the vehicle, helping with features like automatic emergency braking, lane departure warning, and proximity alerts. When functioning correctly, they provide drivers with invaluable safety net. However, over time, these sensors can become damaged due to various factors such as road debris, accidents (even minor ones like a fender bender), or harsh weather conditions, leading to malfunctions in the proximity alerts.
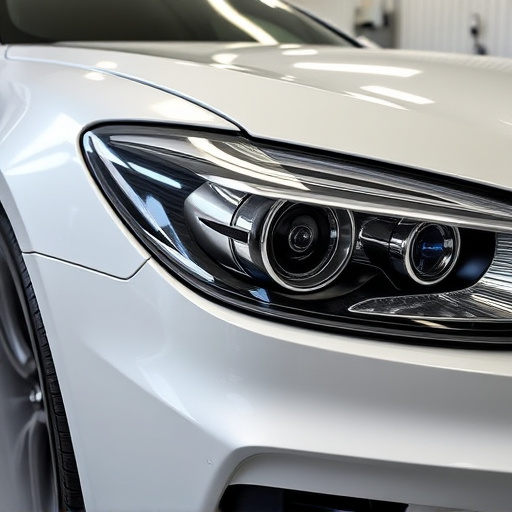
Understanding how these sensors work is crucial when it comes to Tesla ultrasonic sensor repair. Unlike traditional cameras that rely on visual cues, ultrasonic sensors measure distance and detect objects by analyzing the time it takes for sound waves to bounce back. Any interference or damage to the sensor itself can disrupt this process, leading to inaccurate readings and potential safety risks. Efficient repair involves replacing the faulty sensor with a new one, ensuring proper calibration to restore the vehicle’s safety features to optimal performance, much like addressing a car dent removal issue that affects a vehicle’s overall structural integrity.
Common Issues and Causes of Proximity Alert Malfunctions
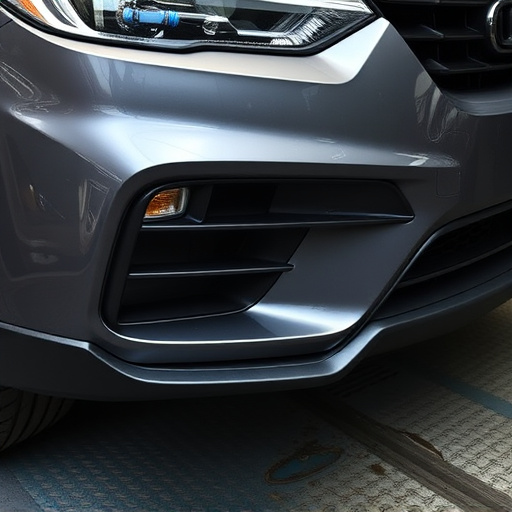
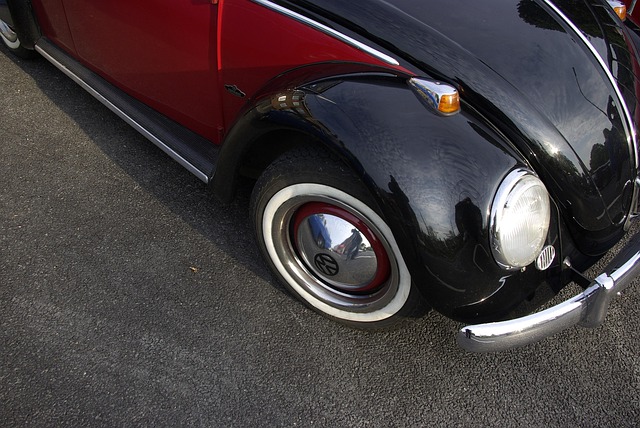
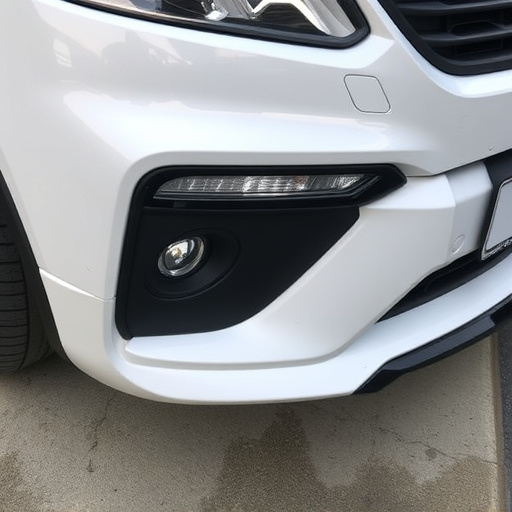
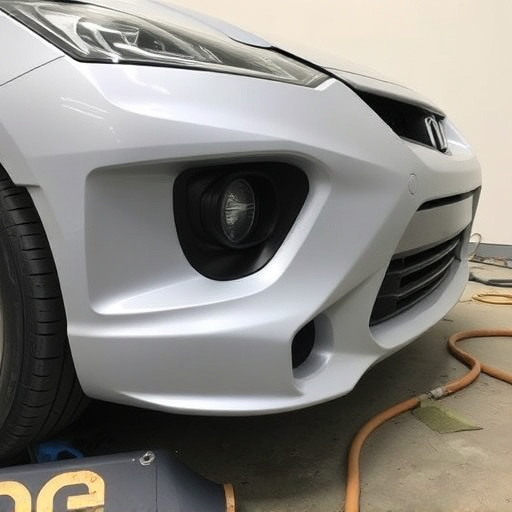
The Tesla ultrasonic sensors, responsible for the vehicle’s proximity alerts, can encounter various issues leading to malfunctions. One common problem is sensor misalignment or damage caused by minor collisions or road debris, resulting in inaccurate readings and false alarms. Another frequent issue arises from interference from nearby metal objects or structural components within the vehicle’s body, which can disrupt the ultrasonic waves and cause inconsistencies in the alert system.
While Tesla offers advanced technology, these sensors are not immune to issues arising from manufacturing defects, environmental factors like extreme temperatures, and even improper installation during autobody repairs or automotive collision repair processes. A dent near the sensor or an incorrectly calibrated system might affect its performance, necessitating a thorough inspection and, if required, a Tesla ultrasonic sensor repair for optimal functionality and safe driving.
Step-by-Step Guide to Effective Sensor Repair and Maintenance

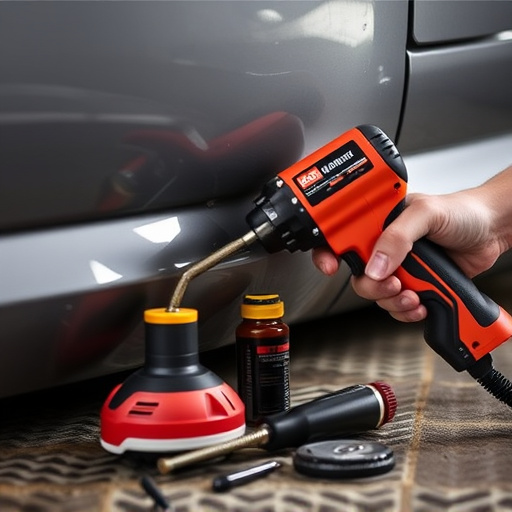
Repairing a malfunctioning Tesla ultrasonic sensor for proximity alerts is a process that requires precision and knowledge. Begin by identifying the faulty sensor(s) using diagnostic tools designed for electric vehicles. Once located, isolate the sensor from the vehicle’s electrical system to prevent short circuits during repair. The next step involves carefully disassembling the sensor to access the damaged components.
This may include replacing worn-out ultrasonic transducers or repairing internal wiring. After ensuring all parts are in optimal condition, reassemble the sensor, making sure it is securely fastened. Test the sensor’s functionality using a multimeter before integrating it back into the vehicle. Regular maintenance, such as cleaning and inspecting sensors for debris or damage, can prevent future malfunctions and prolong the life of these critical safety features. Consider these steps as part of your comprehensive Tesla ultrasonic sensor repair strategy, backed by professional auto glass replacement and vehicle collision repair expertise when needed.
In conclusion, addressing Tesla ultrasonic sensor repairs for malfunctioning proximity alerts is a crucial step in ensuring optimal vehicle safety and performance. By understanding the sensors’ function, identifying common issues, and following a systematic repair guide, car owners can effectively resolve these problems. With proper maintenance, you can extend the lifespan of your Tesla’s ultrasonic sensors, enhancing overall driving experience and peace of mind on the road. Remember, for any Tesla ultrasonic sensor repair needs, a detailed DIY approach or professional assistance is key to achieving reliable results.