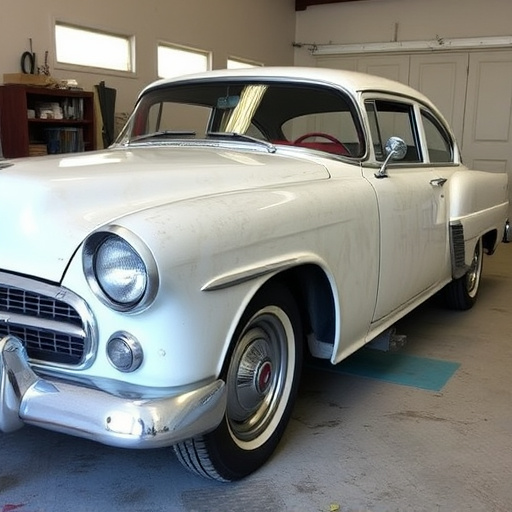
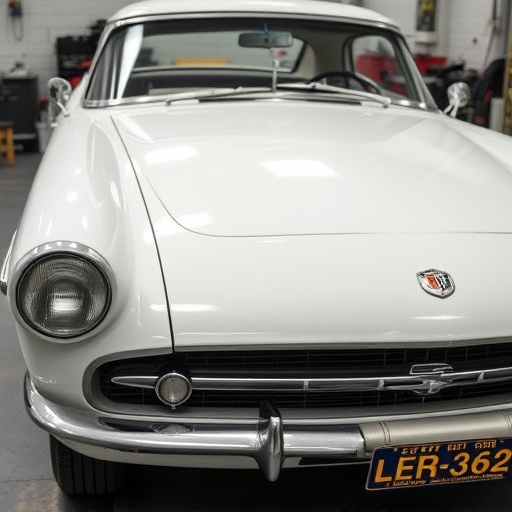

Clear coat application is a specialized process crucial for protecting and preserving classic and vintage vehicles, enhancing their appearance and longevity with a hard, durable finish. Meticulous preparation includes cleaning, sanding, and inspecting for damage, followed by skilled application using airbrushes or spray guns to achieve even coverage without errors, resulting in a flawless finish that sets these cars apart from other repairs.
“Uncover the art of restoring your classic or vintage vehicle with a pristine finish using clear coat application. This comprehensive guide delves into the world of high-quality coatings, offering an intricate look at their benefits and foundational steps. From understanding the chemistry behind clear coats to mastering preparation techniques, you’ll learn how to achieve a professional-level finish.
We provide a detailed, step-by-step process for applying clear coat, ensuring your vehicle’s longevity and showcasing its timeless beauty.”
- Understanding Clear Coat: Benefits and Basics
- Preparing Your Classic Vehicle for Coating
- Step-by-Step Guide to Professional Clear Coat Application
Understanding Clear Coat: Benefits and Basics
Clear coat application is a specialized process that plays a pivotal role in classic and vintage vehicle repairs, ensuring these cherished cars not only look their best but also withstand the test of time. Understanding clear coat involves grasping its benefits and basics.
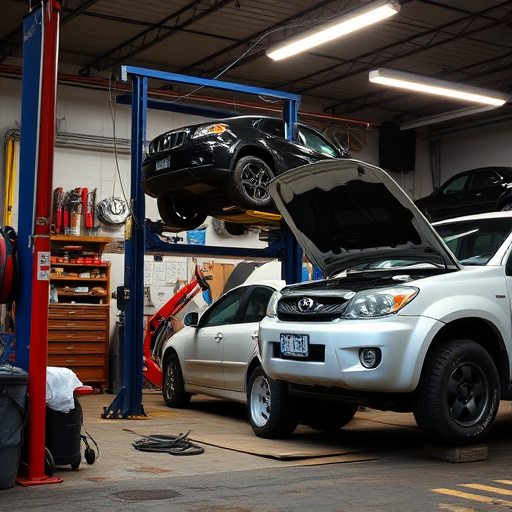
The clear coat, a thin, protective layer, acts as a shield against environmental factors like UV rays, harsh weather conditions, and dirt. Its primary advantage lies in preserving the original finish, enhancing the car’s aesthetic appeal, and maintaining its historical integrity. In an auto body shop, skilled technicians meticulously apply this finish to restore classic cars, ensuring they gleam just like new. This process involves preparing the surface, applying the clear coat using specialized tools, and curing it to create a hard, durable layer that boosts the overall look and longevity of the vehicle, making it stand out among other car collision repairs or auto glass replacements.
Preparing Your Classic Vehicle for Coating
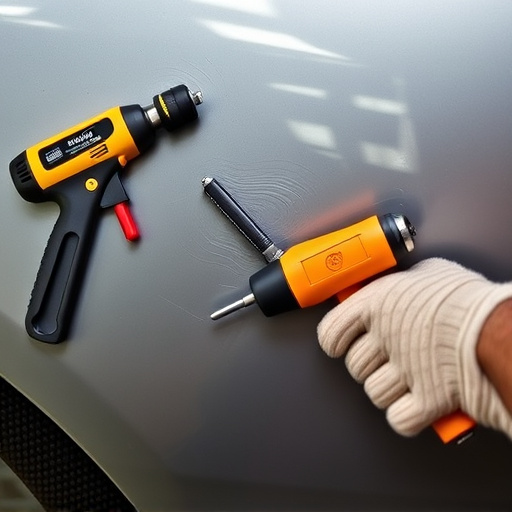
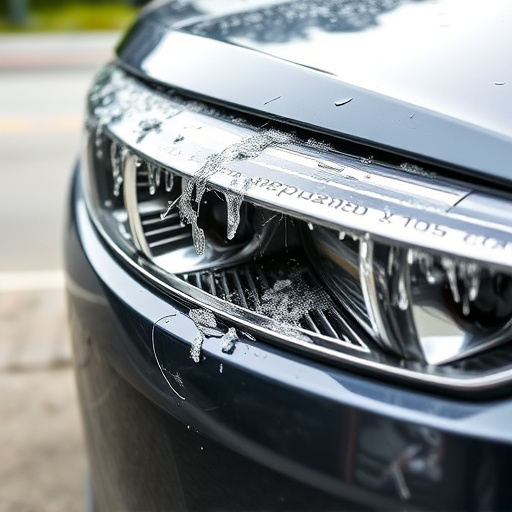
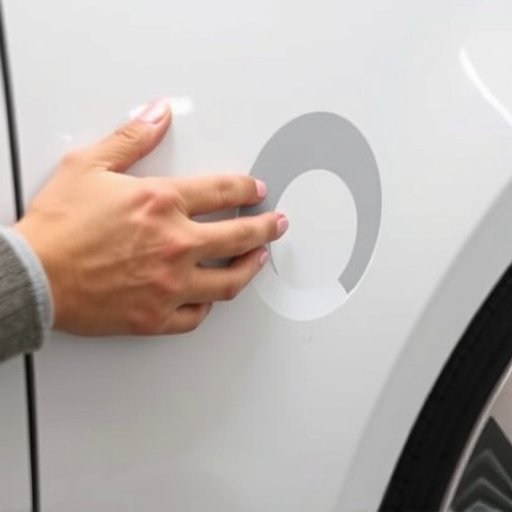
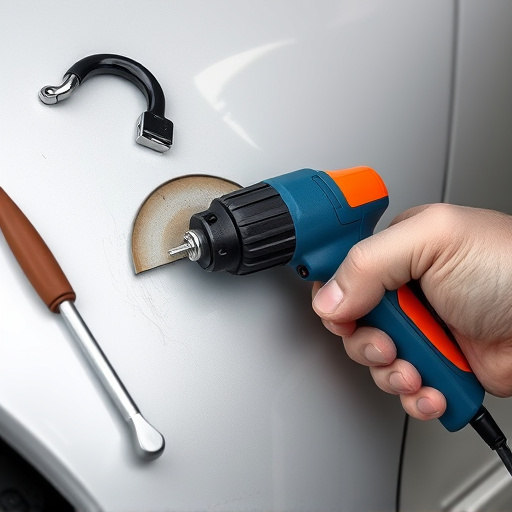
Before applying a clear coat, it’s vital to prepare your classic vehicle for optimal results. This involves meticulous autobody repairs and ensuring the surface is free from any debris, dirt, or existing coatings. Start by thoroughly cleaning the car, focusing on removing stubborn stains and contaminants that could impair adhesion. Sanding the surface gently can help create a smooth base, filling in any minor imperfections. Once clean, inspect for any signs of hail damage repair, as these areas may require additional attention to blend seamlessly with the rest of the vehicle.
Proper preparation is key; this includes priming the metal and ensuring even coverage. A good primer acts as a bridge between the raw metal and the clear coat, enhancing adhesion and providing a fresh canvas for the final finish. This step is especially crucial in classic car restoration projects, where the body might have seen better days. By taking the time to prep correctly, you’ll achieve a more durable and visually appealing clear coat application.
Step-by-Step Guide to Professional Clear Coat Application

The process of professional clear coat application is an art that requires precision and expertise, especially when restoring classic or vintage vehicles. Here’s a step-by-step guide to achieving a flawless finish:
1. Preparation: Begin by thoroughly cleaning and preparing the car’s surface. This includes removing any dirt, grease, or existing paint imperfections. Sanding the area slightly can help create a rough texture for better adhesion. For auto body shops, ensuring the base coat is correctly prepared is vital to achieving a durable clear coat finish.
2. Masking: Protect adjacent areas by masking them with specialized tape and drops. This prevents overspray and ensures only the intended sections are coated. Auto repair shop technicians might also use plastic sheeting or blue masking tape for added protection during the clear coat application process, especially around intricate details and auto glass repair sites.
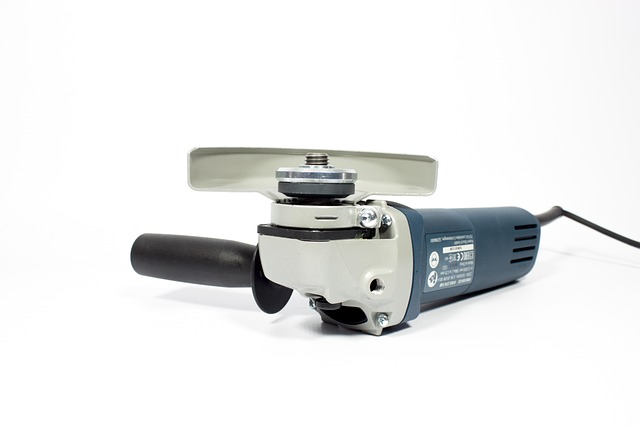
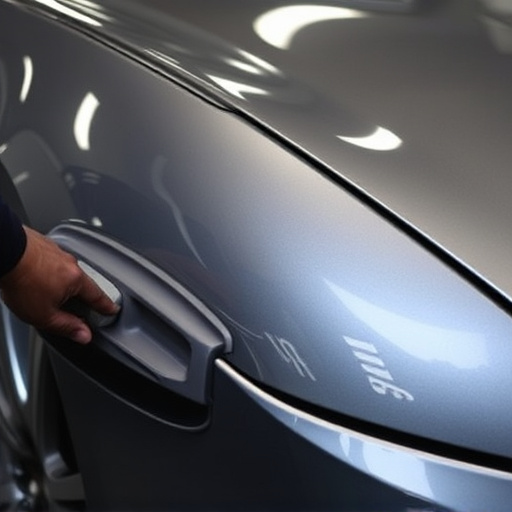
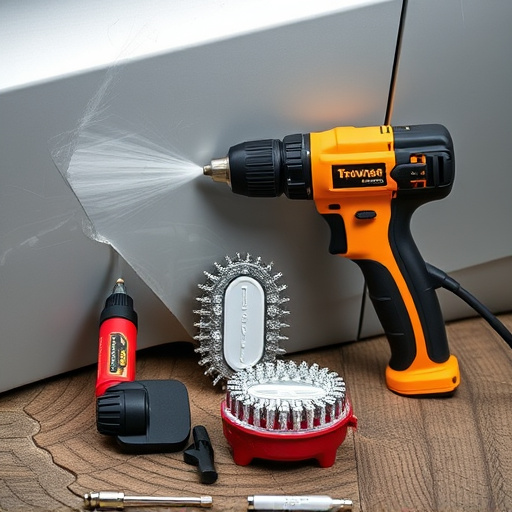
3. Application: Using a high-quality airbrush or spray gun, apply the clear coat evenly. Maintain a consistent distance from the surface and control the spray pattern for optimal coverage. For best results, work in small sections, allowing each to dry slightly before moving on. This technique ensures a seamless finish, free from runs or drips.
4. Curing: Once the clear coat is applied, allow it to cure according to the manufacturer’s instructions. This could involve leaving it to dry at room temperature or using heat sources like a drying cabinet for faster curing. Auto body shops often have specific equipment for this step to ensure the clear coat reaches the required hardness and durability.
5. Inspections: Regularly inspect the application process to catch any mistakes early on. Look for even coverage, smooth edges where masked areas meet the painted surface, and lack of overspray. Adjust your technique as needed to maintain a professional finish.
Clear coat application is a game-changer for classic and vintage vehicle repairs, offering both aesthetic enhancement and protective shielding. By understanding the benefits and basics of clear coat, preparing your vehicle meticulously, and following a professional step-by-step guide, you can transform these cherished vehicles while preserving their timeless beauty and value. Incorporate clear coat application into your restoration process to achieve exceptional results that will turn heads and command admiration.