


For seamless body filler application results, prepare a dedicated workspace with proper ventilation, surface protection, and well-organized tools. After curing, use fine-grit sandpaper to achieve a smooth surface for shaping. Meticulously shape and refine filled areas, starting with light sanding, to ensure even consistency with adjacent surfaces, crucial for luxury vehicle repair and car dent repair.
After successfully applying body filler, the next crucial step is sanding and shaping. This meticulous process ensures a seamless blend with your skin’s natural texture. Begin by preparing your workspace and gathering essential materials, including fine-grit sandpaper and a sculpting tool. Evenly spread the filler, allowing it to set slightly, then gently apply sandpaper in smooth, even strokes. Proceed to refine the surface, shaping it to your desired contour while maintaining a natural appearance.
- Prepare Your Workspace and Materials
- Evenly Apply Sanding Compound
- Shape and Refine the Filler Surface
Prepare Your Workspace and Materials
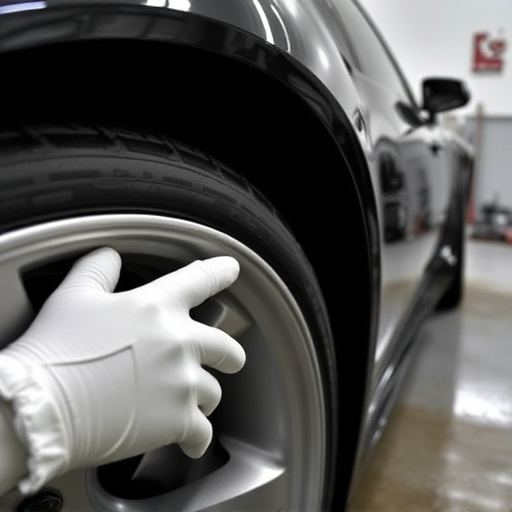
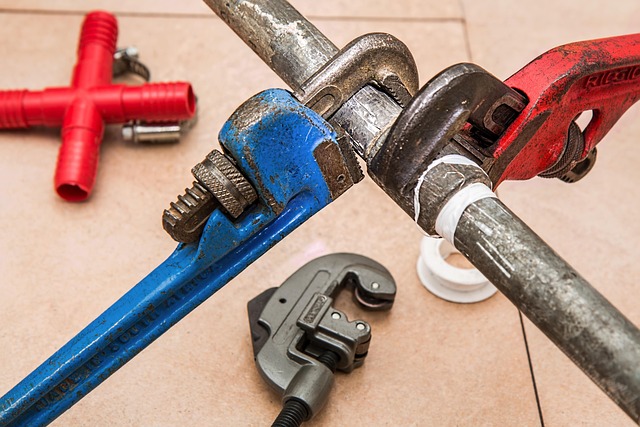
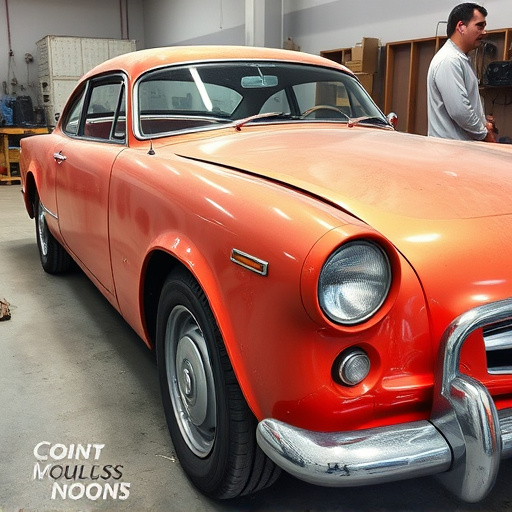
Before beginning the sanding and shaping process, it’s crucial to prepare a dedicated workspace that ensures safety and efficiency. This area should be well-ventilated to mitigate the risk of inhaling harmful dust particles from the body filler application. Covering nearby surfaces with drop cloths or plastic sheets is essential to protect them from scratches or stains. Ensure you have ample lighting, as this will facilitate precise work. Gather all necessary tools and materials, including various grits of sandpaper, a random orbit sander (for efficient and uniform sanding), a detail knife for intricate shaping, and a damp cloth for cleaning. A clean and organized workspace in an auto body shop or car paint repair facility facilitates smooth operations during this crucial post-application stage.
For an auto repair shop professional, preparing the right materials is paramount to achieving seamless results. This involves selecting appropriate sandpaper based on the desired smoothness of the final surface—from coarse grits for initial shaping to fine grits for a polished finish. A random orbit sander should be chosen for its versatility and ability to reduce manual effort. By having these components readily available, you can efficiently navigate the process, ensuring that any imperfections from the body filler application are meticulously addressed, leading to superior craftsmanship in auto body shop settings or car paint repair environments.
Evenly Apply Sanding Compound
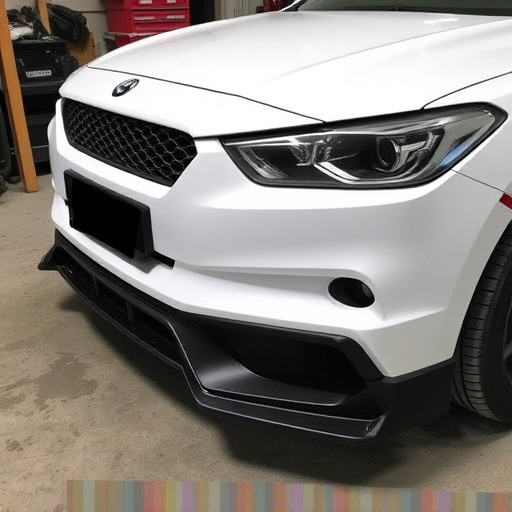
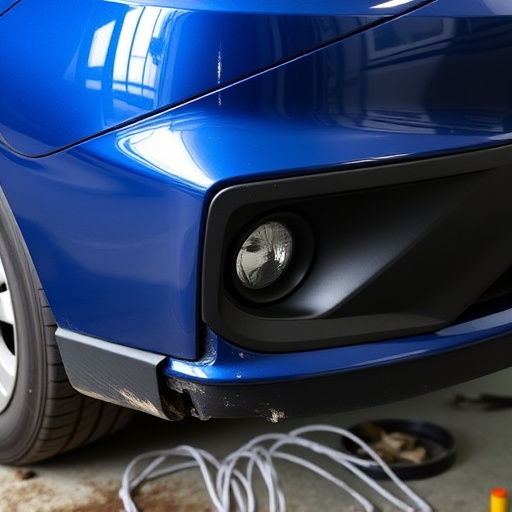
After the body filler has cured, it’s time to evenly apply the sanding compound. This step is crucial for achieving a smooth surface that will allow for precise shaping and detailing. Use a fine-grit sandpaper, starting with a coarser grade to remove any high points or imperfections from the filler application. Ensure even pressure across the entire surface to maintain consistency in the final shape.
As you progress to finer grits, pay meticulous attention to detail areas, such as curves and corners. This meticulous process is key to achieving a flawless finish, especially when considering applications like luxury vehicle repair or car paint repair, where precision and finesse are paramount. Imagine it as the final touch in a Mercedes-Benz collision repair—each sanding stroke refines the work done earlier, transforming raw materials into a masterpiece of automotive craftsmanship.
Shape and Refine the Filler Surface
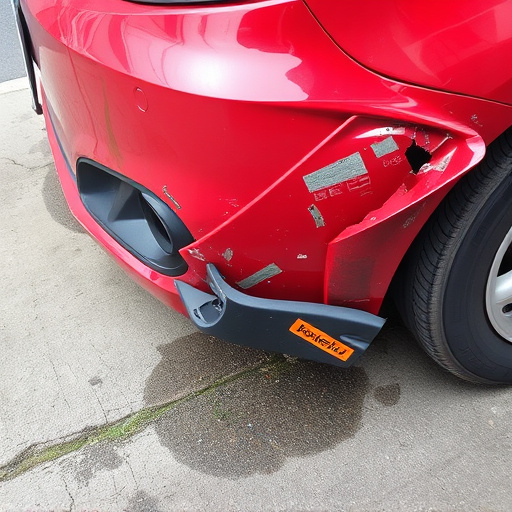
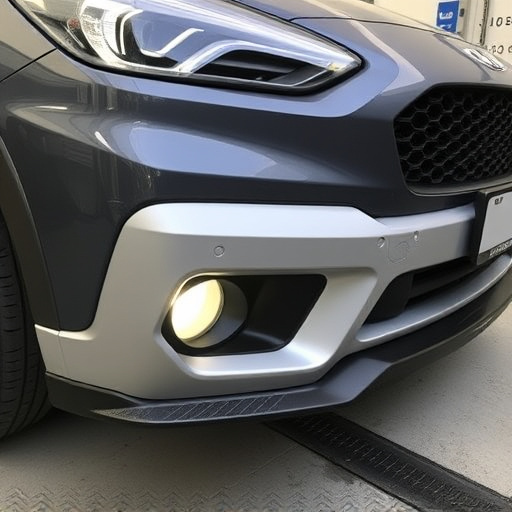
After the initial application of body filler, the surface will require careful shaping and refining to achieve a smooth and even finish. This step is crucial in preparing the area for any additional auto body services or car dent repair that might be needed, ensuring a seamless blend with the surrounding unmodified sections. Using appropriate sandpaper, start by lightly sanding the filled area to remove any high spots or imperfections. Proceed gradually, moving from coarser grits to finer ones, until you achieve a smooth texture.
Regularly inspect your progress, comparing the filled area to the adjacent, unfilled surfaces to ensure consistency. This meticulous process is akin to automotive body work, requiring precision and attention to detail. Once satisfied with the smoothness, take a step back to assess the overall shape and make any necessary adjustments, refining the contours until they match the desired aesthetics or align with the car’s natural lines, just as you would in car dent repair.
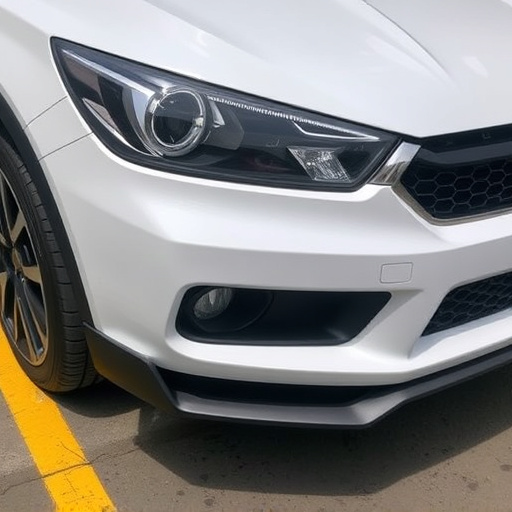
After carefully shaping your body filler, it’s time to sand and refine the surface for a seamless, natural-looking finish. This meticulous process involves preparing your workspace, applying sanding compound evenly, and gently shaping until the desired contour is achieved. With proper technique and attention to detail, you can transform body filler applications into works of art, ensuring a flawless and aesthetically pleasing result.