

PDR (Paintless Dent Repair) is a modern method for car body restoration, fixing minor dents and scratches efficiently without painting. It saves time, money, and prevents further damage, keeping vehicles looking new longer. To start PDR for minor dents, invest in a well-equipped kit with essential tools like dent pullers, hammer, protective gear, and practice materials. Follow a step-by-step guide: inspect dent, gather tools, lift the dent, tap it back into place, clean, and polish until the finish matches.
“New to the world of dent repair? This comprehensive guide is your first step towards mastering PDR (Paintless Dent Repair) for minor dents. We demystify the process, breaking down complex techniques into simple, actionable steps.
From understanding the fundamentals of PDR to equipping yourself with the right tools and equipment, this beginner’s guide has you covered. Get ready to repair those nicks and dings like a pro!”
- Understanding PDR: The Basics Unveiled
- Tools and Equipment: What You Need to Start
- Step-by-Step Guide: Repairing Minor Dents
Understanding PDR: The Basics Unveiled
PDR, or Paintless Dent Repair, is a cutting-edge technique that revolutionizes car body restoration for minor dents and scratches. Unlike traditional dent repair methods, PDR doesn’t involve painting or significant body work, making it an efficient and cost-effective solution for automotive repair services. The process leverages specialized tools to gently push the dented area back into its original shape, leaving behind a flawless finish that’s nearly impossible to detect.
This innovative approach has gained immense popularity due to its non-intrusive nature, which conserves both time and money. By targeting minor dents early on, car owners can prevent more severe damage and costly repairs down the line. PDR isn’t just about fixing dents; it’s a skill that enhances the overall appearance of your vehicle, keeping it looking like new for longer, without breaking the bank on extensive car body restoration.
Tools and Equipment: What You Need to Start
Getting started with PDR (Paintless Dent Repair) for minor dents requires an investment in the right tools and equipment. While it might seem daunting at first, having the proper kit is key to achieving professional-looking results. Essential items include a set of dent pullers, also known as “picks,” which come in various shapes and sizes to tackle different dent patterns. These are used to gently pry and remove the damaged area without disturbing the surrounding paint.
Don’t forget about the importance of a good quality dent repair hammer. This tool is designed to precisely apply force, allowing you to lift and remove dents. Additionally, a set of foam or rubber mallets can help in refining the shape and size of the dent after initial removal. For those just starting out, consider purchasing a complete PDR kit that includes all these tools along with protective gear, a detailer’s cloth, and possibly even a practice panel to hone your skills. Remember, having the right equipment is crucial for successful PDR and ensuring your safety while working on automotive collision repair or minor auto glass replacements.
Step-by-Step Guide: Repairing Minor Dents
Repairing minor dents using PDR (Paintless Dent Repair) is a straightforward process that can significantly enhance the appearance of your vehicle without the need for a trip to a costly vehicle body shop. Here’s a step-by-step guide to help you get started:
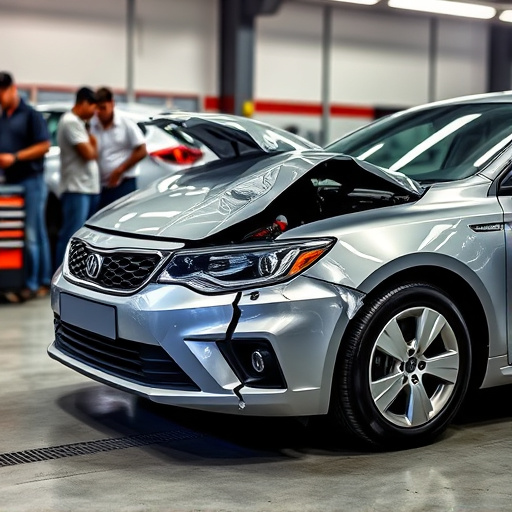
1. Inspect and Assess: Begin by thoroughly inspecting the dent to determine its size and depth. PDR is most effective for minor dents, typically less than 0.5 inches deep. If the dent extends deeper into the panel, it might require more advanced techniques like auto glass repair or even a full paint job.
2. Prepare Your Work Area: Ensure your work area is clean and well-lit. Gather all necessary tools: a PDR hammer and pry tool, plastic wedges, and a cloth for polishing. Protect your vehicle’s finish by applying a thin layer of wax or a suitable preparation solution to the affected area.
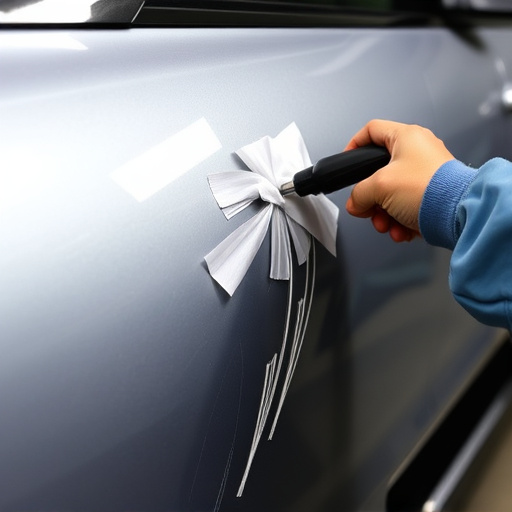
3. Insert the Pry Tool: Position the pry tool under the edge of the dent, gently lifting it up and out of the panel. Be careful not to damage nearby body components or paint.
4. Use the PDR Hammer: Tap the hammer against the dent’s edge, working slowly and steadily. This will help push the dent back into place. Apply gentle pressure, as excessive force can lead to damage.
5. Adjust and Fine-Tune: Once the dent appears to be flush with the surface, use the tools to adjust any remaining imperfections. You may need to repeat steps 3 and 4 until the dent is completely repaired.
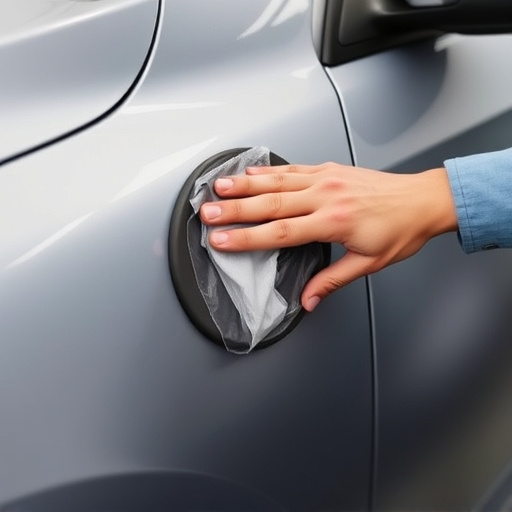
6. Polish and Clean: After successfully repairing the dent, thoroughly clean the area to remove any debris or residue. Use a polishing compound to restore the finish, matching it as closely as possible with the surrounding paint job (or consider a touch-up paint if necessary).
PDR for minor dents is an accessible, cost-effective solution for maintaining your vehicle’s appearance. By understanding the process and investing in the right tools, you can efficiently repair small dents and avoid more extensive (and expensive) body shop repairs. With this beginner’s guide, you’re now equipped to tackle those pesky minor dents and keep your car looking its best.