Cowl panel replacements are crucial for both safety and aesthetics in vehicle repair. This guide outlines a meticulous process, from securing the car and preparing tools to removing, repairing, and replacing the panel with a seamless finish. Safety protocols, precise alignment, and regular inspections ensure high-quality results, emphasizing the importance of skilled technicians in mobile collision repair services.
In the fast-paced world of mobile collision repair services, efficient and effective cowl panel replacement is crucial. Cowl panels, facing constant exposure to road conditions and potential accidents, are prone to damage. Understanding the types and extent of cowl panel damage is key to ensuring quality repairs that enhance vehicle aesthetics and safety. This article provides a comprehensive guide on performing seamless cowl panel replacements, from assessing damage to implementing best practices for longevity and quality assurance.
- Understanding Cowl Panel Damage and Its Impact
- Step-by-Step Guide to Efficient Replacement Process
- Best Practices for Longevity and Quality Assurance
Understanding Cowl Panel Damage and Its Impact
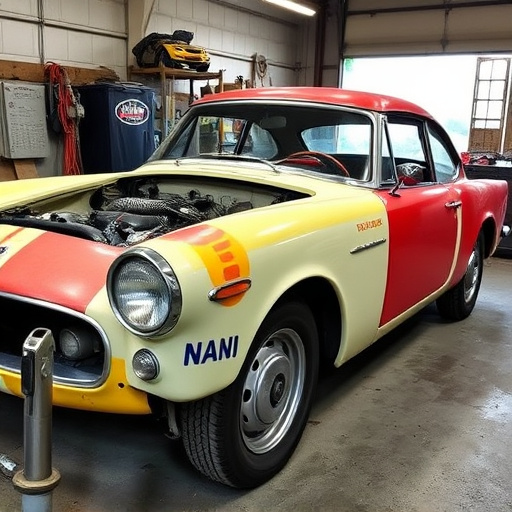
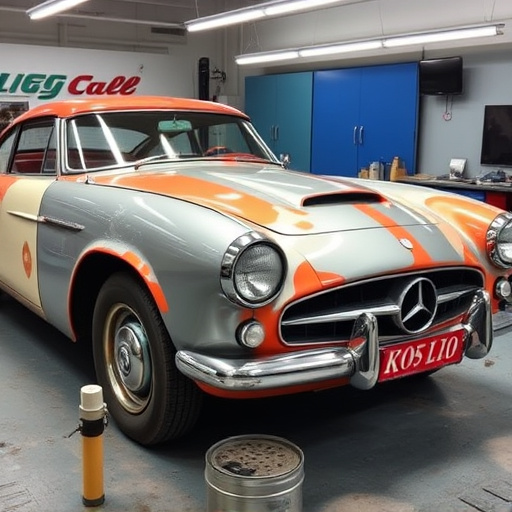
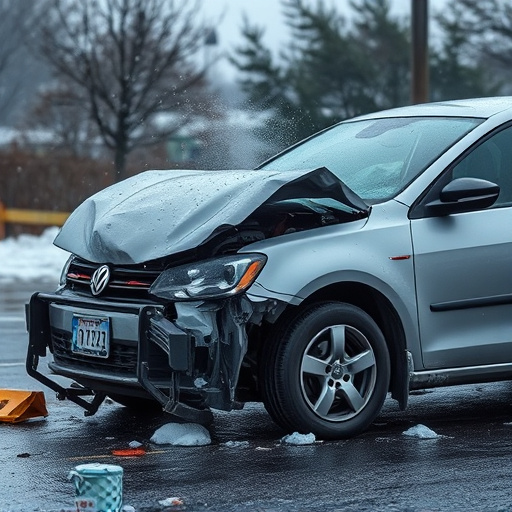
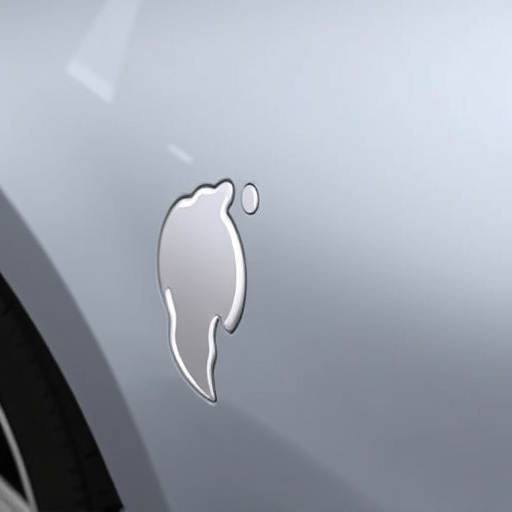
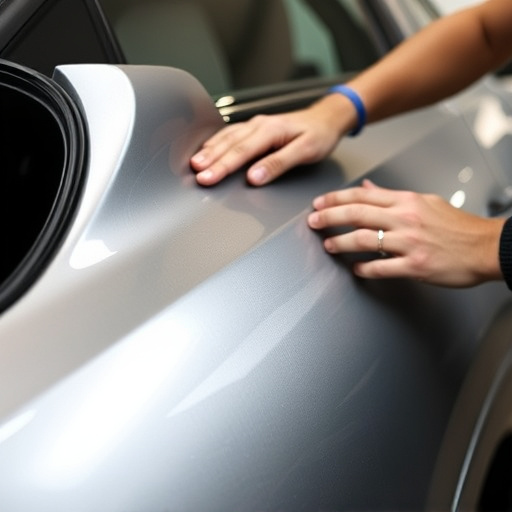
Cowl panels are a crucial component of a vehicle’s exterior, encompassing the area surrounding the engine and providing both structural support and aesthetic appeal. Damage to these panels can arise from various incidents, such as collisions, road debris impact, or even minor scratches, each posing unique challenges for mobile collision repair services.
When a cowl panel is compromised, it not only affects the vehicle’s overall appearance but also its structural integrity. Severe damage might require frame straightening to ensure proper alignment and safety standards. In many cases, auto body repairs extend beyond simple cowl panel replacement, involving meticulous work to restore the car’s exterior to its pre-accident condition. This process demands skilled technicians who can accurately assess the extent of the damage and perform high-quality repairs, ensuring the vehicle is safe to drive and retains its visual appeal.
Step-by-Step Guide to Efficient Replacement Process
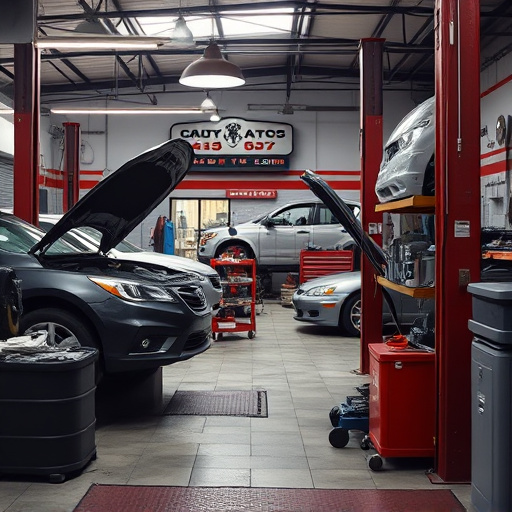
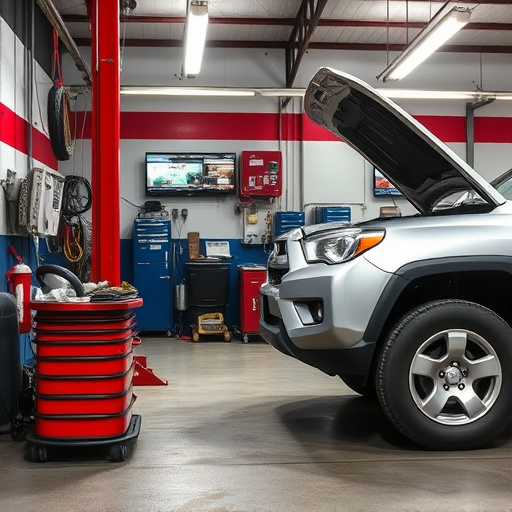
Replacing a cowl panel is a common task for mobile collision repair services, and understanding the process can help car owners make informed decisions. Here’s a step-by-step guide to ensure an efficient cowl panel replacement:
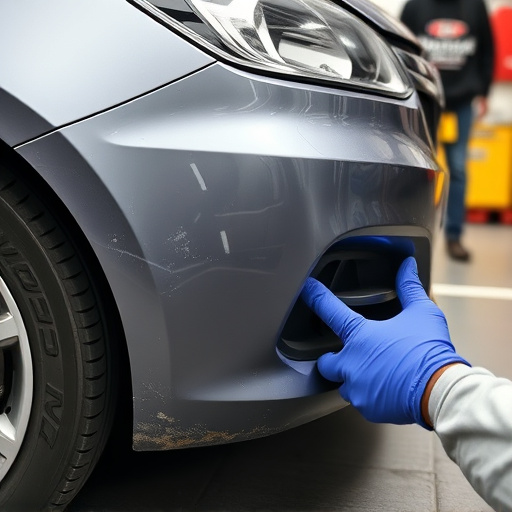
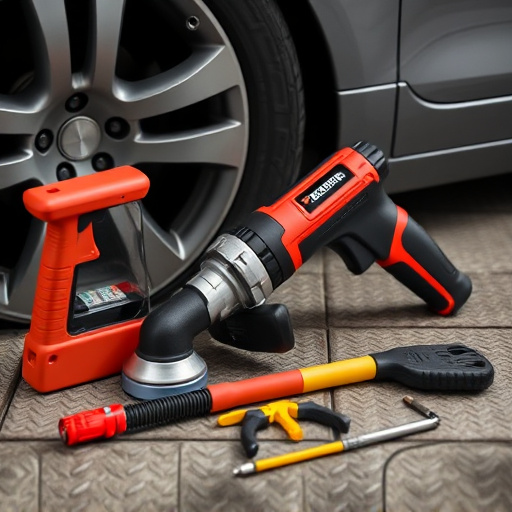
1. Safety First: Ensure the vehicle is safely secured and all necessary tools are readily available. This includes jack stands, new cowl panel, matching paint, primer, and other auto painting supplies. Safety goggles and gloves are essential for protection during the process.
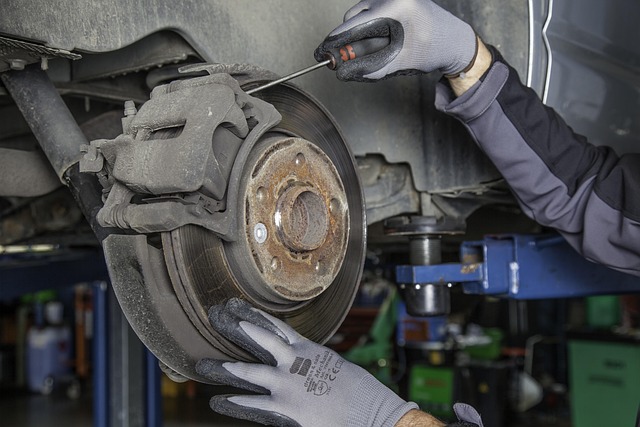
2. Remove the Damaged Panel: Carefully disconnect any electrical components attached to the cowl panel, such as sensors or wiring harnesses. Next, use suitable tools like a hammer and chisel or an electric angle grinder (with a protective shield) to remove the old, damaged panel. Be cautious not to damage adjacent panels or other car bodywork during this step.
3. Prepare the Surface: Thoroughly clean the area where the cowl panel will be replaced. Remove any debris, rust, or old paint using sandpaper and a wire brush. This ensures proper adhesion for new auto painting and prevents future issues.
4. Install the New Panel: Fit the new cowl panel into place, ensuring it aligns correctly with the car’s structure. Secure it temporarily using clamps. Once satisfied with the fit, permanently attach the panel using appropriate fasteners, following the manufacturer’s guidelines.
5. Auto Glass Repair (if necessary): If the surrounding area includes any auto glass repair needs, address these before proceeding. A seamless finish depends on all components being in optimal condition.
6. Paint and Finish: Apply a coat of primer to even out the surface and prepare it for painting. Let it dry completely. Then, use high-quality car paint in the matching color to thoroughly cover the new cowl panel. Allow each layer to dry as per the paint manufacturer’s instructions before adding additional coats for a smooth, durable finish.
Best Practices for Longevity and Quality Assurance
When performing a cowl panel replacement as part of your mobile collision repair services, adhering to best practices ensures longevity and maintains quality assurance. Begin with gathering all necessary tools and parts, ensuring they meet the specific requirements of the vehicle make and model. Proper preparation, including cleaning and inspecting the surrounding areas, is crucial to achieving a seamless fit.
During the replacement process, meticulous attention should be paid to aligning and securing the new cowl panel. Use appropriate techniques and hardware recommended by the manufacturer to prevent future damage or misalignment. Regularly inspect your work for any signs of defects or inconsistencies, and always follow safety protocols to guarantee both the quality and safety of the repair.
Cowl panel replacement is a critical aspect of mobile collision repair services, ensuring vehicles not only look their best but also maintain structural integrity. By understanding the damage, following a meticulous replacement process, and adopting best practices for longevity, repair professionals can deliver high-quality, efficient repairs. Incorporating these strategies into your service offerings will enhance customer satisfaction and cement your reputation as an industry leader in cowl panel replacement.