The tri-coat paint structure, a durable and visually appealing vehicle finish, requires three layers: base coat, intermediate layer for rust protection, and top coat for UV resistance. Repair involves precise techniques, color matching, and expert application using specialized tools like dent removal equipment, airbrushes, and sanding blocks. This meticulous process starts with inspection and preparation, undercoating, primer, base color paint, detailing, and finishing with a topcoat, adhering to manufacturer guidelines for optimal results in tri-coat paint repair.
“Discover the art of advanced tri-coat paint application with this comprehensive guide. Learn how a structured understanding of tri-coat layers and specialized tools can revolutionize your repair process. From identifying damage to achieving a flawless finish, we’ll walk you through efficient techniques for successful tri-coat paint repairs. Master these skills and elevate the quality of your work.”
- Understanding Tri-Coat Paint Structure and Layers
- Specialized Tools and Equipment for Repair
- Step-by-Step Guide to Efficient Tri-Coat Paint Repairs
Understanding Tri-Coat Paint Structure and Layers
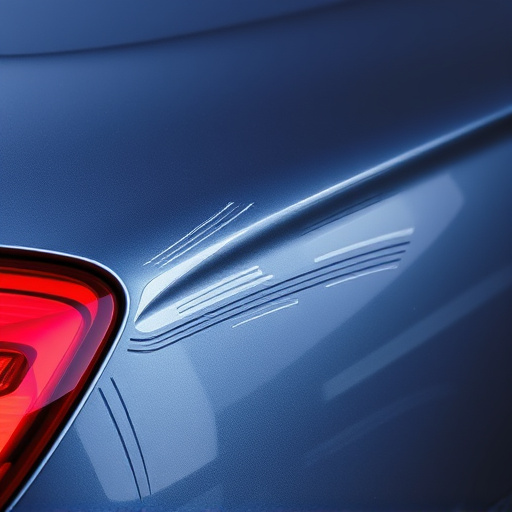
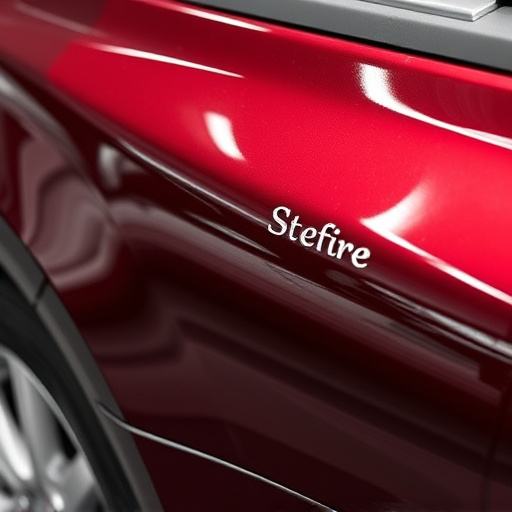
The tri-coat paint structure is a meticulous process designed to create a durable and visually appealing finish on vehicles. Unlike traditional single-stage coatings, tri-coat paints involve three distinct layers, each serving a specific purpose in enhancing both aesthetics and protection. The base coat, applied first, lays the foundation by adhering to the car’s surface and providing color. This is followed by the intermediate layer, which acts as a barrier, safeguarding against rust and corrosion. Finally, the top coat completes the tri-coat, offering a glossy finish that not only boosts the vehicle’s appearance but also protects it from environmental factors like UV rays and harsh weather conditions.
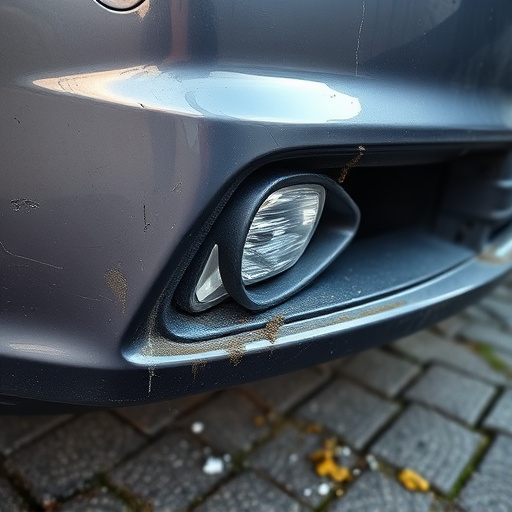
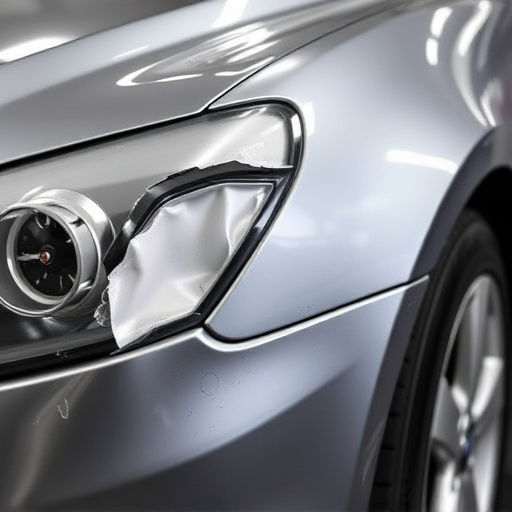
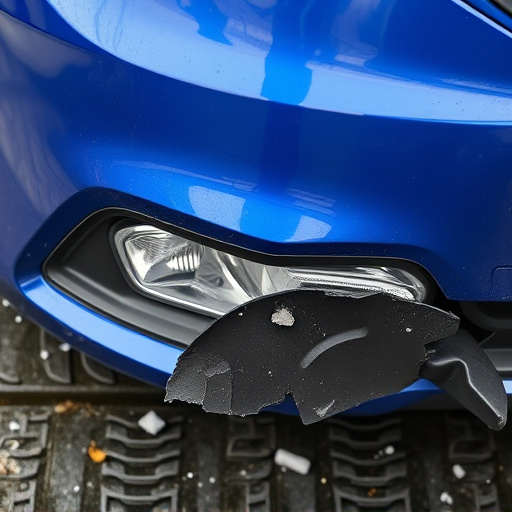
Understanding this layered approach is crucial for effective tri-coat paint repair, especially in collision damage repair scenarios at a car repair shop or collision center. When a vehicle sustains damage, each layer may be compromised, necessitating precise restoration techniques to ensure the final fix matches the original tri-coat’s quality. This involves meticulous preparation, careful matching of colors, and expert application to restore both the safety and aesthetic value of the damaged area in a collision damage repair process.
Specialized Tools and Equipment for Repair
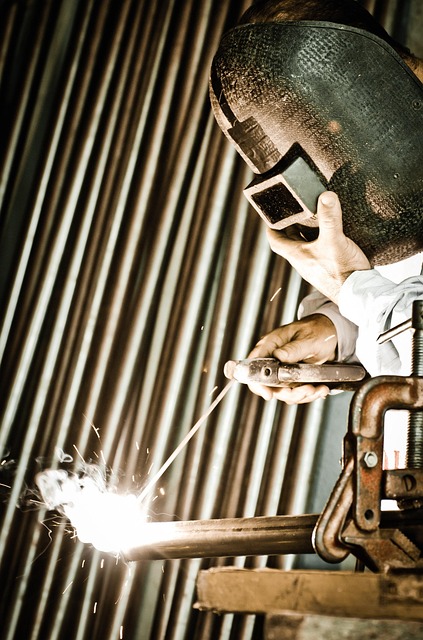
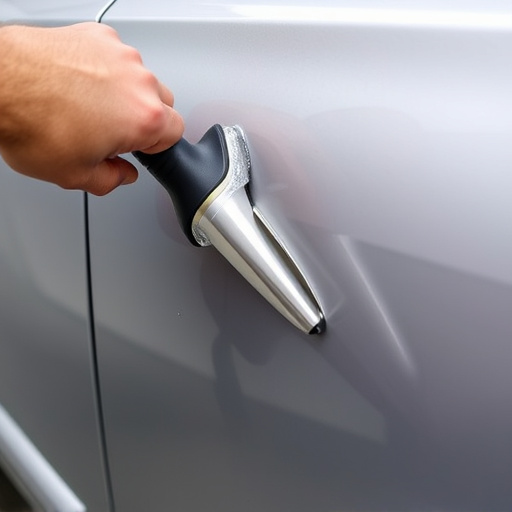
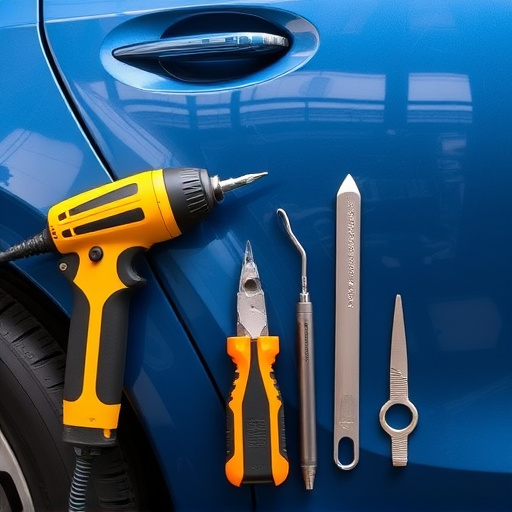
When it comes to tri-coat paint repair, specialized tools and equipment play a pivotal role in achieving a flawless finish. For professionals involved in classic car restoration or vehicle restoration projects, investing in high-quality tools is essential for precision and efficiency. These include dent removal tools that expertly eliminate minor imperfections, ensuring the surface is smooth before applying the intricate tri-coat layers.
The process involves advanced techniques and equipment tailored to address various challenges. For instance, air compressors are crucial for operating airbrushes, which spray paint with remarkable accuracy. Sanding blocks and paper of different grits facilitate smooth transitions between coats, while specialized brushes enable detailed work on hard-to-reach areas. Such meticulous attention to detail is vital in the tri-coat paint repair process, ensuring a classic car’s restoration or vehicle restoration project turns out beautifully.
Step-by-Step Guide to Efficient Tri-Coat Paint Repairs
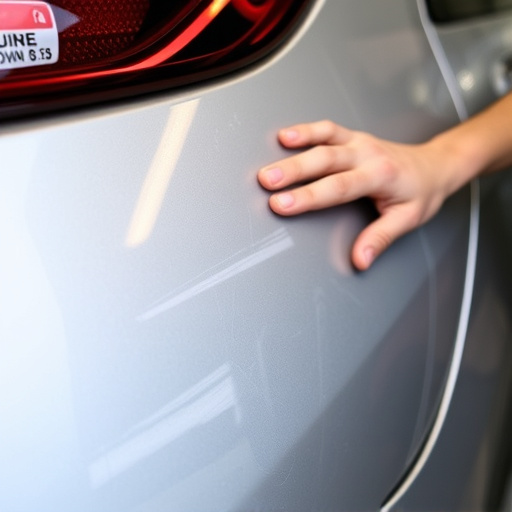
Repairing a vehicle with a tri-coat paint job requires precision and a systematic approach to ensure a seamless finish. Here’s a step-by-step guide for efficient tri-coat paint repairs, tailored for both professional auto repair shops and DIY enthusiasts.
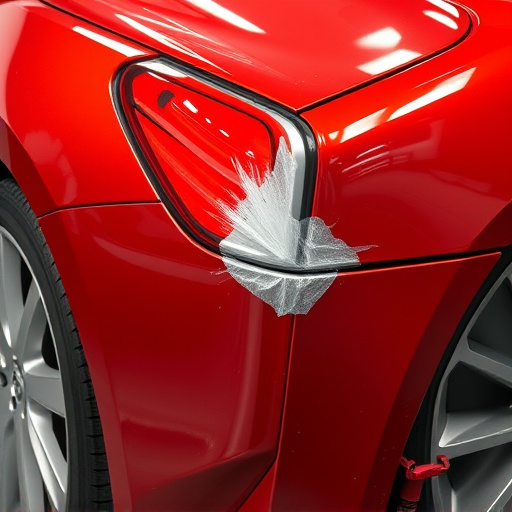
Start by thoroughly inspecting the damaged area, identifying the extent of the scratch or dent. Next, prepare the car body repair surface by gently sanding to remove any imperfections, ensuring a clean and even base. Apply an undercoating to protect the underlying metal and prevent rust. Once dry, use high-quality primers designed for tri-coat paint systems to prime the area evenly. Allow the primer to set as per manufacturer instructions. The next step involves applying the first coat of base color paint, ensuring even coverage. Let this layer dry completely before moving on to the second coat, which will match the surrounding tri-coat finish. Use a fine-toothed brush for precise detailing around edges and tight spaces. Finally, apply the topcoat, adding any desired gloss or sheen. Always follow manufacturer guidelines for drying times between coats for optimal results in your auto collision center or workshop.
In conclusion, mastering advanced tri-coat paint application techniques empowers both professionals and enthusiasts to achieve superior results in their projects. By understanding the intricate structure and layers of tri-coat paint, utilizing specialized tools for repairs, and following a structured step-by-step guide, one can effectively restore and enhance painted surfaces. These strategies ensure longevity, maintain aesthetic appeal, and demonstrate expertise in the art of tri-coat paint repair.