

Emblem replacement after a collision requires meticulous surface preparation: thorough cleaning, stain removal, and potential sanding for optimal adhesion. Use genuine parts and paintless dent repair for aesthetic restoration. Follow steps like cleaning, precise adhesive application, curing, trimming, and edge attachment for a durable, flawless finish.
When replacing car emblems after a collision, proper cleaning and protection are crucial for a successful restoration. This article guides you through best practices for a flawless process. First, prepare the surface by removing debris and thoroughly cleaning it. Next, select a matching replacement that ensures quality and fit. Lastly, master application techniques for optimal adhesion and final touches that enhance the car’s aesthetics. Follow these steps to achieve a professional-looking emblem replacement after a collision.
- Prepare Surface: Remove Debris, Clean Thoroughly
- Select Matching Replacement: Ensure Quality, Fit
- Application Techniques: Proper Adhesion, Final Touches
Prepare Surface: Remove Debris, Clean Thoroughly
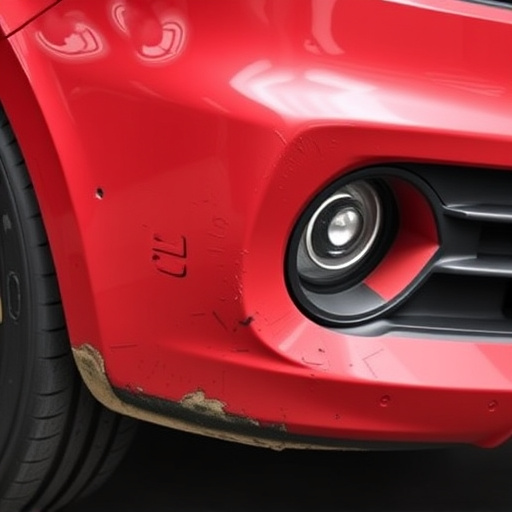
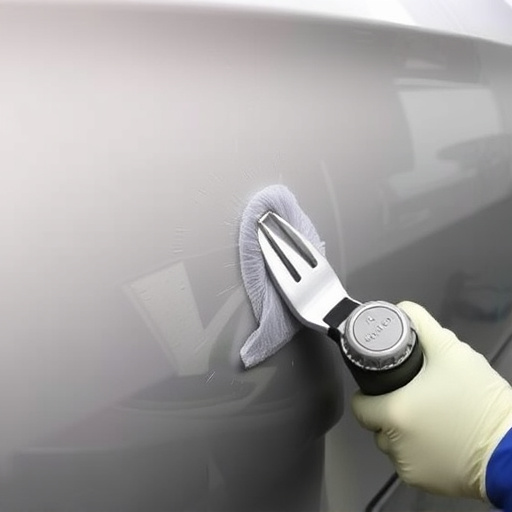
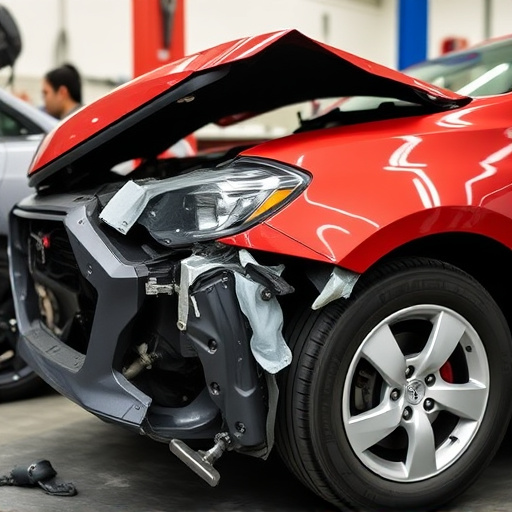
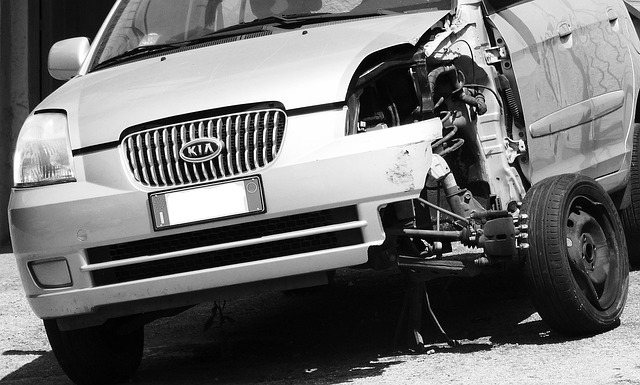
Before replacing any emblems, preparing the surface is a crucial step to ensure optimal adhesion and long-lasting protection. Start by thoroughly inspecting the area around the collision or damage site. Remove any loose debris, dirt, or old adhesive remnants using a degreaser or specialized cleaner designed for vehicle surfaces. This initial cleaning process helps create a clean slate for the new emblem installation.
Next, employ more aggressive yet safe cleaning methods to eliminate stubborn stains and imperfections. Consider using microfiber cloths and car-specific cleaning solutions to wipe down the area, removing any traces of oil, grease, or previous repair attempts. A meticulous surface preparation is key when dealing with emblem replacements after collisions, ensuring a seamless fit and enhancing the effectiveness of subsequent protective measures like paintless dent repair or vehicle body repair techniques.
Select Matching Replacement: Ensure Quality, Fit
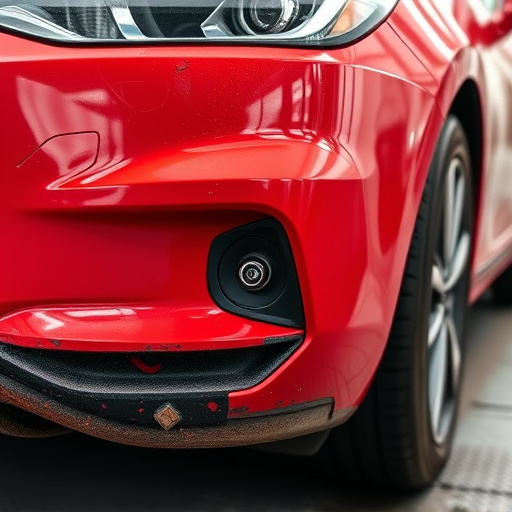
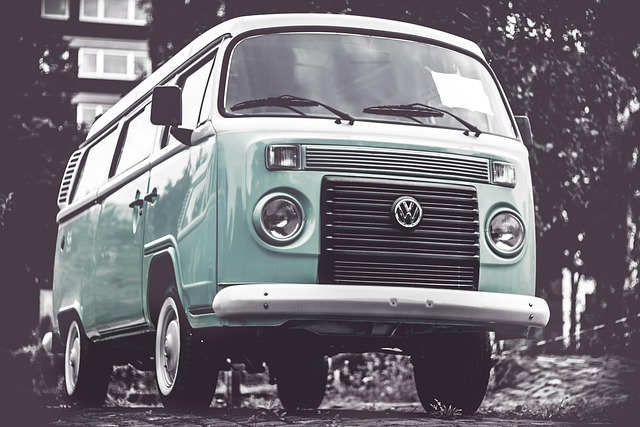
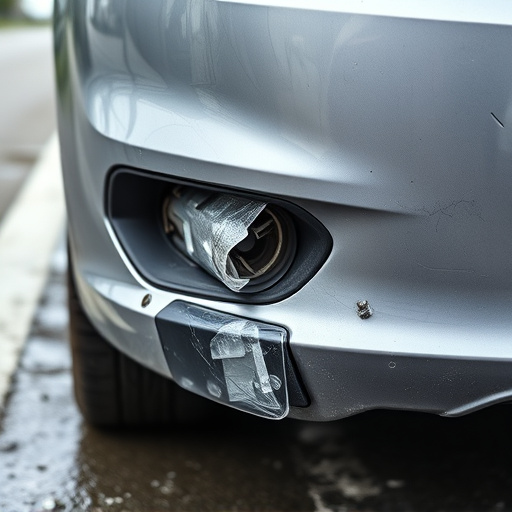
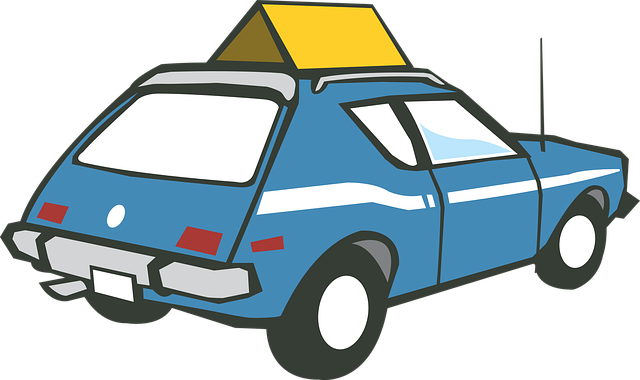
When replacing an emblem after a collision or damage, selecting a matching replacement is crucial for both aesthetics and functionality. It’s essential to find a high-quality replica that not only looks identical but also fits perfectly. A poorly fitting emblem can ruin the overall look of a car restoration, especially in an auto body shop where precision is key.
Opting for genuine parts from reputable manufacturers ensures that the replacement emblem aligns with the original specifications. Some auto body shops offer paintless dent repair services, which can be beneficial for preserving the car’s original finish while installing new emblems, enhancing the overall look and value of the vehicle.
Application Techniques: Proper Adhesion, Final Touches
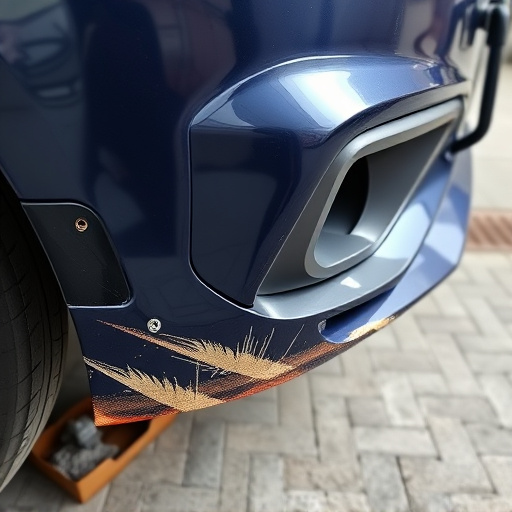
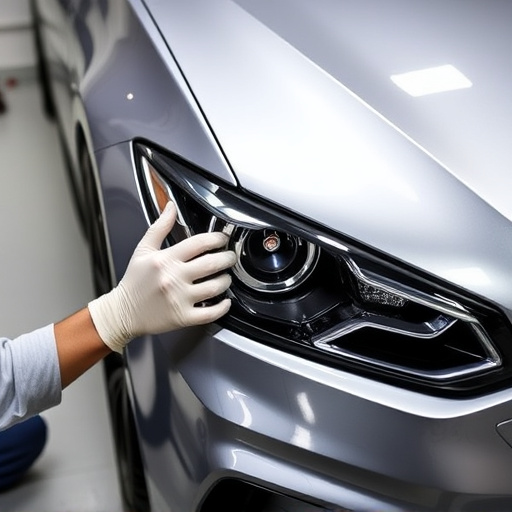
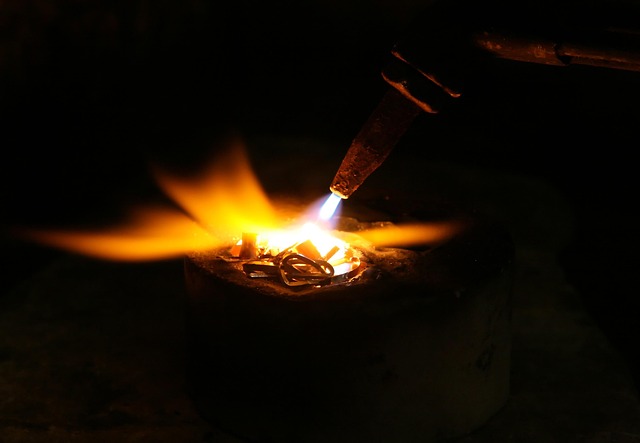
When replacing emblems after a vehicle collision repair, understanding proper application techniques is key to achieving a seamless finish. The first step involves preparing the surface, ensuring it’s clean and free from debris or old adhesive remnants. This might include sandbling the area for better adhesion, especially if there was significant damage during the tire services or scratch repair process.
After the surface is ready, carefully apply the new emblem using a suitable adhesive designed for automotive use. Even application pressure and a steady hand are crucial to prevent air bubbles or misalignments that could disrupt the final look. Once in place, give it ample time to cure as per the manufacturer’s instructions. Final touches include trimming any excess adhesive and ensuring all edges of the emblem are securely attached. This meticulous approach guarantees a durable bond, preserving the replacement emblem’s integrity and vibrancy.
When replacing vehicle emblems after a collision or damage, proper preparation and selection are key. By ensuring the surface is clean and debris-free, you create a strong foundation for the new emblem. Choosing a high-quality replacement that matches the original perfectly guarantees an aesthetic restoration. Following best practices during application, including using suitable adhesives and meticulous finishing touches, secures the emblem’s longevity and maintains the vehicle’s overall appeal. These steps are essential in achieving a seamless and durable solution after an emblem replacement collision.