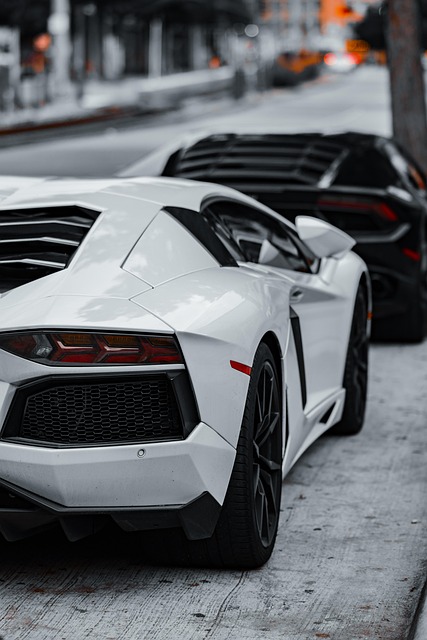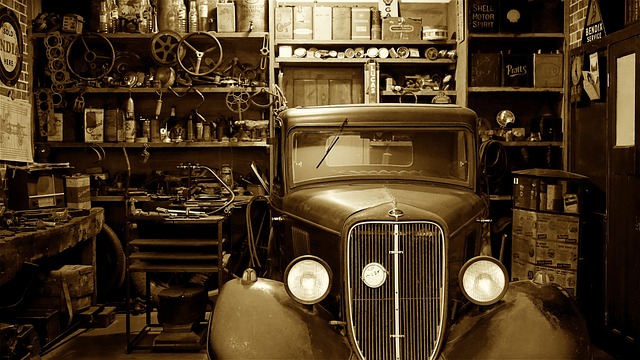
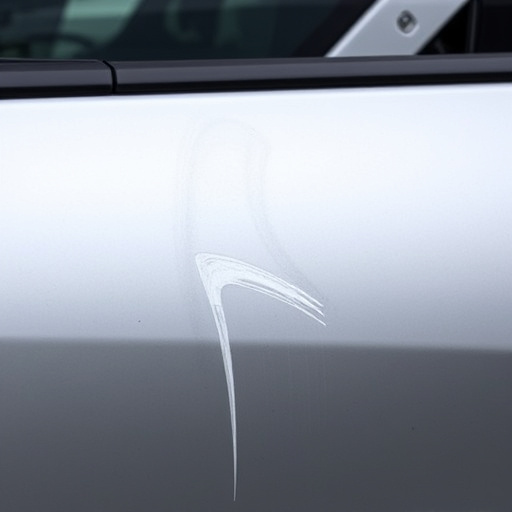

Tesla window films degrade over time due to UV exposure, heat, and environmental factors, leading to fading, distortion, and reduced effectiveness. Regular maintenance involves inspecting for damage. If discoloration, peeling edges, or distorted views are noticed, prompt action is crucial with professional Tesla tint replacement services to prevent further degradation. Choosing high-quality materials offering UV protection, heat rejection, and clear visibility is paramount. Replacing Tesla window tint involves parking in shade, cleaning existing tint, preparing new film, and positioning it precisely over the window.
Looking to restore your Tesla’s faded or distorted window films? You’re not alone. Over time, even high-quality window tints can degrade, losing their effectiveness and aesthetic appeal. This comprehensive guide delves into the intricacies of Tesla tint replacement, offering expert advice on understanding film degradation, selecting superior replacement tints, and providing a step-by-step process to ensure a flawless, like-new finish for your electric vehicle. Discover the secrets to revitalizing your Tesla’s windows with our Tesla tint replacement solutions.
- Understanding Tesla Window Film Degradation
- Choosing the Right Replacement Tint
- Step-by-Step Guide to Tesla Tint Replacement
Understanding Tesla Window Film Degradation
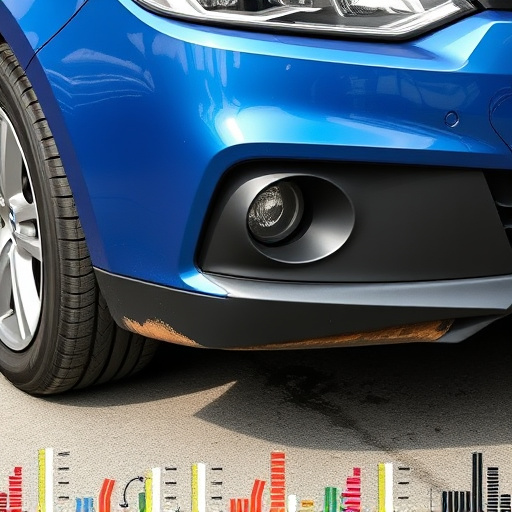
Over time, Tesla window films can degrade, leading to fading or distortion that significantly reduces their effectiveness. This degradation is primarily due to exposure to UV rays, heat, and environmental factors. UV radiation breaks down the chemical bonds in the film, causing colors to fade and the material to become brittle. Heat, especially during extreme temperature fluctuations, can cause the film to shrink or warp, leading to bubbles, cracks, or distortion.
Regular auto maintenance includes checking the condition of window films as a part of routine inspections. If you notice any signs of damage or degradation, such as discoloration, peeling edges, or distorted views, it’s crucial to consider Tesla tint replacement services. Prompt action can prevent further deterioration and ensure optimal visibility and protection from harmful UV rays. Moreover, professional auto repair services specializing in window film replacements can offer scratch repair solutions, restoring the films’ integrity and aesthetic appeal.
Choosing the Right Replacement Tint
Choosing the right Tesla tint replacement is crucial for restoring your vehicle’s window clarity and aesthetics. When selecting a new tint film, ensure it aligns with your specific needs and vehicle model. Look for high-quality materials that offer UV protection, heat rejection, and a clear view—all essential features for modern car owners. The market offers various options, from basic to advanced films, each catering to different levels of privacy and performance.
Consider factors like the level of tint darkness, installation ease, warranty coverage, and brand reputation. With proper research, you can find a Tesla tint replacement that not only enhances your vehicle’s appearance but also provides long-lasting protection against fading or distorted views—a common issue with lower-quality films. Remember, selecting the right auto glass repair solution is key to ensuring both functionality and style for your beloved Tesla.
Step-by-Step Guide to Tesla Tint Replacement
Replacing Tesla window tint is a straightforward process that can restore your vehicle’s original look and functionality. Here’s a step-by-step guide to help you through the process:
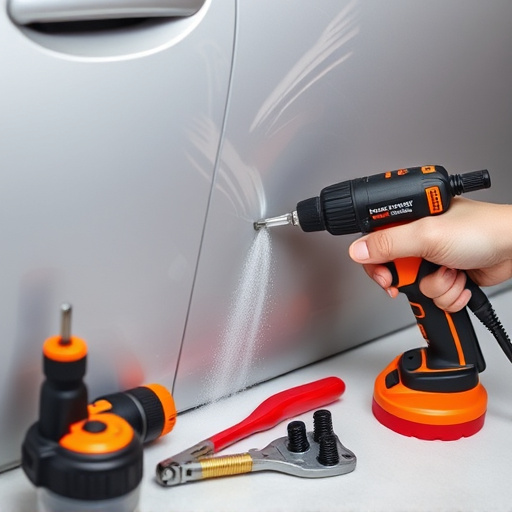
1. Safety First: Park your Tesla in a well-lit, shaded area to avoid any accidental damage during the removal process. Ensure the vehicle is cool to touch, especially if it has been under direct sunlight for extended periods. This prevents burns and improves precision while working. Gather all necessary tools, including a new tint film roll suitable for Tesla models, a sharp knife or cutter, cleaning solutions, and microfibers.
2. Inspect and Prepare: Start by inspecting the existing window tint to identify any tears, bubbles, or dislodged edges. Remove any debris or old adhesive residue using appropriate cleaners and scrapers. Clean the windows thoroughly to ensure new tint adheres well. Remove the protective backing from the new tint film, positioning it carefully over the window, aligning it with the car’s edge.
When dealing with fading or distorted window films on your Tesla, a professional Tesla tint replacement is often the best solution. By understanding the degradation of your current film and choosing the right replacement, you can ensure a perfect fit and optimal performance. Following a simple step-by-step guide, you’ll be able to restore your Tesla’s windows to their original state, enhancing both aesthetics and functionality. For effective and long-lasting results, consider these key steps and select high-quality tint films tailored to your Tesla model.