


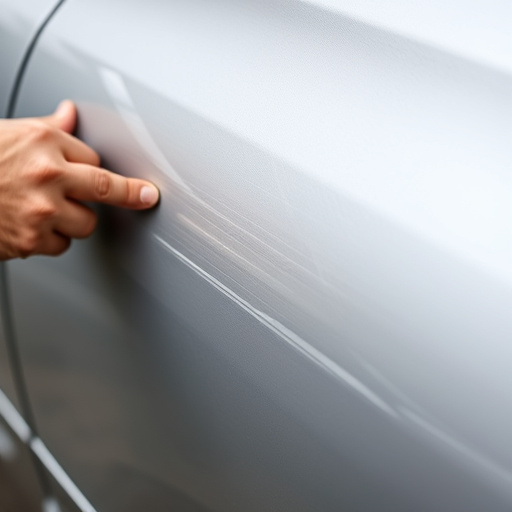
Mercedes interior trim repair for A-pillar fabric sag involves skilled removal of sagging fabric, surface preparation with cleaning and degreasing, using specialized tools and materials like matching fabric patches, automotive-grade glue, and precision scissors. Proper ventilation is crucial. The DIY process includes assessment, drying, warming the fabric, and applying glue to restore visual appeal and structural integrity of the vehicle's interior.
Experience a saggy A-pillar in your Mercedes? Don’t worry, you’re not alone. This common issue can be easily addressed through interior trim repair. In this comprehensive guide, we’ll walk you through understanding the problem, gathering the necessary tools and materials, and providing a step-by-step process for restoring your Mercedes’ fabric trim to its former glory. Learn how to tackle this fix yourself and save on costly dealership repairs.
- Understanding Mercedes A-Pillar Fabric Sag
- Tools and Materials for Repair
- Step-by-Step Guide to Interior Trim Restoration
Understanding Mercedes A-Pillar Fabric Sag

The Mercedes A-Pillar Fabric Sag is a common issue that can significantly detract from the vehicle’s interior aesthetics and comfort. This problem typically manifests as a gradual drooping or sagging of the fabric covering the A-pillars, which are the upright structures on either side of the driver and front passenger windows. Over time, various factors such as exposure to sunlight, frequent use, and even the natural aging process can cause the fabric to lose its tension and elasticity, leading to this sag.
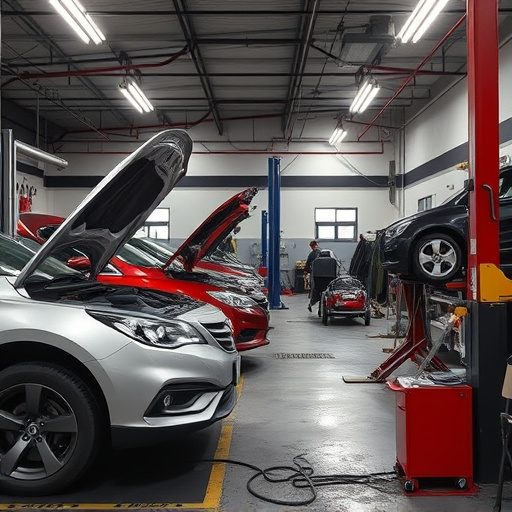
Mercedes interior trim repair for the A-pillar fabric sag involves a meticulous process that requires skilled auto body repairs experts. It often starts with carefully removing the affected fabric to access the underlying structure. The next step is to assess the extent of damage and determine if replacement or reinforcement is necessary. Many collision repair shops offer specialized services for such intricate auto body repairs, ensuring that the vehicle’s interior not only looks as good as new but also retains its structural integrity.
Tools and Materials for Repair

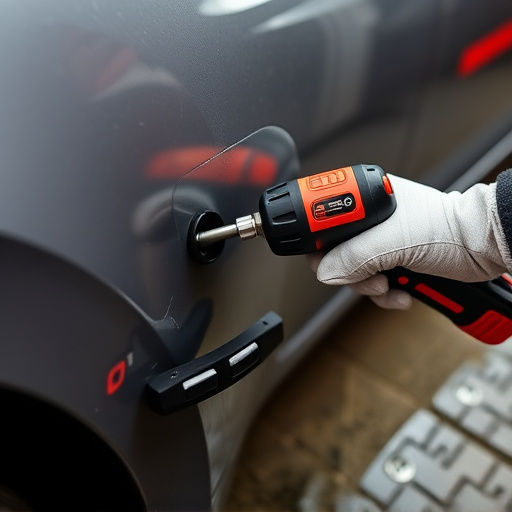
For successful Mercedes interior trim repair, especially for A-pillar fabric sag, a few essential tools and materials are required. This includes high-quality fabric patches or samples that match your vehicle’s exact color and texture, along with appropriate adhesive designed specifically for car interior trim. Additionally, you’ll need precision scissors or a utility knife for trimming the fabric to size, and a smooth surface to ensure even application of the adhesive.
A can of automotive-grade spray adhesive is often recommended for its strong bonding capabilities and resistance to heat and moisture, all while providing an easy-to-use application method. Other useful items include a clean cloth or sponge for wiping away any excess adhesive and a dry, lint-free towel for polishing the repaired area once dry. Remember, proper preparation of the surface is key, so don’t forget to clean and degrease the affected area thoroughly before beginning the repair process. These materials will enable you to undertake effective Mercedes interior trim repair, ensuring your vehicle retains its original look and feel.
Step-by-Step Guide to Interior Trim Restoration

Restoring your Mercedes’s interior trim doesn’t have to be a daunting task. With the right tools and some patience, you can bring those faded or damaged panels back to their former glory. Here’s a step-by-step guide tailored for the A-pillar fabric sag issue common in Mercedes vehicles:
1. Preparation: Begin by gathering all necessary materials including fabric cleaner, a soft cloth, isopropyl alcohol (for cleaning and adhesive), a heat gun or hair dryer, and automotive-grade fabric glue. Ensure your work area is well-ventilated to avoid inhaling any fumes.
2. Assessment: Inspect the damaged area thoroughly. For A-pillar fabric sag, look for signs of loose or missing stitching, frayed edges, or bulging fabric. Take measurements if needed to ensure you have the correct amount of replacement fabric. If the damage is extensive, it might be best to consult a professional car body shop for more complex repairs like car dent repair.
3. Cleaning: Use the fabric cleaner and a soft cloth to clean the affected area gently. Remove any dirt or debris that might hinder the repair process. A solution of isopropyl alcohol and water can also help restore the fabric’s color and texture.
4. Drying: Allow the cleaned area to dry completely using a hair dryer on low heat, ensuring not to overheat the fabric. Once dry, you’re ready for the next step.
5. Repair: Using the heat gun or hair dryer, gently warm the sagged fabric to make it more pliable. Carefully apply the automotive-grade glue along the seams and edges, replicating the original stitching pattern as closely as possible. Allow the glue to dry according to the manufacturer’s instructions.
Mercedes interior trim repair, specifically for A-pillar fabric sag, is a feasible DIY project for car enthusiasts. By understanding the issue, gathering the right tools and materials, and following a step-by-step guide, you can successfully restore your Mercedes’ interior trim, enhancing its aesthetic appeal and ensuring a comfortable driving experience. Remember, proper care and timely intervention can keep your vehicle’s interior looking vibrant and luxurious.