


After a curb or door impact, skilled technicians assess Mercedes aluminum trim damage using visual, digital, and impact testing for accurate repairs. Preparation includes inspecting, cleaning, organizing tools, and materials. This guide covers damage assessment to reassembling removed parts, focusing on both DIY and professional restoration for aesthetic appeal and structural integrity.
“Experience a bump in your Mercedes’ smooth ride? Discover how to tackle curb or door impacts that leave your vehicle’s aluminum trim damaged. This guide delves into the process of repairing Mercedes aluminum trim efficiently and effectively. From assessing dents and scratches to preparing the surface and following a step-by-step repair method, we provide insights for optimal results. Revive your Mercedes’ aesthetic appeal with expert advice on Mercedes aluminum trim repair.”
- Assessing Damage: Curb or Door Impact on Mercedes Aluminum Trim
- Preparing the Repair Process for Optimal Results
- Step-by-Step Guide to Restoring Mercedes Aluminum Trim After Impact
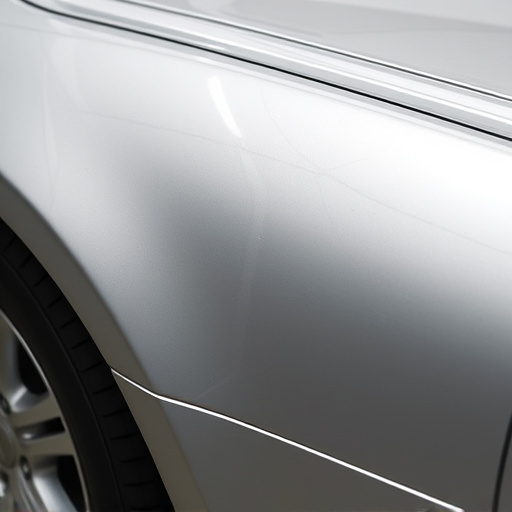
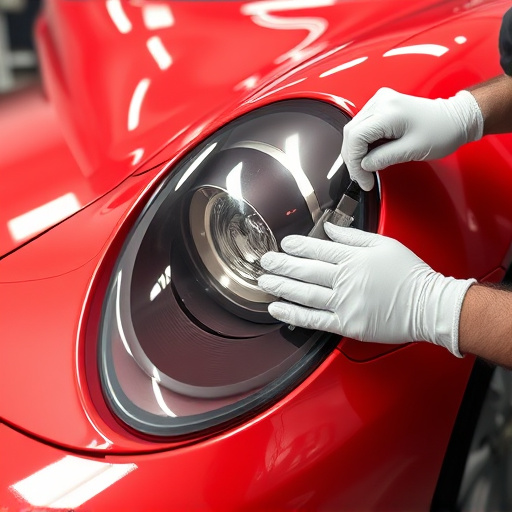
Assessing Damage: Curb or Door Impact on Mercedes Aluminum Trim

After a curb or door impact, assessing damage to Mercedes aluminum trim is crucial for effective repairs. The first step involves thoroughly inspecting the affected area to identify any dents, cracks, or deformations. Aluminum’s inherent malleability can sometimes conceal deeper issues, so it’s essential to use specialized tools and expertise to detect hidden damage. Technicians skilled in Mercedes aluminum trim repair will employ techniques like visual examination, digital measuring, and even impact testing to ensure every dent is located and measured accurately.
Given the precision required for automotive restoration, especially on a high-end vehicle like a Mercedes, proper evaluation prevents unnecessary repairs and costly oversights. This meticulous process forms the foundation for effective vehicle collision repair, ensuring that not only the visible trim but also the structural integrity of the vehicle remains intact. Auto maintenance at this level demands attention to detail and adherence to manufacturer standards for optimal performance and longevity of the repaired components.
Preparing the Repair Process for Optimal Results

Before starting any Mercedes aluminum trim repair, it’s crucial to prepare the process for optimal results. Begin by thoroughly inspecting the damaged area and gathering all necessary tools and materials. Remove loose debris and ensure the surface is clean and free from contaminants. This step is vital as it prevents any issues during the repair that could compromise the final finish.
For a successful auto repair near me, especially in car body restoration cases, preparation is key. Consider using specialized cleaners and primers designed for aluminum to maintain the material’s integrity. Make sure your work area is well-lit and organized to avoid mistakes. With meticulous planning and the right resources, you’ll be better equipped to handle Mercedes aluminum trim repair effectively.
Step-by-Step Guide to Restoring Mercedes Aluminum Trim After Impact

Restoring Mercedes aluminum trim after impact involves a meticulous process to ensure the vehicle’s aesthetic appeal and structural integrity. Here’s a step-by-step guide for owners aiming to undertake this repair themselves or understand what to expect from professionals.
1. Assess the Damage: Begin by inspecting the affected area thoroughly. Identify the extent of the dent, bend, or scratch on the aluminum trim. Take note of any surrounding damage, especially to the paint and panel alignment. This step is crucial for accurate material estimation and ensuring a seamless finish during repair.
2. Clean and Prepare the Surface: Before repairing, clean the damaged area and its surroundings using a mild detergent and soft cloth. Remove any debris or contaminants that could interfere with adhesion. If necessary, use fine-grit sandpaper to smooth out rough edges, but be cautious not to deepen the dent. A clean, dry surface is essential for successful bonding during the repair process.
3. Remove Damaged Trim: Depending on the severity, you may need to disassemble affected components to gain access to the underlying damage. Use appropriate tools and refer to your vehicle’s service manual if needed.
4. Straighten and Shape (if necessary): For bent trim, employ techniques like air compression or specialized tools to return the metal to its original form. Ensure the trim is now flush with the surrounding panel.
5. Apply Filler and Sand: Use a high-quality automotive body filler suitable for aluminum. Apply it in thin layers, following the manufacturer’s instructions. Once set, sand the area smoothly using progressively finer grits until the surface matches the adjacent panels.
6. Prime and Paint: Prepare the restored area by applying an undercoat or primer to ensure proper paint adhesion. Allow it to dry completely. Then, use a high-quality automotive paint specifically designed for aluminum, matching your vehicle’s original color as closely as possible. Apply thin, even coats, letting each layer cure before adding the next.
7. Reassemble (if removed): After the final coat has dried and cured, carefully reassemble any dismounted trim components, ensuring a secure fit.
After thoroughly understanding the impact process and preparation, restoring damaged Mercedes aluminum trim is now within reach. By following a systematic approach outlined in this guide, you can achieve exceptional results that match the original craftsmanship. Remember, prompt action after an incident is crucial for the best outcomes. With dedication and the right tools, you’ll successfully repair your Mercedes’ aluminum trim, ensuring it regains its sleek and vibrant appearance.