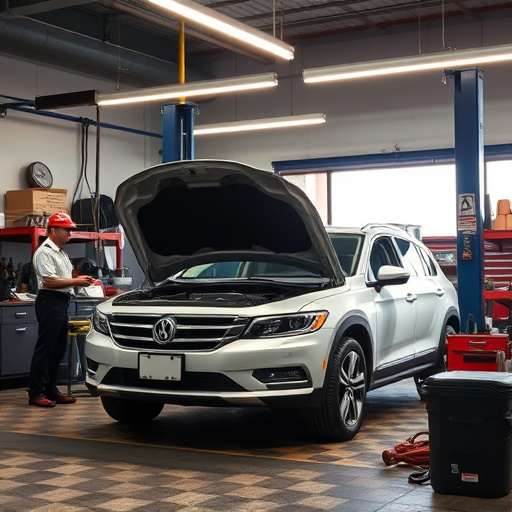


- Evaluating Metallic Paint Damage
- Preparation and Surface Repair
- Application and Finishing Techniques
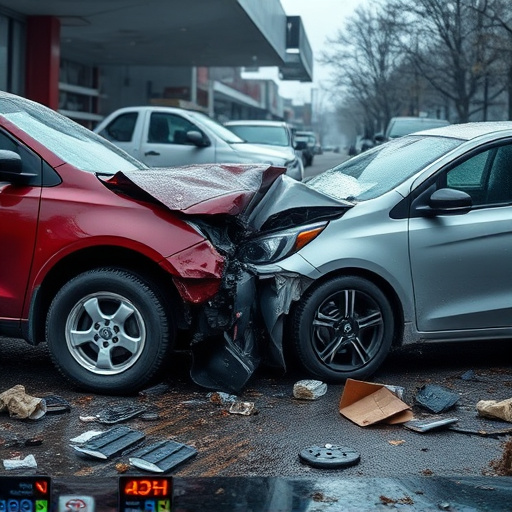
Evaluating Metallic Paint Damage

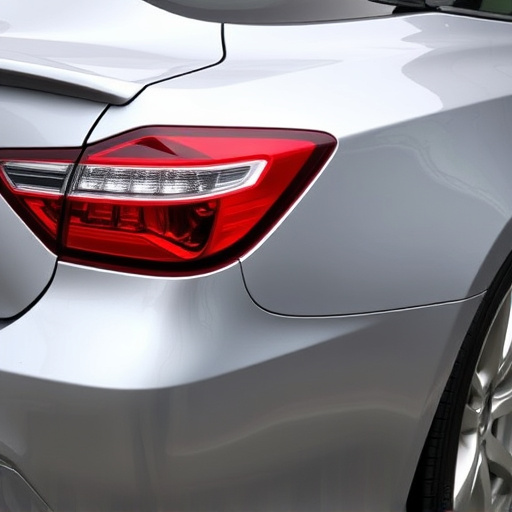
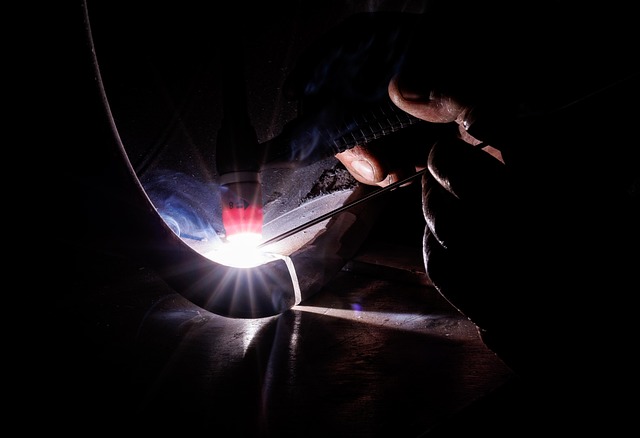
Evaluating metallic paint damage is a crucial step in any auto body restoration process. Start by examining the affected area for chips, cracks, or peeling. These defects can range from minor cosmetic issues to more significant structural problems that require professional intervention. Look for uneven surfaces, flaking pigments, or discolored patches, as these are signs of advanced paint damage.
Using a flashlight and a magnifying glass can help you get a closer look at the extent of the damage. Check for pitting, where small depressions form in the metal surface due to corrosion or improper application of paint. In severe cases, professional car bodywork services might be necessary to reshape the panel, fill gaps, and ensure a seamless blend with the rest of the vehicle’s paint job. For less extensive damage, metallic paint repair techniques can effectively restore the car’s original finish, enhancing its aesthetic appeal and protective properties.
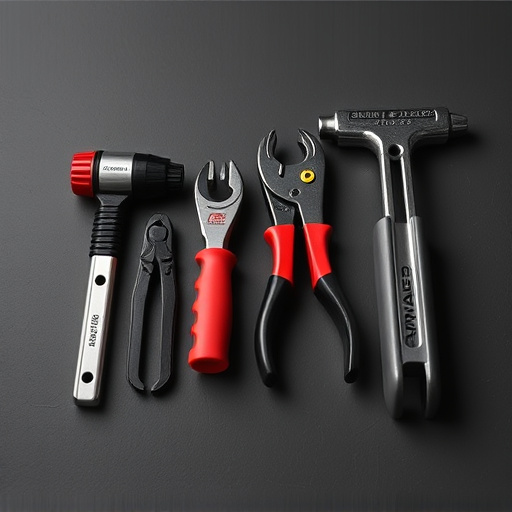
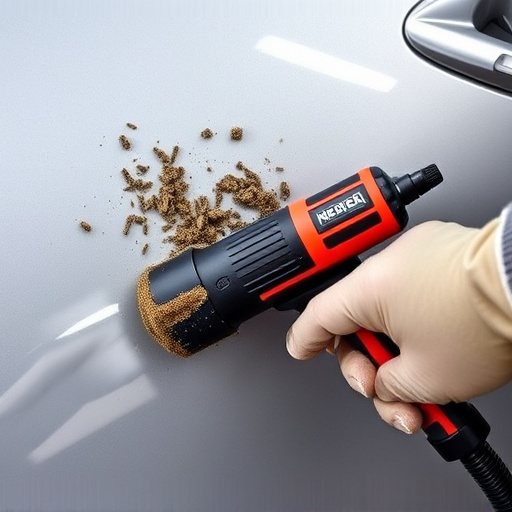
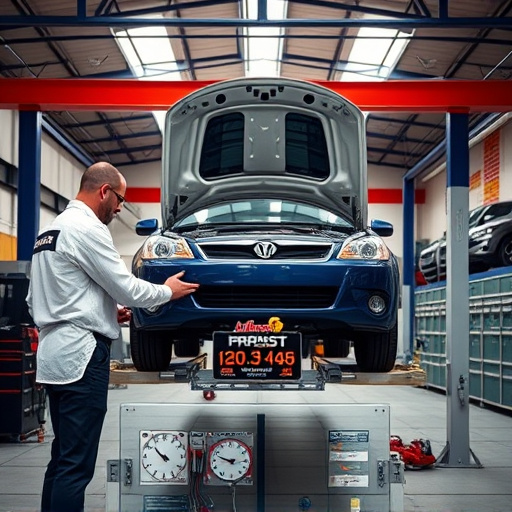
Preparation and Surface Repair
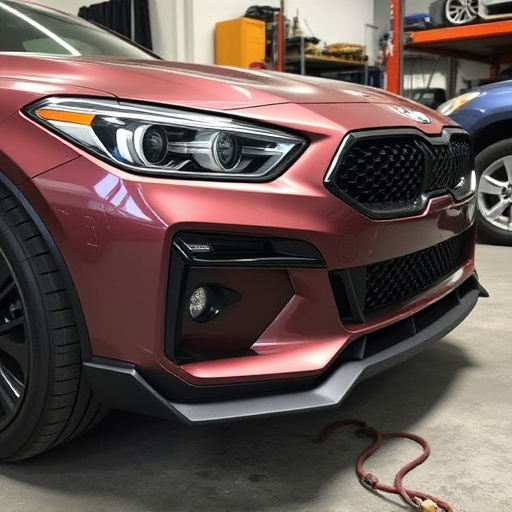
Before tackling any metallic paint repair, preparation is key. This involves thoroughly cleaning the damaged area to remove any dirt, grease, or debris that could compromise the new paint job. Use a mild detergent and a microfiber cloth for this process, ensuring you rinse well and dry completely. If there are any dents or scratches, addressing them early on with techniques like paintless dent repair can prevent further damage and make the metal surface smoother for painting.
For optimal results in car body restoration, consider sanding down the affected area to ensure a smooth base. Use fine-grit sandpaper to avoid damaging the surrounding metal. Fill any gaps or imperfections with an appropriate filler compound, allowing it to dry completely before moving forward. This step is crucial as it provides a level surface for your metallic paint repair, ensuring the final coat looks seamless and professional when compared to the rest of the vehicle’s body, especially in an automotive body shop setting.
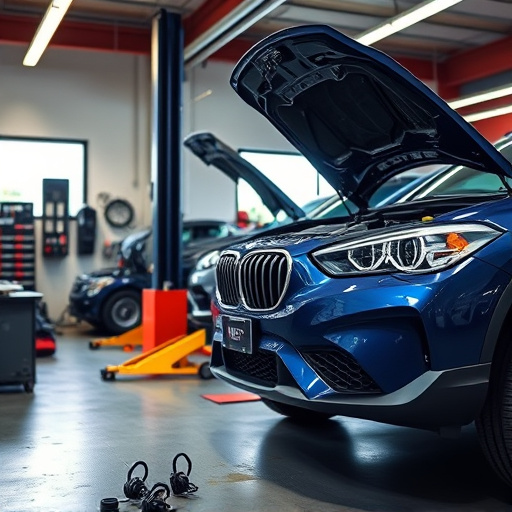
Application and Finishing Techniques
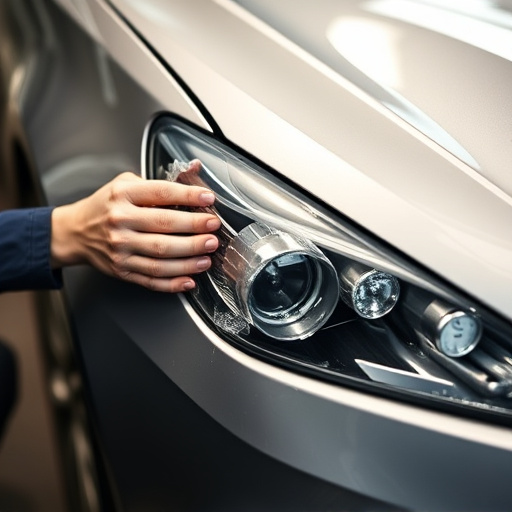
When it comes to metallic paint repair, the application and finishing techniques are crucial for achieving a professional result that matches the car’s original finish. After preparing the damaged area, apply an undercoat specifically designed for metallic paints. This layer ensures optimal adhesion and helps in hiding any underlying imperfections. Allow this base coat to dry completely according to the manufacturer’s instructions.
Next, it’s time to add the metallic top coat. Use a high-quality metallic paint that closely matches the car’s original color. Apply thin, even coats, allowing each layer to dry before adding the next. This meticulous process ensures a smooth, glossy finish that showcases the metal’s unique properties. Once the final coat is dry, use fine-grit sandpaper to buff out any minor imperfections, revealing a flawless metallic paint repair that can rival the work of a top car body shop.
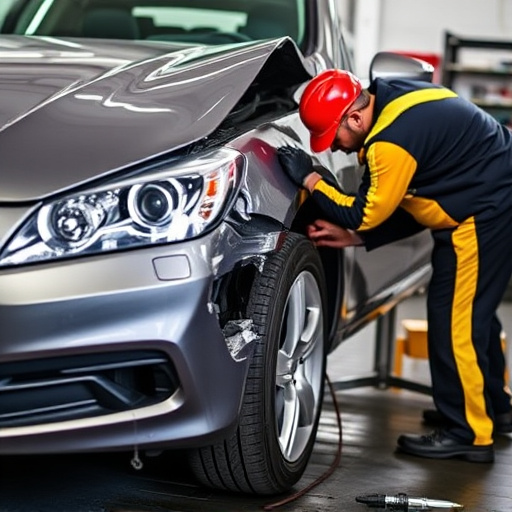
Metallic paint repair is a meticulous process that, when executed correctly, can revive vehicles or fixtures with damaged or faded metallic finishes. By understanding how to evaluate metallic paint damage, prepare and repair surfaces, and apply finishing techniques, you’re well-equipped to tackle minor repairs yourself or recognize when professional assistance is needed. Remember, the right tools, preparation, and attention to detail are key to achieving a flawless, durable finish that restores your metallic surfaces to their former glory.