


Tesla's multi-coat paint system offers superior durability and aesthetics. Repairs require understanding the intricate structure of topcoat, primer, base coat, and clear coat. Prioritize high-quality yet affordable tools like paint brushes, sandpaper, and ladders for efficient, cost-saving repairs. This guide outlines a strategic process: assess damage, gather tools, remove debris, sand surface, apply matching multi-coat and clear coat, then reattach panel to restore Tesla fender to like-new condition.
Looking to restore your Tesla’s sleek finish on a limited budget? This guide is your perfect companion. We’ll walk you through the intricacies of the Tesla multi-coat paint system and provide a cost-effective approach to repairs. Armed with the right tools and materials, you can efficiently fix minor scratches and swirls without breaking the bank. Get ready for a DIY transformation that will leave your Tesla’s paint job looking as good as new.
- Understanding Tesla Multi-Coat Paint System
- Budget-Friendly Tools and Materials Required
- Step-by-Step Guide to Efficient Repair Process
Understanding Tesla Multi-Coat Paint System
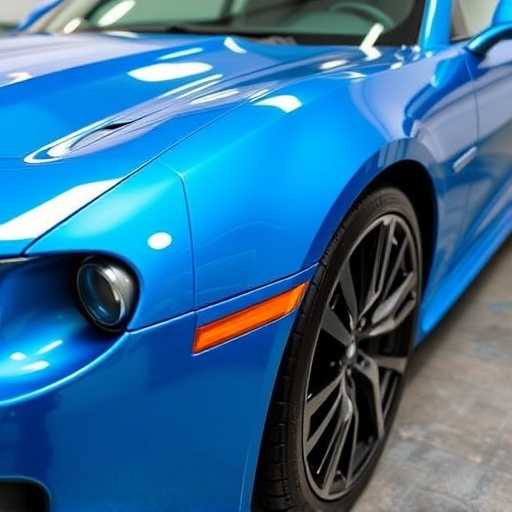
Tesla’s multi-coat paint system is renowned for its durability and glossy finish, setting a new standard in automotive aesthetics. This sophisticated process involves multiple layers of paint designed to protect the vehicle’s surface from chipping, scratching, and fading. Each coat serves a specific function, enhancing both the visual appeal and longevity of the car’s exterior. Understanding this intricate system is crucial when considering Tesla multi-coat paint repair, especially on a tight budget.
The topcoat, the outermost layer, provides the vibrant color and glossy finish we associate with Tesla vehicles. Beneath it lies a series of intermediate coats that include primer, base coat, and sometimes clear coat, each contributing to the overall protection and durability. Repairing damaged areas requires careful consideration of these layers. For instance, when dealing with minor dents or scratches, only the topcoat might need replacement, while more extensive damage could necessitate repairing or replacing multiple coats, akin to a Mercedes-Benz repair that prioritizes both functionality and aesthetics.
Budget-Friendly Tools and Materials Required
When tackling Tesla multi-coat paint repair on a tight budget, it’s crucial to be strategic about your tools and materials. Opt for high-quality yet cost-effective options designed specifically for precision painting tasks. For instance, a set of budget-friendly paint brushes in various sizes will allow you to reach every nook and cranny, ensuring a professional finish without breaking the bank. A cheap yet effective ladder or scaffolding system is essential for accessing higher areas, facilitating efficient work.
Additionally, securing an affordable sandpaper kit with different grit levels is vital for preparing the surface before painting. For collision damage repair or even classic car restoration projects, having these essentials on hand ensures that you can effectively address minor dents and scratches. Remember, while investing in quality tools might seem counterintuitive when working with a limited budget, they’ll save you time and money in the long run, making your Tesla multi-coat paint repair process smoother and more successful.
Step-by-Step Guide to Efficient Repair Process
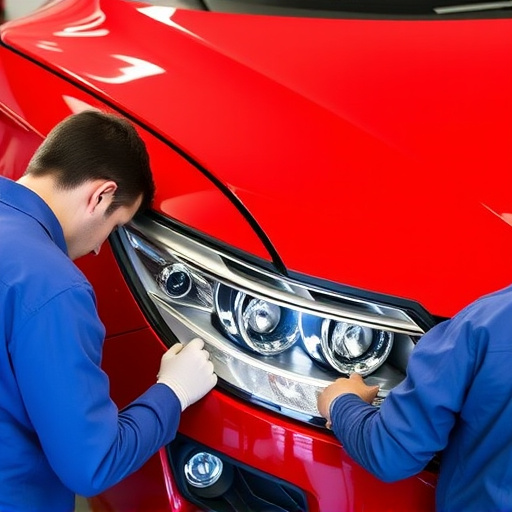
Repairing Tesla’s multi-coat paint without breaking the bank requires a strategic approach. Here’s a step-by-step guide to ensure an efficient process. First, assess the damage – whether it’s a small dent or a larger chip – and gather the necessary tools, including a high-quality dent removal tool, sandpaper, and multi-coat paint for matching color. Begin by removing any debris from the damaged area using a vacuum cleaner. Next, gently pry out the dented panel with the tool, taking care not to damage surrounding panels or paint. After successfully lifting the panel, clean the area thoroughly to remove any dirt or grease.
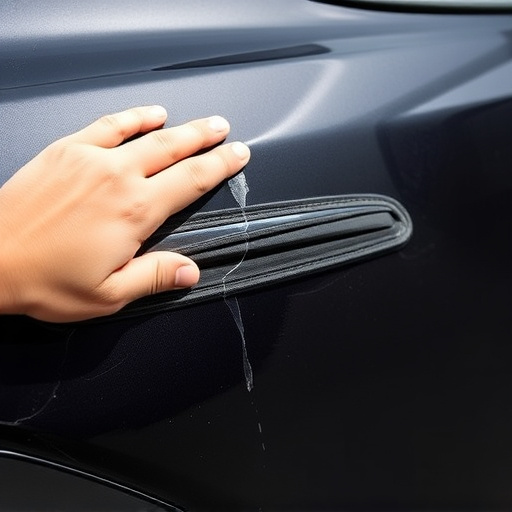
Now, it’s time for sanding. Lightly sand the affected surface to create a rough texture, enabling better paint adhesion. This step is crucial for achieving a seamless finish later on. Once sanded, wipe away dust and ensure the panel is dry. Apply the multi-coat paint using a small brush or spray gun, matching the original color as closely as possible. Allow the base coat to dry completely before adding clear coat for protection and shine. Finally, reattach the panel and enjoy your restored Tesla with a fraction of the cost spent at a car body shop, focusing on fender repair.
Tesla’s multi-coat paint system requires careful attention for effective repairs, especially on a tight budget. By understanding the process and utilizing affordable tools and materials, you can achieve notable results without breaking the bank. Following a structured guide ensures efficiency, allowing you to navigate the repair process with confidence. Armed with knowledge and the right resources, tackling Tesla multi-coat paint repair is now more accessible than ever.