
Tesla panel gap restoration involves identifying misalignments from manufacturing or environmental factors through visual inspection. Essential tools include gap fill compounds, sandpaper, safety gear, and an air compressor for precise removal and blending. Meticulous application of sealant, realignment, and wiping away excess ensures aesthetic appeal, structural integrity, and protection against environmental damage.
“Discover how to expertly adjust Tesla panel gaps with our comprehensive guide. Learn about the common causes of these misalignments and conduct a visual inspection to identify problem areas. Equip yourself with the right tools and materials for a successful restoration. Follow our step-by-step instructions to achieve a precise, seamless finish—like a professional technician. Master the art of Tesla panel gap restoration today!”
- Understanding Tesla Panel Gaps: Causes and Visual Inspection
- Tools and Materials Required for Restoration
- Step-by-Step Guide to Adjusting and Sealing Panel Gaps Like a Pro
Understanding Tesla Panel Gaps: Causes and Visual Inspection
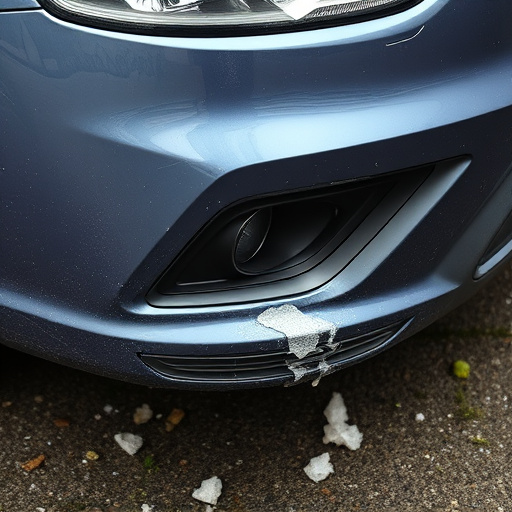
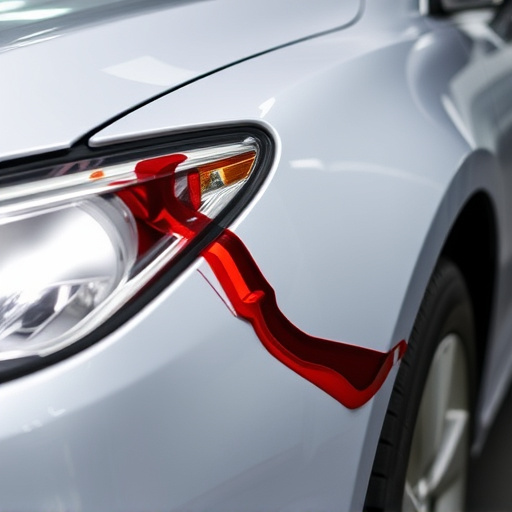
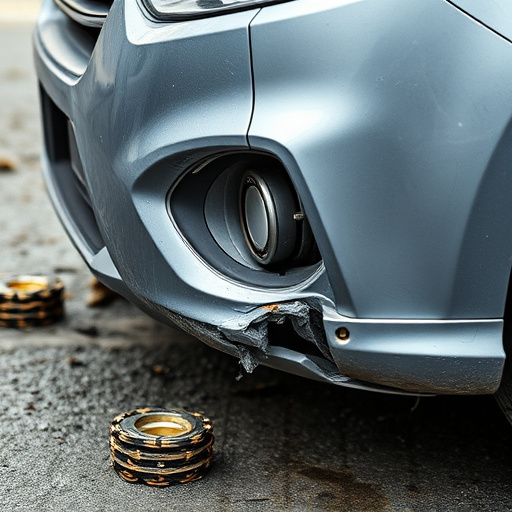
Tesla vehicles are renowned for their sleek and modern design, but like any car, they can develop panel gaps over time. These gaps refer to the small openings or misalignments between car panels, particularly around doors, trunks, and hoods. While some minor gaps may be acceptable, significant ones can impact the vehicle’s aesthetics and even affect its performance. Understanding the causes of these gaps is the first step towards effective restoration.
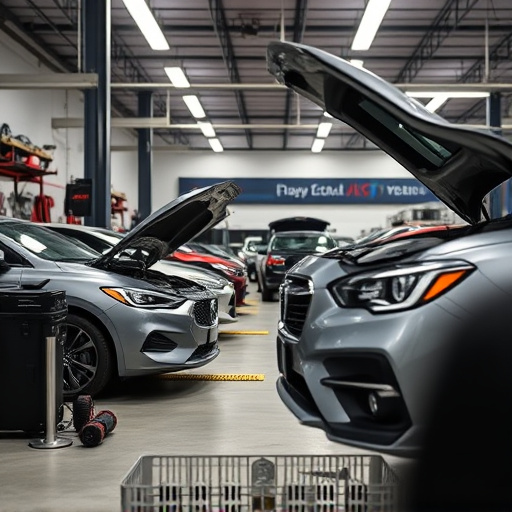
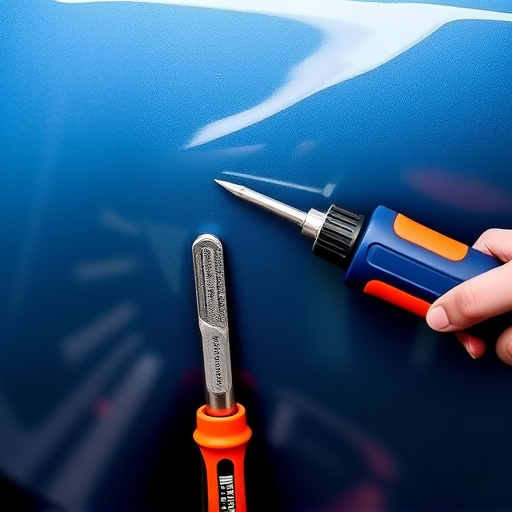
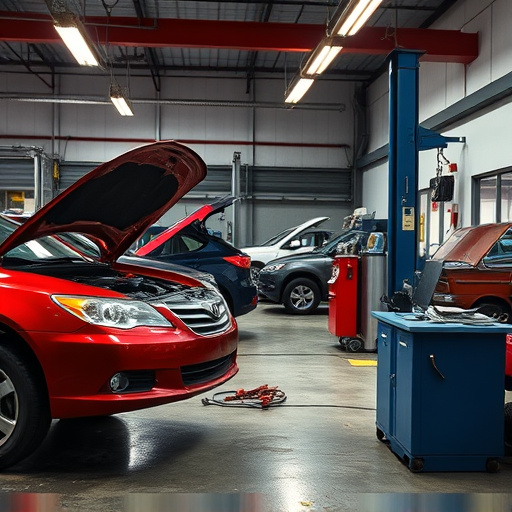
During the manufacturing process, various factors can contribute to panel gaps, including body panel misalignment, improper painting or sealing, and even environmental conditions. A visual inspection is crucial to identifying the extent of the issue. Technicians should carefully examine the exterior, looking for any visible misalignments, uneven edges, or spaces between panels. This initial assessment will guide the restoration process, whether it involves simple adjustments or more complex repairs, similar to what you’d find in an auto body shop offering Mercedes Benz collision repair services.
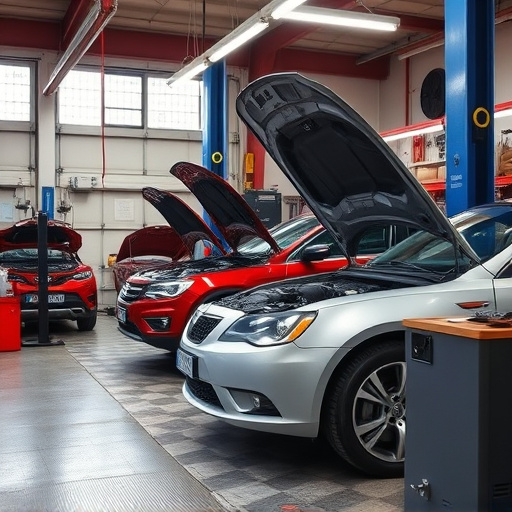
Tools and Materials Required for Restoration
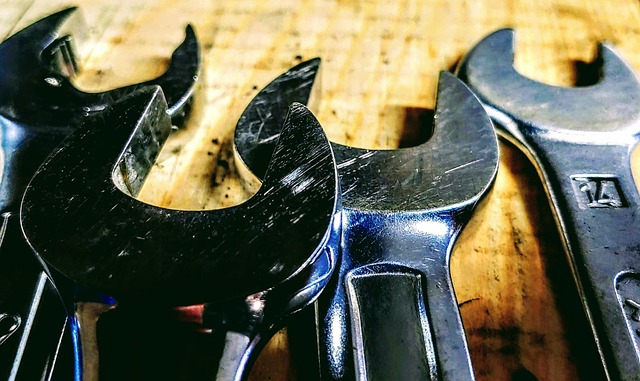
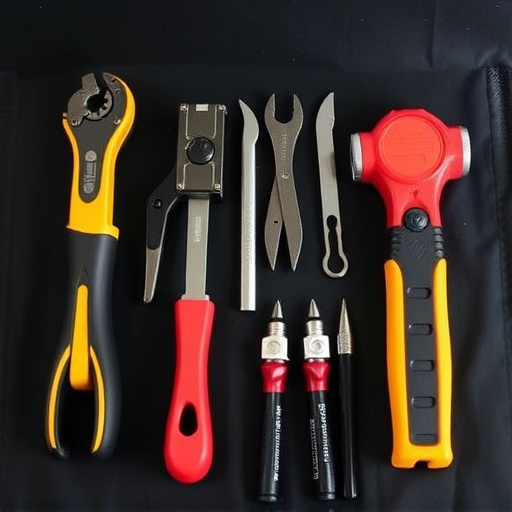
To successfully restore Tesla panel gaps like a technician, several specific tools and materials are essential. Begin with high-quality gap fill compounds designed for automotive restoration, ensuring they match your vehicle’s paint finish precisely. This will help seamlessly blend any repairs, creating an indistinguishable finish. Next, secure fine-grit sandpaper in various sizes to smoothen the surface after application, achieving a flawless fit. A detailed detailing brush is crucial for applying the compound into tight spaces and intricate contours, resulting in clean lines.
Don’t forget safety gear, including gloves and protective goggles, as these are non-negotiable for any vehicle repair services or auto restoration tasks. Additionally, prepare an array of scrapers and tools to remove excess material accurately. Lastly, a reliable air compressor will aid in the application process, ensuring efficient and effective Tesla panel gap restoration. These materials empower you to perform meticulous work, reflecting professional auto repair services standards.
Step-by-Step Guide to Adjusting and Sealing Panel Gaps Like a Pro
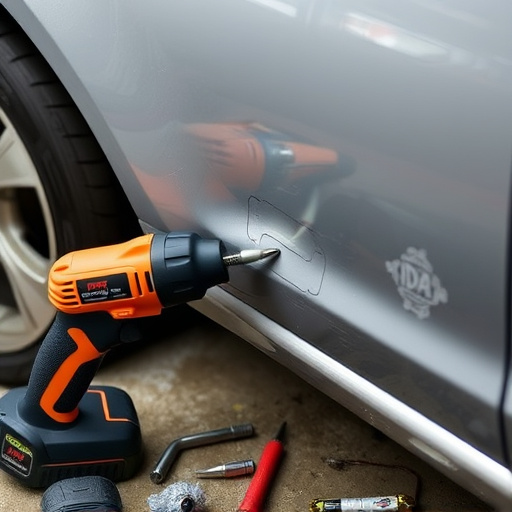
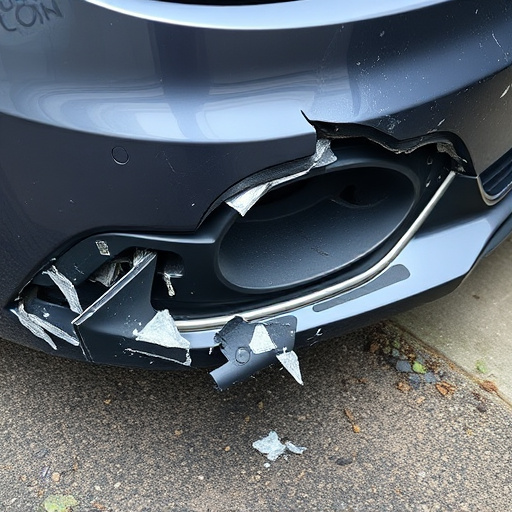
Adjusting Tesla panel gaps like a technician involves a meticulous process that ensures your vehicle’s exterior looks as sleek and professional as when it left the factory. Start by gathering all necessary tools, including a gap gauge, high-quality sealants, and a clean microfiber cloth. Next, inspect the panels for any loose or misaligned sections, taking note of their location and extent. Using the gap gauge, measure the spaces between the panels, aiming to achieve the manufacturer’s recommended gap specifications.
Apply a thin layer of sealant along the edges of the gaps using a small tool or spatula, being careful not to overapply. Allow the sealant to set according to the product instructions, then gently press the panels back into place if they’ve shifted during the application process. Once cured, use a dry microfiber cloth to wipe away any excess sealant and inspect your work for a seamless finish. Remember, precise alignment and proper sealing are crucial for both aesthetic appeal and long-lasting protection against elements that can cause panel gaps to widen over time, making professional auto body services invaluable for maintaining your Tesla’s curb appeal and structural integrity.
Adjusting Tesla panel gaps is a skill that can significantly enhance the vehicle’s aesthetics. By understanding the causes of these gaps and utilizing the right tools, you can restore your Tesla to its original, seamless look. The step-by-step guide provided offers a practical approach for DIY enthusiasts or professionals alike, ensuring efficient panel gap restoration. With the right techniques, maintaining a flawless finish on your Tesla is achievable, making it a valuable resource for anyone aiming for a pristine vehicle appearance.