


Tesla owners should inspect and maintain their vehicles' front trunks (frunks) to prevent water damage, mechanical issues, and collision-related problems. Common repairs include DIY or professional Tesla frunk repair for seal failures, mechanical malfunctions, and bent panels, using relevant keywords like 'Tesla front trunk repair'. Timely action minimizes stress and ensures a positive delivery experience.
Ensuring a smooth delivery day is every Tesla owner’s priority. However, common issues with the vehicle’s front trunk can cause delays and frustration. This comprehensive guide tackles “Tesla front trunk repair,” offering insights into identifying and rectifying delivery day challenges. From understanding basic front trunk problems to providing a detailed step-by-step repair process, we equip you with the knowledge to address these issues efficiently. By following these tips, you’ll be better prepared for a hassle-free delivery experience.
- Understanding Common Tesla Front Trunk Issues
- Preparing for Delivery Day: Troubleshooting Tips
- Step-by-Step Guide to Tesla Front Trunk Repair
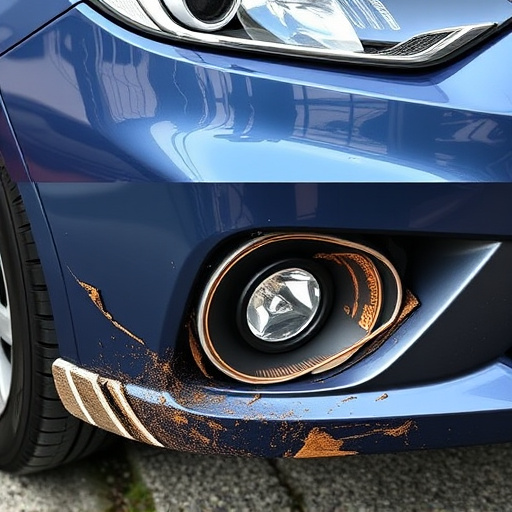
Understanding Common Tesla Front Trunk Issues

Tesla owners often pride themselves on the sleek and futuristic design of their vehicles, but like any car, the front trunk (or frunk) can experience issues over time. Understanding common problems can help buyers anticipate potential challenges and ensure a smoother delivery day experience. One prevalent issue is the seal failure, which can lead to water intrusion and damage to the sensitive components stored inside the frunk. This problem may require professional Tesla front trunk repair services to fix properly.
Another frequent concern is the mechanical malfunction of the opening and closing mechanism. The complex system that allows the frunk to open and close smoothly can sometimes fail due to wear and tear, requiring auto maintenance experts to intervene. Moreover, collision repair services might be needed if the front trunk sustains damage during a crash, ensuring the safety and functionality of this essential vehicle component.
Preparing for Delivery Day: Troubleshooting Tips

On Delivery Day, ensure a smooth and hassle-free experience by preparing in advance for any potential issues that might arise with your Tesla’s front trunk. One common problem new owners often encounter is a damaged or misaligned front trunk lid, which can be frustrating but easily addressable. Before taking delivery, inspect the vehicle thoroughly, checking for any signs of dents, scratches, or misalignments around the front trunk area. If you notice any issues, take pictures as evidence and communicate them to the dealer; they should be able to arrange for a Tesla front trunk repair or replacement before you drive off the lot.
For minor dents or nicks that might occur during transit, have a car dent removal kit readily available. These kits are easy to use and can quickly fix small dings and creases. For more significant damage, such as bent panels or fender repairs, it’s best to consult a professional auto body repair shop familiar with Tesla models. They can perform the necessary repairs accurately and ensure your vehicle returns to its pristine condition. Remember, proper preparation and quick action can make all the difference in ensuring a stress-free delivery day experience with your new Tesla.
Step-by-Step Guide to Tesla Front Trunk Repair

Performing a Tesla front trunk repair is surprisingly straightforward for owners facing delivery day issues or minor damage. Here’s a step-by-step guide to help you through the process, ensuring your vehicle looks like new again. Start by parking your Tesla on a level surface and engaging park brake. Next, gather your tools: a set of screwdrivers, a new front trunk panel (if needed), and some high-quality automotive paint and primer.
Remove the existing damaged panel carefully using a screwdriver. Take note of any screws that might be reused; otherwise, replace them with new ones from the spare parts kit. Clean the area thoroughly to ensure optimal adhesion for the new panel. Once prepared, install the replacement panel, securing it with screws. Finally, patch and paint over any gaps or imperfections using automotive-grade paint and primer, matching the Tesla’s original finish. This DIY approach can save time and costs, but remember, if you’re not comfortable tackling such a repair yourself, consider visiting a reliable car body shop for professional assistance.
When you receive your new Tesla, ensuring a smooth delivery day experience is paramount. One common issue that owners often face is problems with their vehicle’s front trunk (frunk). By understanding the typical frunk issues and following practical troubleshooting tips prior to delivery, you can be better prepared. Moreover, our detailed step-by-step guide for Tesla front trunk repair equips you with the knowledge to tackle these challenges efficiently. With these strategies in hand, you’ll be well on your way to a hassle-free delivery and a reliable electric vehicle experience.