
Tesla glass replacement involves assessing damage, choosing between repair or full replacement with correct glass type for model safety and performance. Proper preparation, including tool gathering, frame cleaning, and panel removal, is crucial for precise alignment, secure sealing, and final inspection to ensure seamless fit enhancing aesthetics and structural integrity.
Looking to replace your Tesla’s glass? Discover the best practices from experts for a seamless, safe, and cost-effective process. Learn about the nuances of the Tesla glass replacement process, from understanding your vehicle model-specific requirements to selecting high-quality glass that matches original equipment standards. We’ve also included a step-by-step guide to ensure efficient installation.
- Understanding Tesla Glass Replacement Process
- Choosing the Right Glass for Your Model
- Step-by-Step Guide to Efficient Installation
Understanding Tesla Glass Replacement Process

When it comes to Tesla glass replacement, understanding the process is key to ensuring top-quality repairs. The first step involves assessing the damage and determining whether the glass can be repaired or needs complete replacement. This assessment often includes inspecting the crack or chip’s size, location, and severity. In many cases, minor cracks and chips can be repaired using advanced resin technologies, which not only restore the glass to its original state but also enhance its strength.
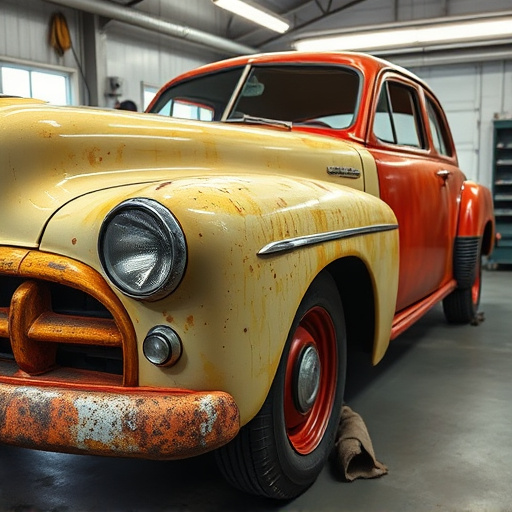
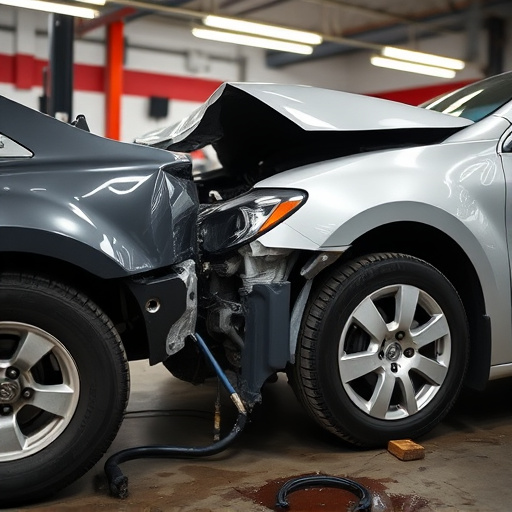
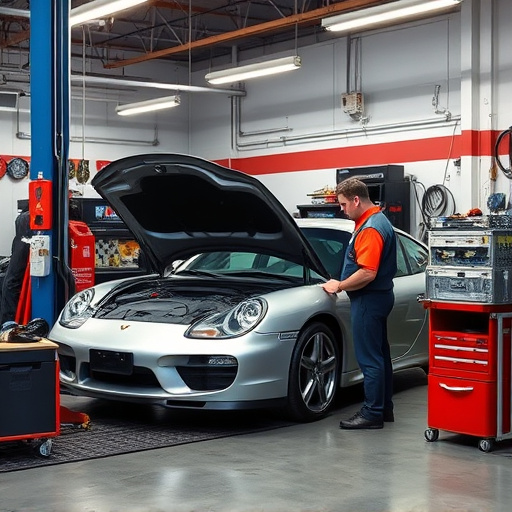
For more extensive damage, a full Tesla glass replacement is necessary. This process involves removing the damaged glass from the vehicle, preparing the frame, and then installing new, high-quality glass panels that match the original specifications. Auto painting services may be required if the surrounding areas have been affected by the damage, ensuring a seamless finish that complements the car’s overall aesthetics. Reputable auto repair services, including those specializing in Tesla vehicles, will employ trained technicians who follow best practices to guarantee both functionality and safety.
Choosing the Right Glass for Your Model

When considering Tesla glass replacement, selecting the appropriate glass for your specific model is paramount. Different Tesla vehicles come equipped with various glass types and specifications, designed to meet unique safety and performance standards. For instance, the Model S might require tempered glass known for its strength and ability to shatter into small, non-lethal pieces in a collision, while the Model 3 may benefit from laminated glass that offers superior sound insulation and structural integrity.
Choosing the right glass type ensures not only optimal safety but also enhances the vehicle’s overall performance. Professional installers recommend consulting your Tesla owner’s manual or reaching out to authorized service centers for guidance on the suitable replacement glass. Properly sourced and installed glass can significantly contribute to the longevity of your vehicle, preventing future car damage repair issues and ensuring a seamless driving experience within the realm of collision repair services.
Step-by-Step Guide to Efficient Installation
When it comes to Tesla glass replacement, a well-planned and executed installation process is key to achieving optimal results. Here’s a step-by-step guide for an efficient and seamless fit:
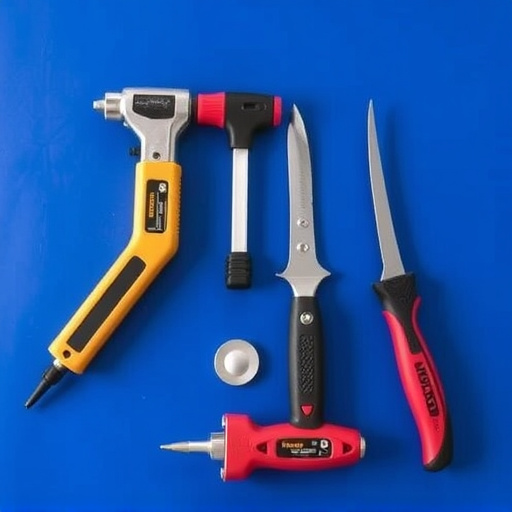
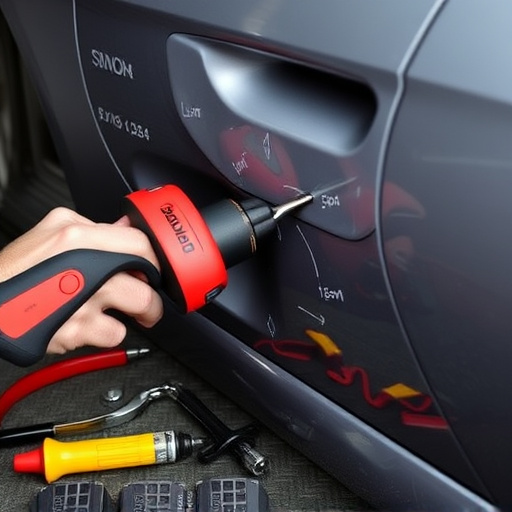
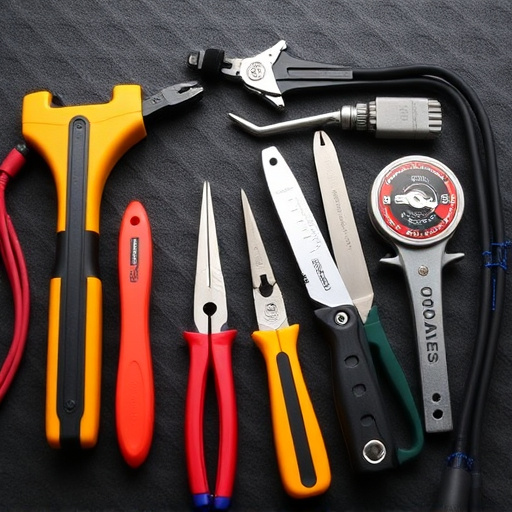
1. Preparation: Begin by gathering all necessary tools and materials, including the new Tesla glass panel, sealing compounds, and any hardware specific to your vehicle model. Ensure proper ventilation in the work area. Remove any debris or contaminants from the existing frame to create a clean surface for installation. This step is crucial for a secure fit and long-lasting seal.
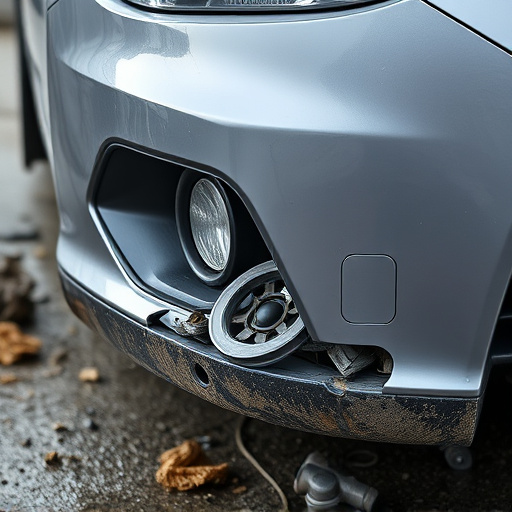
2. Removal and Installation: Carefully remove the old glass panel, taking note of its positioning and any associated components. Inspect the car bodywork for any damage or misalignments that may require repair before proceeding. Insert the new glass panel into the frame, aligning it precisely with the vehicle’s structure. Use a suitable adhesive or sealing compound around the edges to secure the glass in place. Follow manufacturer guidelines for curing times to ensure a robust bond. Once cured, inspect for any gaps or misalignments and make adjustments as needed. This meticulous approach guarantees a perfect fit, enhancing both the aesthetic appeal and structural integrity of your Tesla’s car bodywork.
When it comes to Tesla glass replacement, understanding the process, selecting the right material for your specific model, and following a step-by-step installation guide are key practices recommended by experts. By adhering to these best practices, you can ensure a seamless and secure fit, enhancing both the functionality and aesthetic appeal of your Tesla. Remember, proper glass replacement not only improves visibility but also contributes to overall vehicle safety.