


Tesla factory finish restoration requires specialized knowledge and precise techniques using certified materials that match OEM specs. This meticulous process includes bumper repair, paintwork, and paintless dent repair (PDR) to maintain durability and aesthetic identity. Restorers follow a step-by-step guide with specialized tools and tailored methods for flawless, factory-like results.
Uncover the art of restoring your Tesla to its original, stunning factory finish. This in-depth guide delves into the meticulous process, revealing why certified materials are paramount for achieving the ‘Gold Standard’ in Tesla restoration. From selecting authentic finishes to following precise steps, every detail matters. Learn how to navigate the intricate journey of revitalizing your electric vehicle’s exterior, ensuring it gleams like new. Master the techniques and choose the best materials for a flawless Tesla factory finish restoration.
- Understanding Tesla Factory Finish: The Gold Standard
- Materials Matter: Certified Restoration Choices
- Step-by-Step Guide to a Perfect Restoration
Understanding Tesla Factory Finish: The Gold Standard
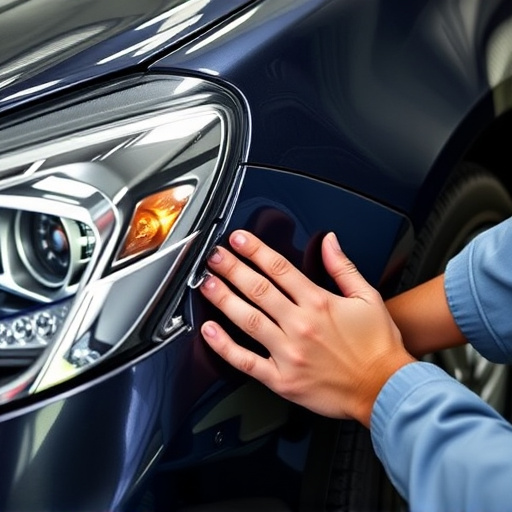
Tesla’s factory finish is renowned as the gold standard in automotive restoration and paintwork perfection. When it comes to restoring a Tesla to its original gleam, achieving this level of quality requires a deep understanding of the brand’s meticulous manufacturing processes. Every Tesla leaves the factory with a carefully crafted finish, designed to withstand the rigors of daily driving while maintaining an eye-catching appearance.
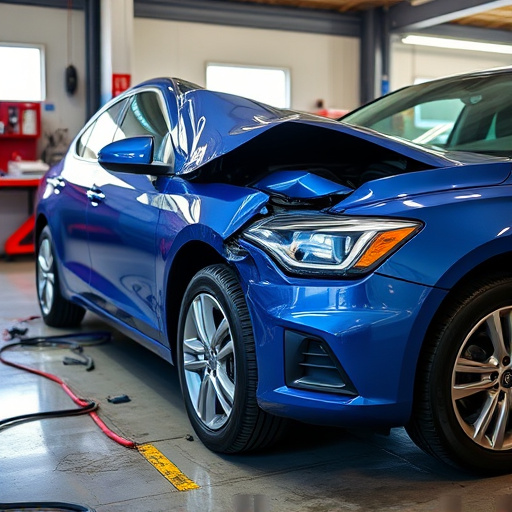
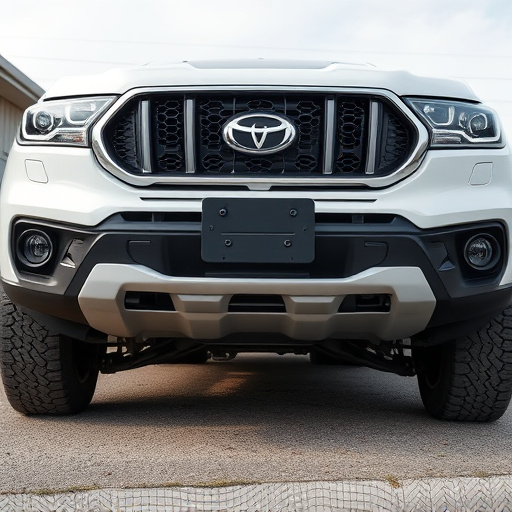
This standard is not just about aesthetics; it involves precise application techniques, high-quality materials, and a multi-step process that ensures durability and longevity. For auto repair shops specializing in Tesla factory finish restoration, mastering this art means using certified materials that match the exact specifications of the original equipment manufacturer (OEM). From meticulous bumper repair to meticulous paintwork, every detail is considered, ensuring the restored vehicle not only looks like new but also performs as such on the road.
Materials Matter: Certified Restoration Choices
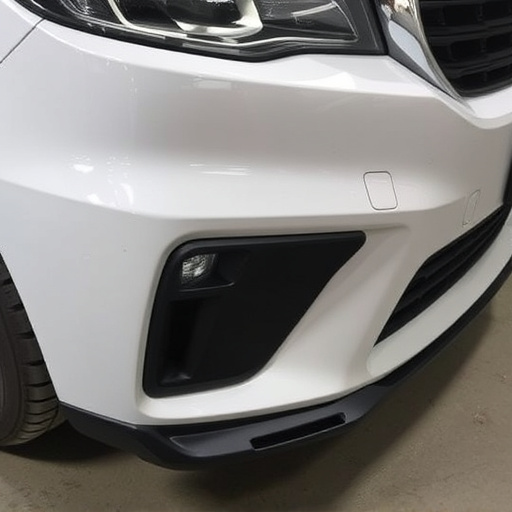
When undertaking a Tesla factory finish restoration, choosing certified materials is paramount to achieving a seamless and durable outcome. Not all restoration parts are created equal; using genuine or approved components ensures an authentic look and feels that matches the vehicle’s original specifications. This attention to detail is what sets apart a simple repair from a true restoration—it’s about preserving the car’s identity while enhancing its aesthetics.
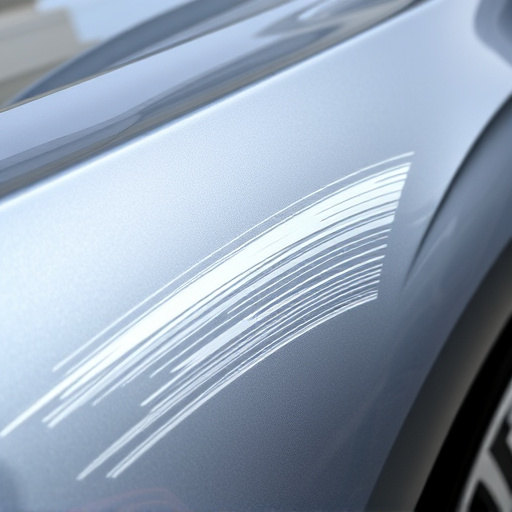
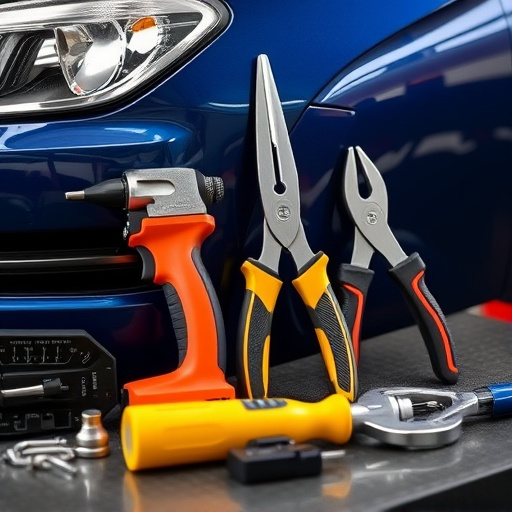
Among these certified materials, paintless dent repair (PDR) techniques stand out for their precision in addressing minor dents and scratches without sanding or repainting the entire surface. This method aligns perfectly with Tesla’s commitment to minimal environmental impact, as it avoids generating excess waste associated with traditional autobody repairs. By selecting the right materials, including PDR tools and high-quality finishes, restorers can deliver a restored Tesla that looks and drives like new, satisfying both the owner’s aesthetic desires and their eco-conscious values.
Step-by-Step Guide to a Perfect Restoration
Restoring a Tesla to its factory finish perfection involves a meticulous process that requires precision and expertise. Here’s a step-by-step guide for achieving this level of craftsmanship:
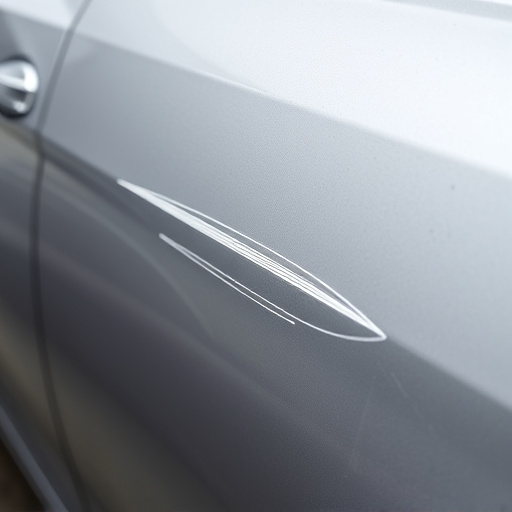
1. Preparation: Begin by thoroughly inspecting the vehicle, identifying any imperfections like scratches, swirls, or signs of previous repairs. Prepare the workspace, ensuring it’s clean and well-lit. Gather all necessary tools and certified restoration materials, including high-quality primers, paints, and clear coats specifically designed for Tesla models.
2. Debadge and Detailing: Remove any logos, badges, or stickers using safe removal techniques to avoid damaging the paint. Next, deep clean the car’s exterior, paying special attention to the panels. This involves using specialized washes, clay bars for removing bonded contaminants, and microfibers to ensure a scratch-free surface.
3. Sand and Patch: Lightly sand the affected areas to create a smooth base. Fill in any dents or imperfections with automotive body putty, allowing it to dry completely. Once smooth, fine-sand again for a seamless finish.
4. Primer Application: Apply an even coat of high-quality primer designed for Tesla’s specific paint composition. Allow it to cure as per manufacturer recommendations. This step ensures that the final color adheres properly and hides any underlying imperfections.
5. Painting and Clear Coating: Using certified Tesla paints, match the exact color code for a perfect factory finish. Apply multiple thin layers, allowing each coat to dry thoroughly between applications. Finally, protect the restoration with a high-quality clear coat, enhancing durability and shine.
6. Final Inspection and Touch-ups: After the paint has fully cured, inspect the vehicle for any visible defects. Conduct touch-ups on minor imperfections using a small detailer’s brush and matching paint. Ensure all surfaces are smooth, and the color is uniform throughout.
A Tesla factory finish restoration is not just about returning a vehicle to its original state; it’s about preserving its aesthetic integrity and value. By using certified materials, you ensure that every detail matches the manufacturer’s precision and quality standards. Following a meticulous step-by-step guide ensures a flawless outcome, highlighting the importance of both skilled labor and top-tier components in achieving a true Tesla factory finish restoration.