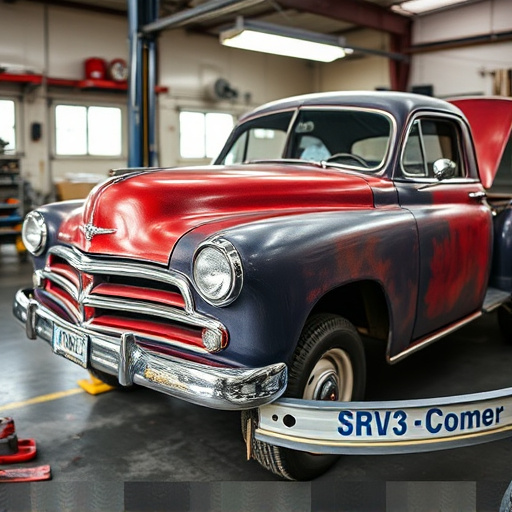


Before replacing rocker panels, assess damage and gather tools including jack stands, mallet, new panels, and hardware. Remove existing panels along wheel wells, detaching securing bolts/screws for reinstallation. Install new panels by aligning with body lines, using appropriate hardware, and finishing with gap filling, sanding, and priming for a smooth look. Successful rocker panel replacement boosts aesthetics and value in car restoration and fleet repair services.
Thinking of upgrading your vehicle’s exterior? This step-by-step guide will walk you through the rocker panel replacement process, from identifying damage to applying the final touches. Whether you’re a seasoned DIYer or new to car repairs, this comprehensive tutorial ensures a successful and safe transformation. Learn how to assess the damage, gather the right tools, remove old panels, install new ones, and achieve a sleek finish—all without breaking the bank. Get ready to rocker your ride’s style!
- Assess Damage and Gather Tools
- Remove Existing Rocker Panels
- Install New Rocker Panels and Final Touches
Assess Damage and Gather Tools
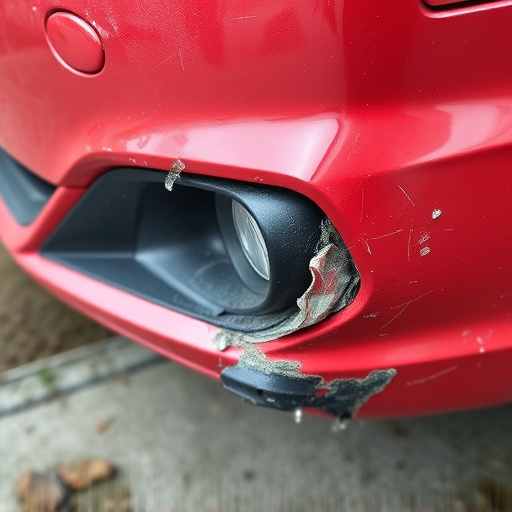
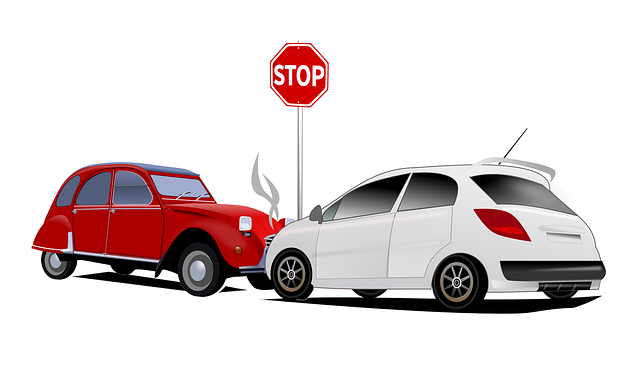
Before diving into the rocker panel replacement process, it’s crucial to assess the extent of the damage. Start by inspecting the rocker panel for any cracks, dents, or holes caused by a fender bender or other collision. Look closely at the surrounding areas as well, as damage might extend further than initially apparent. Note down the specific issues that require attention during this initial evaluation stage.
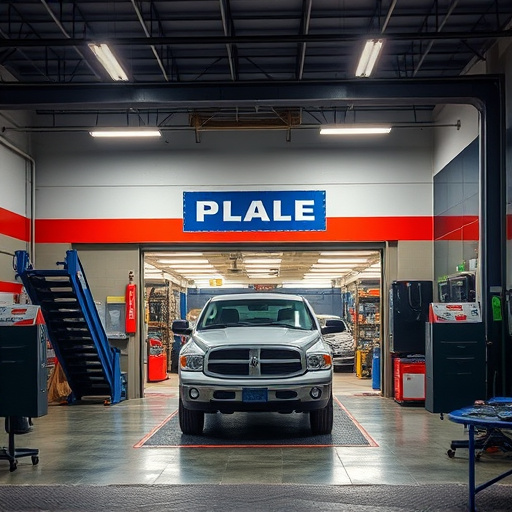
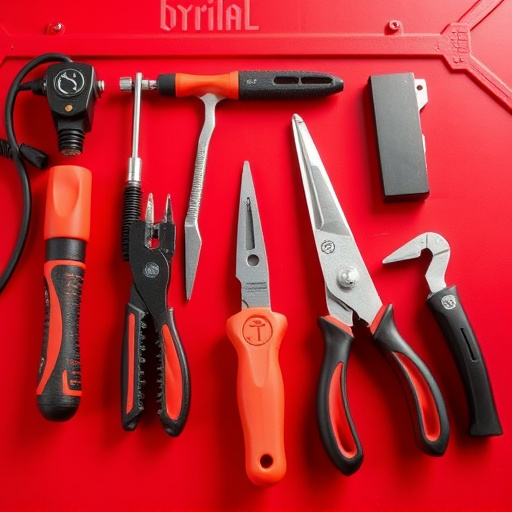
Gathering the right tools is essential for a successful rocker panel replacement. Depending on your vehicle model and the extent of the repair, you may need a variety of tools including jack stands, a mallet, new rocker panels (or relevant parts), and possibly some hardware such as bolts and rivets. If you’re not comfortable performing this car repair yourself, consider visiting a reputable car repair shop where experienced technicians can handle the process, especially if there’s been significant frame straightening involved.
Remove Existing Rocker Panels

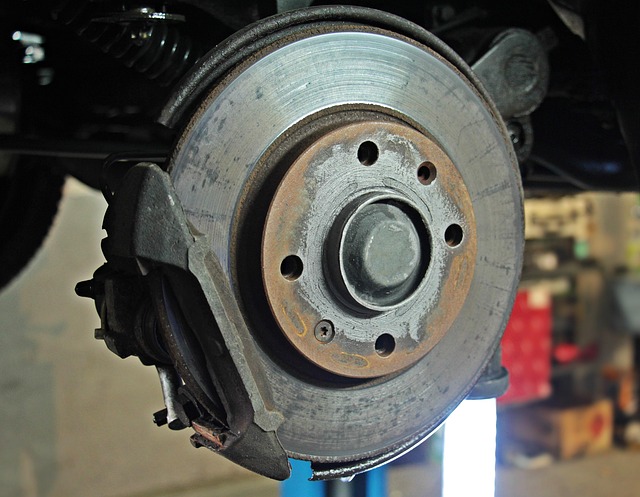
To begin your rocker panel replacement process, the first step is to remove the existing panels. Start by locating the rocker panels on either side of your vehicle, typically along the bottom edge of the car where it meets the wheel well. Using the appropriate tools, such as a socket wrench or screwdriver, carefully loosen and remove any bolts or screws securing the old panels in place. It’s important to take note of how these components are attached for ease of reinstallation later.
Once the fasteners are removed, gently pull the rocker panels away from the vehicle body. Be mindful of any surrounding components, such as bumpers or fenders, and avoid damaging them during this process. With the old panels safely set aside, you’ll now have clear access to the areas requiring replacement, paving the way for installing new rocker panels—a key aspect of any rocker panel replacement process.
Install New Rocker Panels and Final Touches

After successfully removing the old rocker panels and preparing the vehicle’s surface, it’s time to install the new ones. Line up the new panels with the existing body lines, ensuring a precise fit. Secure them using the appropriate hardware, following the manufacturer’s guidelines for a secure attachment. This step involves careful alignment and tightening to avoid any gaps or misalignments.
Once the panels are in place, take care of any final touches. Fill in any gaps or holes with suitable body filler if needed, then sand and prime the area to ensure a smooth finish. Check the surrounding panel areas for any additional repairs or touch-ups required before moving on to other exterior enhancements. A well-executed rocker panel replacement contributes significantly to a vehicle’s overall aesthetics, enhancing its curb appeal and potentially adding value in the realm of car restoration and fleet repair services.
Replacing rocker panels is a manageable task for any car owner, allowing you to enhance your vehicle’s aesthetics and protect its underbody. By following these steps, from assessing damage to final touches, you can successfully install new rocker panels and achieve a clean, modern look. Remember, proper tools and a careful approach are key to a successful rocker panel replacement project.