


Anti-flutter foam, vital for smooth rides, degrades over time causing vibrations, comfort issues, and potential damage. Regular maintenance checks and timely replacement are crucial for vehicle performance and longevity. Safe replacement involves securing workspace, using protective gear, and covering adjacent surfaces. Choosing high-quality automotive foams with temperature resistance, moisture protection, and structural integrity ensures reliable fitment and enhanced collision repair operations.
“Anti-flutter foam plays a critical role in vehicle interior comfort and safety. This lightweight yet robust material prevents unwanted cabin noise and vibrations. However, over time, it can become damaged or degrade, necessitating replacement. This article explores best practices for anti-flutter foam replacement, including understanding the causes and effects of damage, essential safety measures, and selecting durable materials to ensure longevity. By following these guidelines, vehicle owners and professionals alike can effectively mitigate noise and enhance passenger comfort.”
- Understanding Anti-Flutter Foam: Causes and Effects
- Preparation: Safety Measures Before Replacement
- Choosing the Right Materials for Longevity
Understanding Anti-Flutter Foam: Causes and Effects

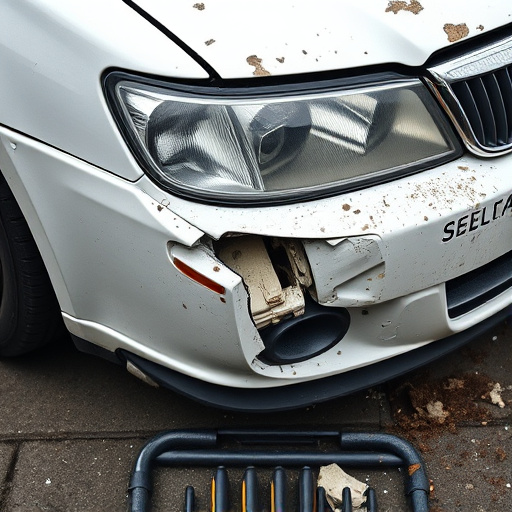
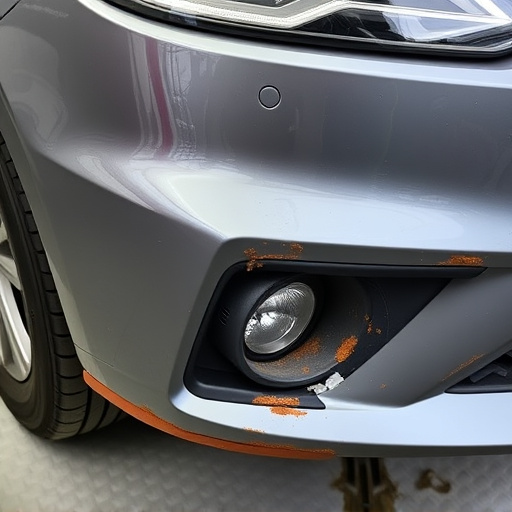
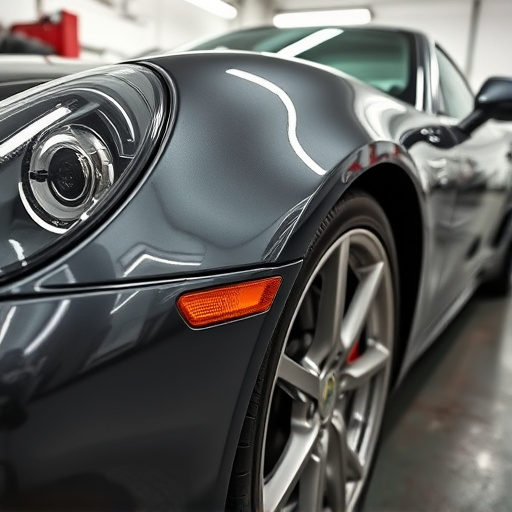
Anti-flutter foam is a critical component in vehicles, designed to prevent vibrations and ensure a smooth ride. Its primary function is to absorb and dissipate energy, reducing unwanted movements, especially at high speeds or on uneven roads. Understanding this foam’s role is essential when considering its replacement, particularly in classic car restoration projects.
The causes of anti-flutter foam degradation are varied. Over time, exposure to harsh weather conditions, road wear, and age can lead to its breakdown. Effects include increased vehicle vibrations, reduced comfort for passengers, and even potential damage to other parts due to excessive strain. Regular auto maintenance checks can help identify these issues early on, allowing for timely anti-flutter foam replacement, which is crucial in maintaining the performance and longevity of a vehicle, whether it’s a classic car restoration project or everyday transportation.
Preparation: Safety Measures Before Replacement
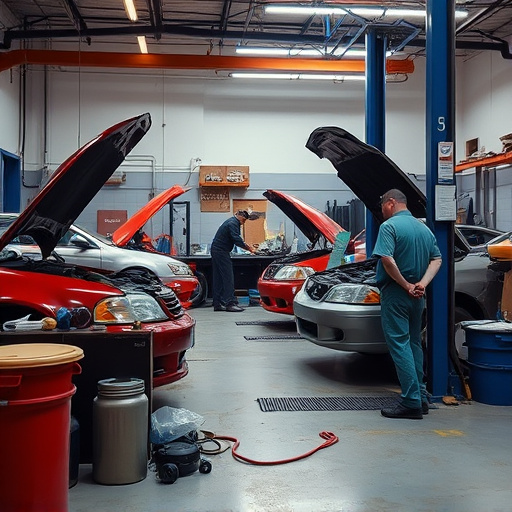
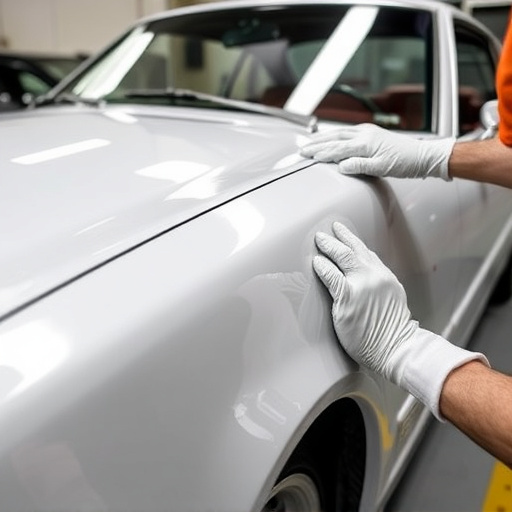
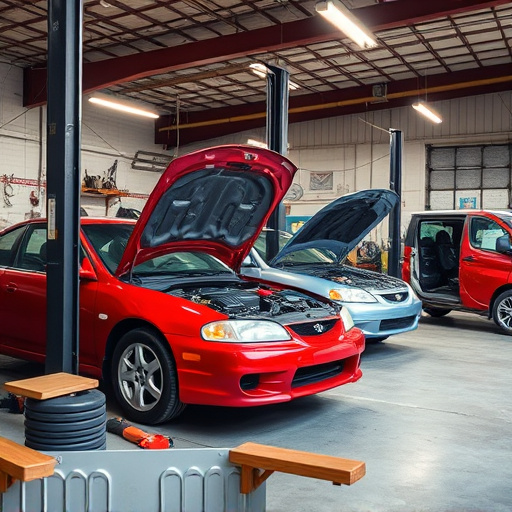
Before embarking on an anti-flutter foam replacement, safety should be your primary concern. This involves securing the workspace and ensuring all necessary tools are readily available. Protecting yourself with appropriate gloves, goggles, and a respirator mask is essential to avoid inhalation of debris or exposure to harmful chemicals. In addition, covering adjacent surfaces with drop cloths prevents dirt or dust from settling on untouched areas, facilitating cleaner work and reducing messiness. For those tackling this task in a Mercedes-Benz repair setting, familiarity with the vehicle’s specific design and relevant tire services procedures is crucial for successful implementation without causing damage to the delicate car bodywork.
Choosing the Right Materials for Longevity
When undertaking anti-flutter foam replacement in vehicles, selecting the appropriate materials is paramount for ensuring longevity and durability. High-quality foams designed specifically for automotive applications should be chosen to withstand extreme temperatures, vibrations, and exposure to moisture. These specialized foams offer enhanced structural integrity, preventing the flutter issues that can compromise safety and aesthetics.
Using materials from reputable manufacturers ensures consistent performance and compatibility with the vehicle’s existing components. Moreover, adhering to the original equipment manufacturer (OEM) specifications during the replacement process guarantees optimal fitment and long-term reliability in both car collision repair and auto body shop settings. This meticulous approach not only facilitates a seamless restoration of the vehicle’s structural integrity but also enhances the overall quality of collision repair shop operations.
In conclusion, effective anti-flutter foam replacement in vehicles involves a combination of understanding the issue, proper preparation, and selecting durable materials. By adhering to these best practices, car owners and mechanics can ensure a lasting solution, enhancing vehicle safety and comfort. Implement these strategies for successful anti-flutter foam replacement.