


Tesla taillight assemblies require regular maintenance to prevent wear and tear from weather, debris, and use. Damage assessment determines whether a simple bulb replacement or full assembly repair is needed. For extensive damage, replacing the entire assembly ensures optimal performance and aesthetic alignment with Tesla's quality standards. Reputable auto collision centers handle repairs for Models S, 3, X, and Y. Proper fitment, regular maintenance, and professional assessments after collisions ensure clear lenses, safe part replacement, and long-term safety functionality.
Are you experiencing issues with your Tesla Model S, 3, X, or Y’s taillight assembly? This comprehensive guide is tailored for DIY enthusiasts and service professionals alike. We’ll walk you through understanding common problems, a step-by-step disassembly and replacement process, and essential tips for ensuring proper fitment and longevity of new parts. Master the art of Tesla taillight assembly repair with our detailed instructions.
- Understanding Common Taillight Assembly Issues in Tesla Models
- Step-by-Step Guide: Disassembling and Replacing Taillights
- Tips for Ensuring Proper Fitment and Longevity of New Parts
Understanding Common Taillight Assembly Issues in Tesla Models
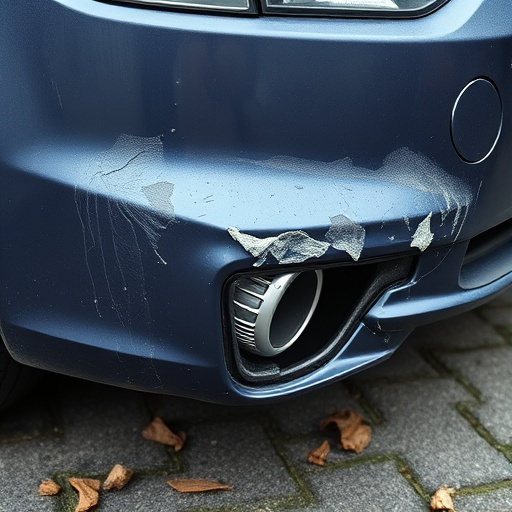
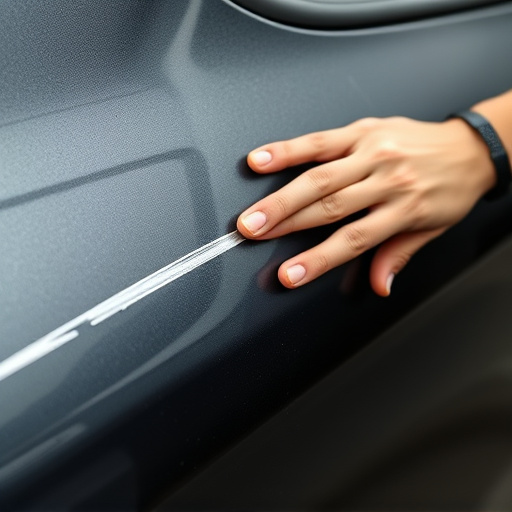
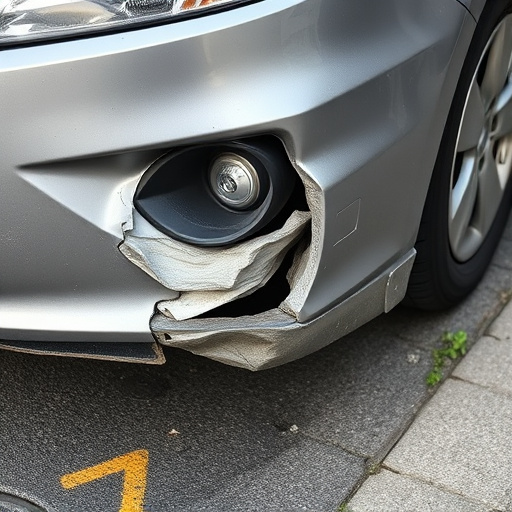
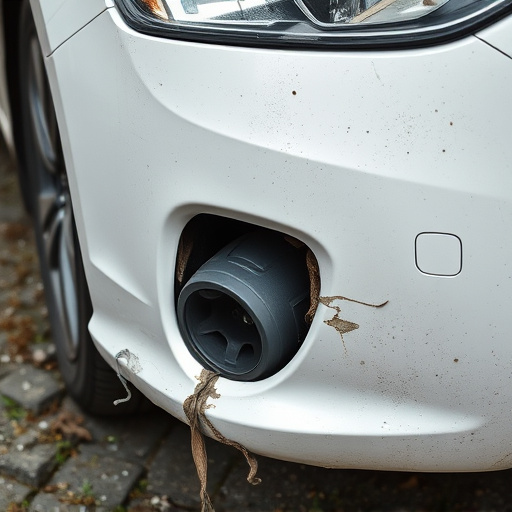
Tesla taillight assemblies, like any other automotive component, can experience wear and tear over time, leading to various issues that require Tesla taillight assembly repair. Common problems include broken or burnt-out bulbs, loose connections, cracked or damaged housings, and misaligned lenses. These issues can arise due to exposure to harsh weather conditions, road debris, and routine wear, affecting both the performance and aesthetics of the vehicle’s tailights.
When addressing these issues, it’s important to consider whether a simple bulb replacement or a more comprehensive Tesla taillight assembly repair is needed. In some cases, damage may be extensive enough to necessitate replacing the entire assembly, especially if the housing or lenses are severely cracked. Many owners opt for professional body shop services to ensure precise and safe repairs, particularly with collision repair techniques, which can restore the tailights to their optimal condition while aligning with Tesla’s quality standards.
Step-by-Step Guide: Disassembling and Replacing Taillights
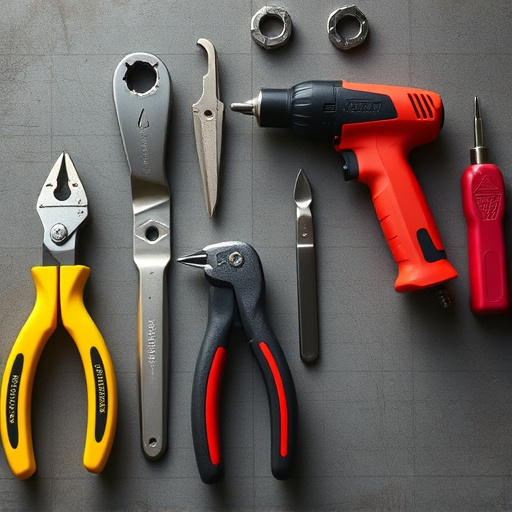
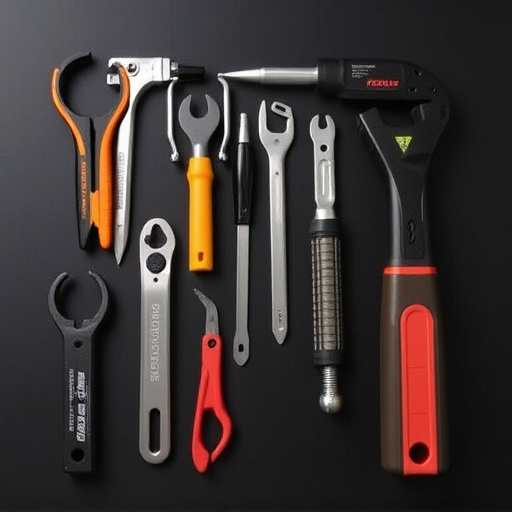
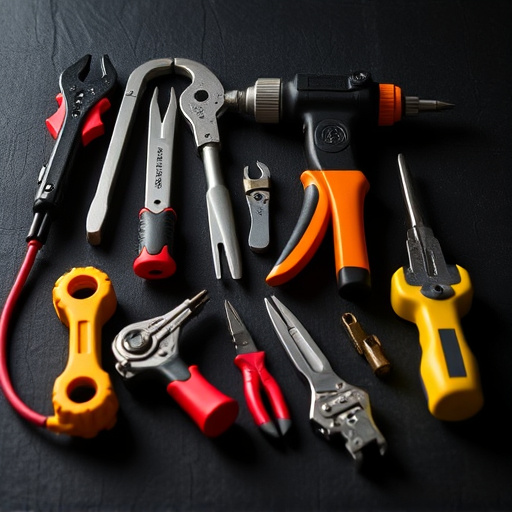
Performing a Tesla taillight assembly repair on Model S, 3, X, or Y vehicles can seem daunting, but with a systematic approach, it’s a manageable task. Start by locating and accessing the taillight assembly, often found under the vehicle’s body panel. Next, carefully disconnect any electrical connectors and carefully remove the broken or damaged taillight using suitable tools. Once the old taillight is out, clean the area to ensure proper adhesion for new parts.
Proceed with reinstalling the new taillight assembly, ensuring all components are securely fastened. Double-check connections to the vehicle’s electrical system and test the functionality of the taillights before finalising the repair. This step-by-step process can be carried out at a reputable auto collision center or auto repair shop, where technicians have the expertise and tools to handle such repairs efficiently.
Tips for Ensuring Proper Fitment and Longevity of New Parts
When replacing Tesla taillight assemblies, ensuring proper fitment is key to achieving optimal performance and longevity. Before installing new parts, carefully inspect the existing housing for any signs of damage or misalignment, as even minor issues can affect the fit. Using a dent removal tool if there are any dents or creases in the fender can help achieve a precise, seamless installation. It’s also crucial to clean the area thoroughly; dust and dirt can impede adhesion and cause premature wear.
Regular maintenance is another vital aspect of prolonging the life of your Tesla taillight assemblies. This includes keeping the lenses clear and free from scratches or cracks. If you’ve been involved in a fender bender or collision, it’s best to have your vehicle assessed by a professional collision center to ensure all parts are safely replaceable. Proper fitment and routine care will help maintain the aesthetic appeal and safety functionality of your Tesla’s taillight assemblies for years to come.
Repairing your Tesla’s taillight assembly is a feasible DIY project with the right knowledge. By understanding common issues and following the step-by-step guide provided, you can effectively replace faulty taillights on Model S, 3, X, and Y vehicles. Remember to prioritize safety during disassembly and always use high-quality replacement parts for optimal fitment and longevity. For a successful Tesla taillight assembly repair, knowledge and attention to detail are your best tools.