
Tesla PPF (paint protection film) repair involves tools like scissors, adhesive, buffer, and safety gear. Begin with inspection, clean surface, apply adhesive, remove old PPF, prime if needed, reinstall new PPF, and smooth for a flawless finish. Use specific Tesla repair kits and maintain regular care to prevent lifting or peeling.
“Protect your Tesla’s sleek exterior with a guide to repairing lifted or peeling edges of its iconic paint protection film (PPF). This comprehensive article delves into the common causes behind edge issues, equipping owners with the knowledge to tackle repairs. Learn about the essential tools and materials needed for successful restoration. We provide a clear, step-by-step guide to ensure your Tesla’s PPF looks as good as new. Discover expert tips for effective repair, enhancing the longevity and aesthetics of your vehicle’s protective barrier.”
- Understanding Tesla PPF: Causes of Lifted or Peeling Edges
- Tools and Materials Required for Repair
- Step-by-Step Guide to Effective PPF Restoration
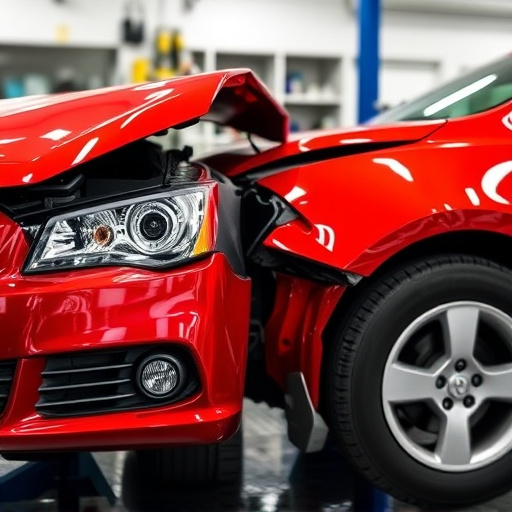
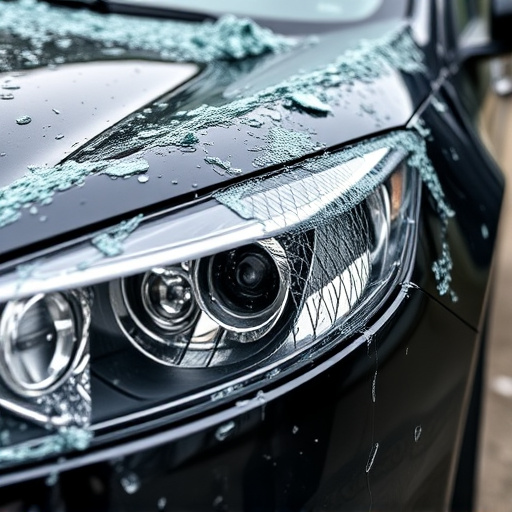
Understanding Tesla PPF: Causes of Lifted or Peeling Edges
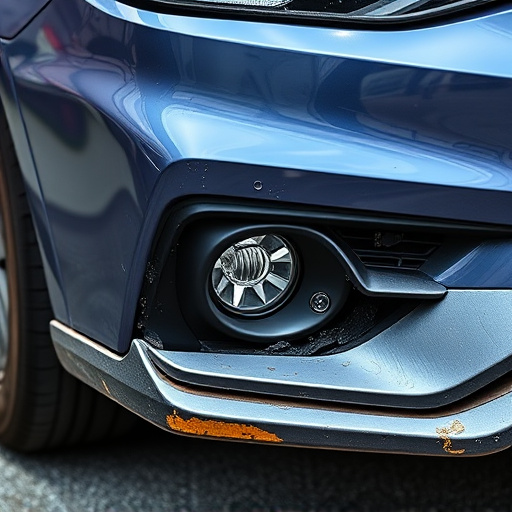
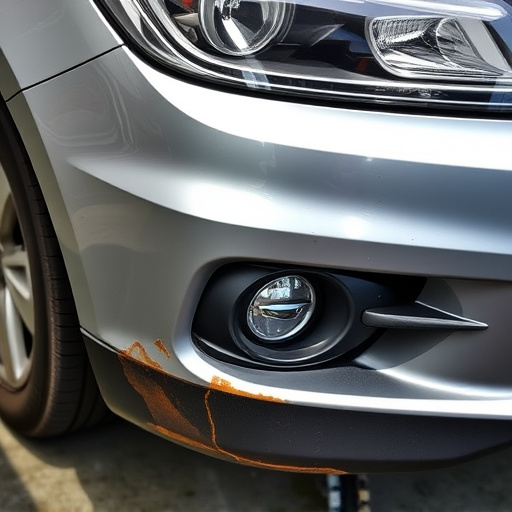
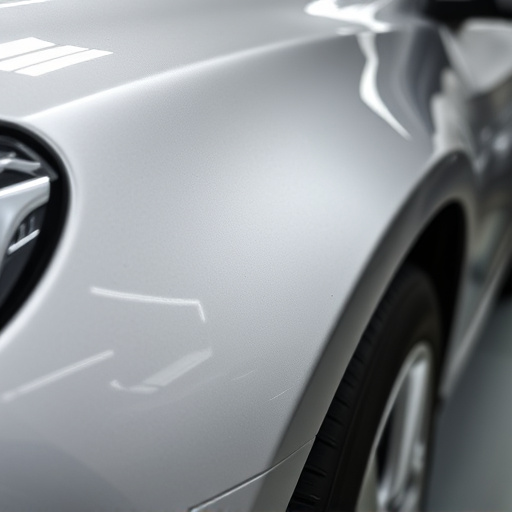
Tesla’s Paint Protection Film (PPF) is designed to shield vehicle surfaces from damage caused by stones, bugs, and other environmental factors. However, over time, PPF can lift or peel at edges due to various reasons. One common cause is exposure to intense sunlight, which can weaken the adhesive holding the film in place. Extreme temperature changes, especially during winter when cars are parked outdoors overnight, can also contribute to lifting. Furthermore, improper installation, including poor surface preparation or using subpar adhesives, can lead to early detachment of the PPF. Even minor impacts or vibrations from driving over rough roads can cause edges to curl up, requiring Tesla PPF repair.
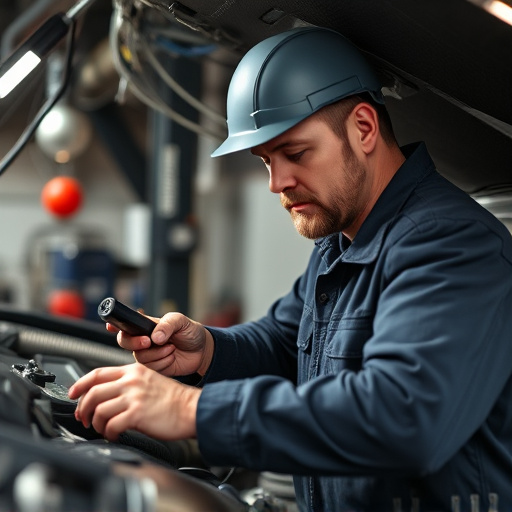
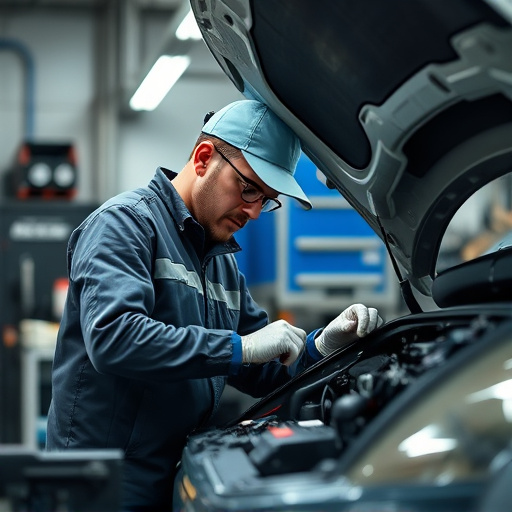
Regular maintenance is key in preventing lifted or peeling edges. This includes keeping the film clean and free from debris, inspecting it for any signs of damage, and reapplying protective coatings as recommended by Tesla. For those noticing issues with their PPF, auto repair services specializing in car paint can offer effective Tesla PPF repair solutions. These professionals have the tools and expertise to remove the damaged film without damaging the underlying paint, ensuring a smooth and long-lasting fix.
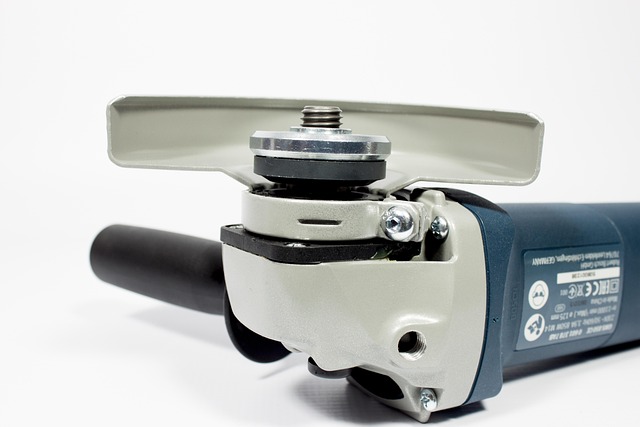
Tools and Materials Required for Repair
To successfully undertake Tesla PPF (paint protection film) repair for lifted or peeling edges, several specific tools and materials are essential. For start, gather a set of precision scissors or a utility knife designed for thin materials to carefully cut away any excess film or debris around the damaged area. This is crucial for achieving a clean finish during the repair process. Next, secure a pack of high-quality PPF adhesive and a applicator tool. The adhesive is necessary to bond the replacement film seamlessly with the car body, while the applicator ensures precise application without bubbles or smudges.
Additionally, prepare a buffer or a polishing machine suitable for paintless dent repair. This equipment facilitates the removal of minor imperfections on the film surface, allowing for a smooth and seamless blend with the surrounding intact PPF. Don’t forget to include some microfiber cloths and cleaning solution to prep the area properly before application. Lastly, a pair of safety glasses and gloves will protect you from any debris or chemicals during the repair process, making it a safer and more efficient experience in vehicle repair services.
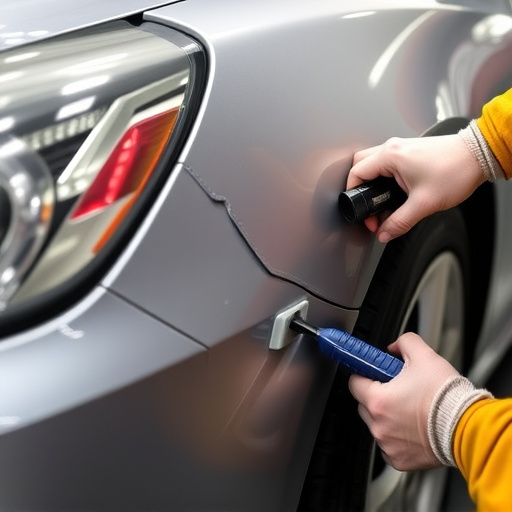
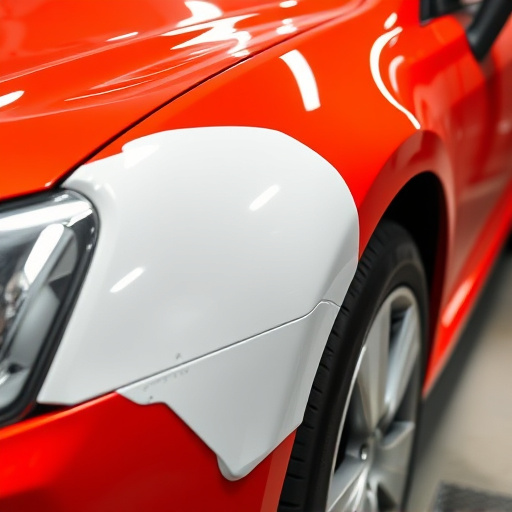
Step-by-Step Guide to Effective PPF Restoration
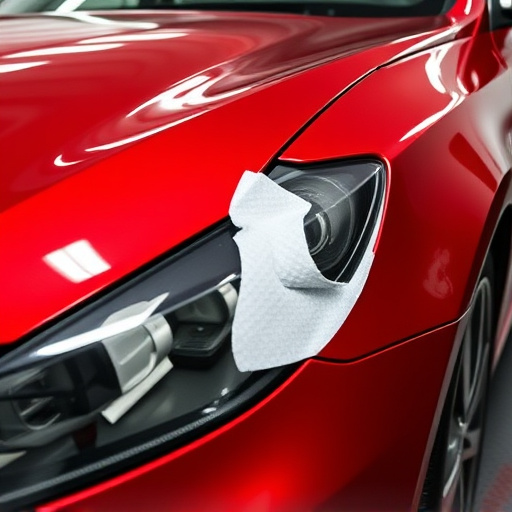
Restoring a Tesla PPF (paint protection film) is a meticulous process that requires patience and the right tools to ensure a flawless result. Begin by thoroughly inspecting the damaged area, taking note of the extent of lifting or peeling. Gather all necessary materials, including a high-quality PPF repair kit specific to Tesla models, which typically includes adhesive, primer, and a matching film. Clean the surface gently with isopropyl alcohol to create a clean canvas for repair.
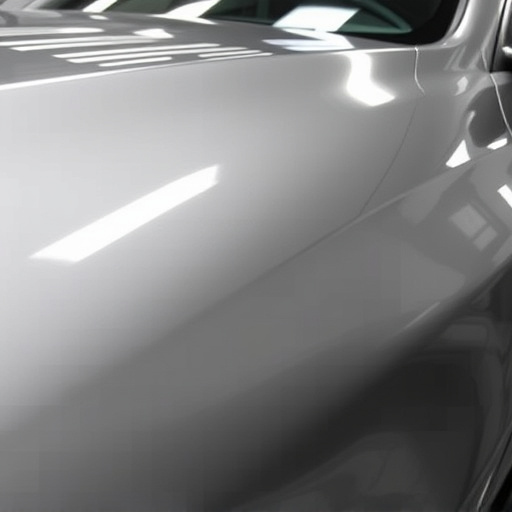
Next, apply a thin layer of the recommended adhesive along the edge of the damaged film, ensuring it sticks firmly to the car’s paint underneath. Use a tool like a credit card or razor blade to carefully lift and remove the peeling or lifted portion of the PPF. Once removed, inspect the underlying paint for any damage and prepare it accordingly. Apply primer if necessary, allowing it to dry completely. Finally, adhere the new piece of PPF, smoothing it out meticulously to avoid bubbles or wrinkles, ensuring a seamless finish that matches the car’s original protection.
Repairing lifted or peeling edges on your Tesla’s paint protection film (PPF) is a doable task for car enthusiasts. By understanding the common causes, gathering the right tools and materials, and following a structured guide, you can effectively restore your PPF to its original condition. With these steps, you’ll be well-equipped to tackle any minor damage, ensuring your Tesla’s exterior remains protected and looking pristine.