

Tesla tint replacement is key for privacy, UV protection, and aesthetics. Damage from stones or bird droppings requires prompt action. Professional services offer precise repairs matching original specs. Choosing the right film involves match painting, UV protection, and thickness. Top priorities are durability, fading resistance, and improved driver visibility. DIY guides provide step-by-step processes with proper preparation for best results.
Tesla owners often face the dilemma of cracked or scratched window tint, which not only impacts visibility but also the car’s overall aesthetics. This article guides you through the process of achieving a seamless Tesla tint replacement. We’ll explore common types of damage, help you select the ideal replacement film, and provide a step-by-step tutorial for an effective DIY solution or professional installation. Discover tips to ensure your Tesla’s windows look as good as new with fresh, functional tint.
- Understanding Tesla Window Tint Damage
- Choosing the Right Replacement Film
- Step-by-Step Guide to Tesla Tint Replacement
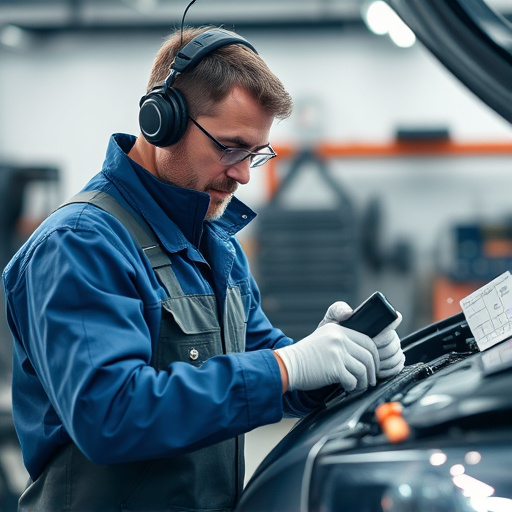
Understanding Tesla Window Tint Damage
Tesla window tint is designed to enhance privacy, block harmful UV rays, and improve vehicle aesthetics. However, over time or due to accidental damage, the tint film can sustain cracks or scratches, compromising its effectiveness and appeal. Such damage can result from various incidents, such as stone chips, bird droppings, or even minor collisions, leaving unsightly marks on your Tesla’s windows.
When dealing with cracked or scratched Tesla tint, prompt action is essential. Ignoring the issue may lead to further deterioration of the film, impacting both its functionality and the overall value of your vehicle. A professional car body shop specializing in Tesla tint replacement can offer effective solutions, ensuring precise repairs that match the original specifications of your Tesla’s window tint.
Choosing the Right Replacement Film

When it comes to choosing the right Tesla tint replacement film, precision is key. With various options available, selecting a film that perfectly matches your vehicle’s paint and provides the desired level of darkness is essential. Look for films certified for automotive use, ensuring they offer both UV protection and a seamless finish that blends in with your car’s original paint job. The right Tesla tint replacement isn’t just about aesthetics; it protects your vehicle from harmful UV rays and reduces glare, enhancing driver visibility.
Consider factors like film thickness, which should be adequate to prevent scratches and cracks from worsening while offering the level of darkness you prefer. Top-quality films are often more durable and resistant to fading, ensuring a longer-lasting solution. Remember, an automotive body shop specializing in vehicle paint repair can guide you in choosing the perfect Tesla tint replacement, ensuring your car looks as good as new with improved protection.
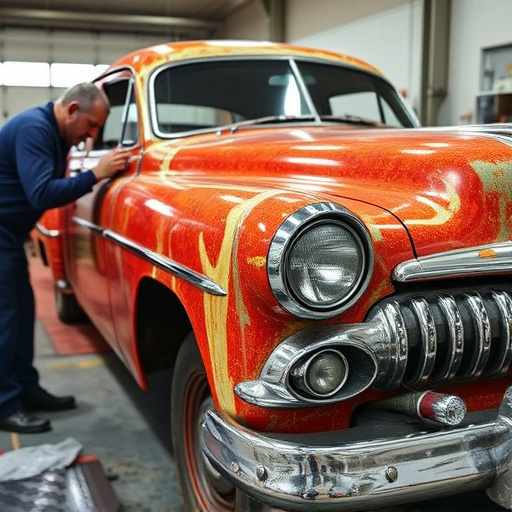
Step-by-Step Guide to Tesla Tint Replacement
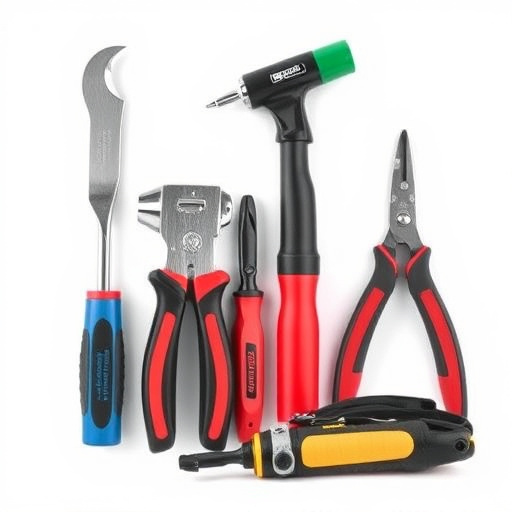
Replacing Tesla tint for cracked or scratched areas is a DIY-friendly process that can restore your luxury vehicle’s exterior to its original condition. Here’s a step-by-step guide to help you through it. First, gather all necessary tools and materials including a high-quality Tesla-specific tinted film, a heat gun (or hair dryer), a scraper or credit card, isopropyl alcohol, microfiber cloths, and a paint mask (to protect surrounding areas). Begin by thoroughly cleaning the car body to ensure no debris or fingerprints mar the new tint. Next, carefully remove any loose parts of the cracked or scratched film using the scraper or credit card. Apply heat with the gun or dryer to soften the adhesive beneath, making it easier to peel away. Once the old film is removed, use isopropyl alcohol to decontaminate the car body and ensure the surface is free from oils or residues. After the area dries, apply the new tinted film, starting from one edge and working your way around. Use a clean microfiber cloth to smooth out any bubbles or wrinkles as you go. Finally, mask off surrounding areas with paint to prevent tint transfer and allow the adhesive to cure fully before driving.
When it comes to repairing your Tesla’s cracked or scratched window tint, a careful and informed approach is key. By understanding the damage, selecting the appropriate replacement film, and following a step-by-step process, you can effectively restore your vehicle’s aesthetic appeal and protect its interior. With the right materials and guidance, achieving a professional Tesla tint replacement is well within reach, ensuring your car looks as good as new.