


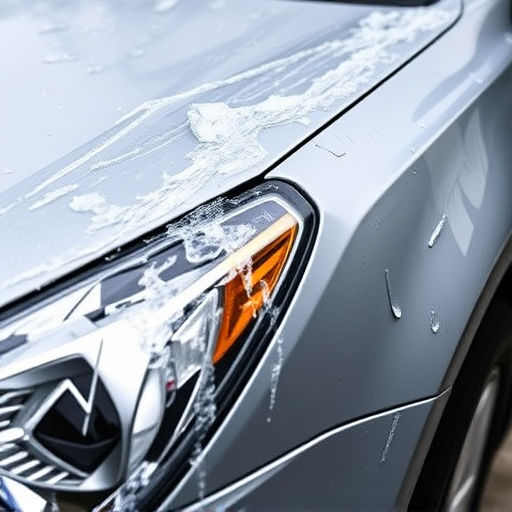

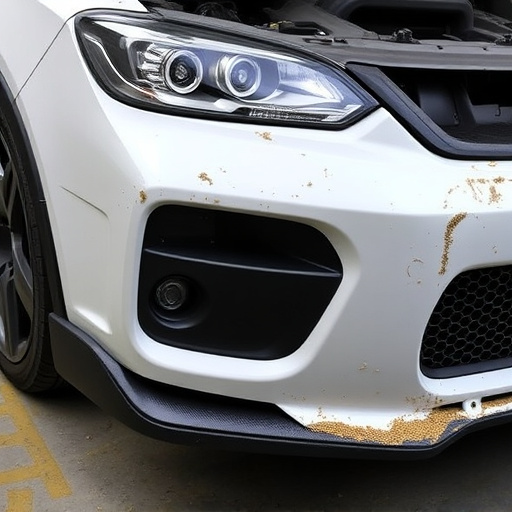
The Tesla ultrasonic sensor cover is a critical safety component that requires regular maintenance to prevent damage from cracks, dents, or debris. Impaired covers can affect sensor accuracy and necessitate replacement. This guide offers a step-by-step process for replacing the cover, emphasizing proper cleaning, alignment, and adhesive use. Regular inspection, cleaning with distilled water and microfiber cloths (for persistent stains use automotive glass cleaner), and prompt dent removal ensure optimal sensor performance and extended safety features like automatic emergency braking and lane departure warnings. Professional restoration is recommended for severe damage, ensuring reliable collision avoidance and parking assistance systems.
Looking to enhance your Tesla’s safety features? This comprehensive guide delves into the essential task of Tesla ultrasonic sensor cover replacement. Ultrasonic sensors play a crucial role in autonomous driving, detecting obstacles and enhancing park assistance. Over time, covers can become damaged or contaminated, impacting performance. Learn how to inspect and replace these covers, ensuring optimal sensor functionality for a safer driving experience.
- Understanding Tesla Ultrasonic Sensor Functionality
- Step-by-Step Guide: Cover Replacement Process
- inspecting and Cleaning Sensor Lens for Optimal Performance
Understanding Tesla Ultrasonic Sensor Functionality
The Tesla ultrasonic sensor is a sophisticated piece of technology designed to enhance safety features in modern vehicles. These sensors use high-frequency sound waves to detect objects around the car, such as other vehicles, pedestrians, or obstacles. The data collected helps the vehicle’s systems make informed decisions for optimal safety and performance. This includes critical functions like automatic emergency braking, lane departure warnings, and parking assist.
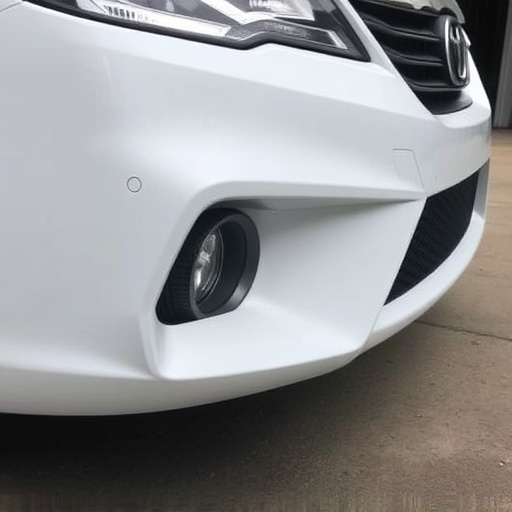
Maintaining these sensors is crucial for ensuring their effectiveness in autobody repairs and collision repair centers. Over time, the sensor covers can become damaged or clouded, affecting their accuracy. A Tesla ultrasonic sensor cover replacement may be necessary if there’s evidence of cracks, dents, or significant debris accumulation. Regular inspection also plays a vital role; checking for any damage or obstructions to the sensor lens ensures optimal performance, facilitating efficient dent removal and ensuring your vehicle is in peak safety condition.
Step-by-Step Guide: Cover Replacement Process
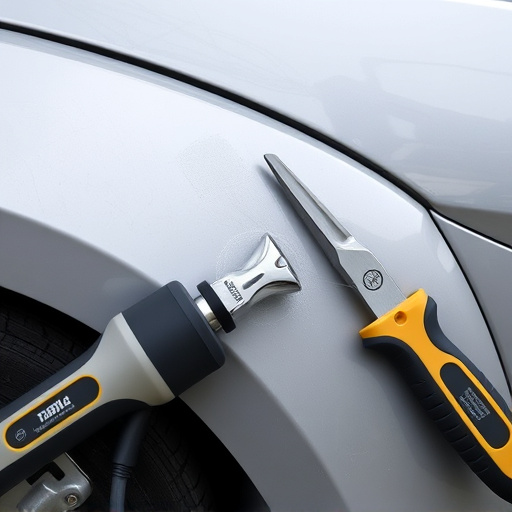
Step-by-Step Guide: Tesla Ultrasonic Sensor Cover Replacement Process
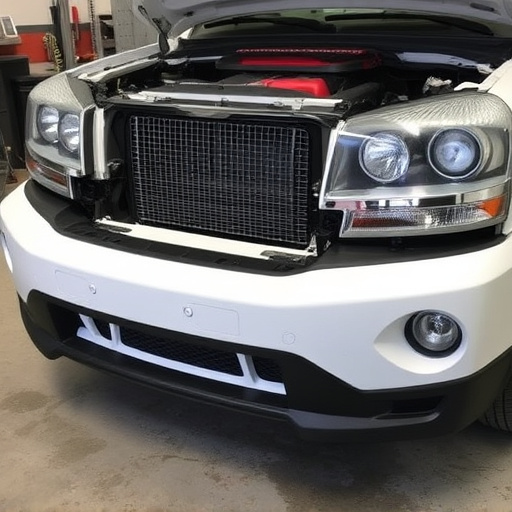
Begin by locating the ultrasonic sensors, typically found on either side of the vehicle’s front bumper. The sensors are covered by a protective plastic casing or sensor cover. Before replacing, inspect the current cover for any cracks, scratches, or signs of damage. If the cover is intact, proceed with the replacement. Gather all necessary tools: a new ultrasonic sensor cover, tweezers, and a small flathead screwdriver. Remove any debris or dirt around the sensor area using a soft brush or compressed air. Using the screwdriver, carefully pry off the old cover, taking note of its orientation for proper alignment during installation. Clean the sensor surface with a microfiber cloth to ensure optimal performance. Place the new cover onto the sensor, aligning it precisely with the existing mounting holes. Secure it in place using suitable adhesive recommended for automotive applications or by following manufacturer guidelines. Allow adequate drying time as specified before finalizing the replacement process.
This meticulous approach ensures that your Tesla’s ultrasonic sensors are not only functional but also reliable, contributing to enhanced safety features like collision avoidance and parking assistance. Remember, proper collision repair services and regular maintenance can significantly prolong these sensor components’ lifespan. For any damage beyond routine wear and tear, consider a professional car restoration service to restore the vehicle’s safety systems to their optimal condition.
inspecting and Cleaning Sensor Lens for Optimal Performance

After removing the old Tesla ultrasonic sensor cover, it’s crucial to thoroughly inspect and clean the sensor lens for optimal performance. The sensor lens is responsible for detecting obstacles and providing crucial data for the vehicle’s Autopilot system. Any dirt, dust, or debris can hinder its effectiveness. Begin by gently wiping away any visible grime using a soft microfiber cloth dampened with distilled water. Avoid using harsh chemicals or abrasive materials that could damage the lens.
For stubborn stains, consider using a specialized glass cleaner designed for automotive applications. After cleaning, ensure the lens is completely dry before reinstalling the cover. Regular inspections and proper care can significantly extend the life of your Tesla’s ultrasonic sensors, contributing to safer and more efficient driving experiences. Remember, a clean sensor lens means better performance and enhanced safety features—a benefit not just for your vehicle but also for your peace of mind on the road.
Replacing your Tesla’s ultrasonic sensor cover and inspecting its lens is a straightforward process that can significantly enhance your vehicle’s safety features. By following these simple steps, you can ensure optimal performance from your car’s ultrasonic sensors, providing better parking assistance and improved overall driving experience. Remember, regular maintenance is key to keeping your Tesla’s advanced driver-assistance systems functioning at their best.