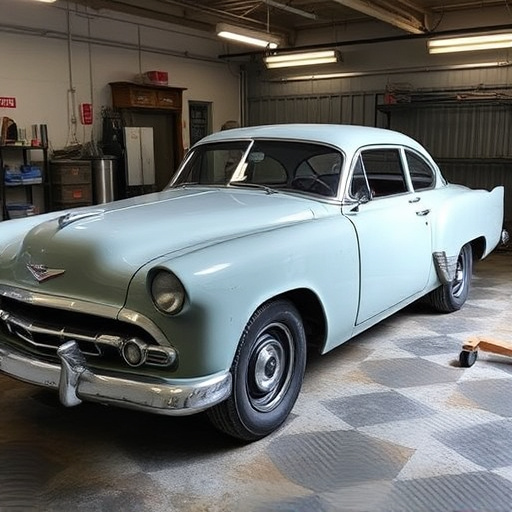


Thoroughly inspect and manually examine Tesla Model 3's front fascia for denting, cracking, or missing parts. Detect headlight alignment issues, cracks, chips, or loose connections. Consult specialized collision repair shops for professional Tesla Model 3 front fascia repair to ensure safety and aesthetic appeal. Conduct detailed alignment checks before installing new headlights, verifying beam pattern and intensity for optimal visibility and road safety.
“Looking to restore your Tesla Model 3’s frontal allure? This comprehensive guide delves into the process of repairing and fitting a new front fascia. After assessing damage, typically from road debris or minor collisions, understanding the repair process is key. We provide a step-by-step tutorial for replacing the front fascia, ensuring a seamless fitment check. Additionally, learn how to verify headlight alignment and functionality, guaranteeing your Tesla Model 3’s headlights shine bright and true. Get ready to transform and enhance your electric vehicle’s exterior.”
- Assessing Damage: Inspecting Your Tesla Model 3 Front Fascia
- Repair Process: Step-by-Step Guide to Replacement
- Ensuring Fitment: Verifying Headlight Alignment and Functionality
Assessing Damage: Inspecting Your Tesla Model 3 Front Fascia
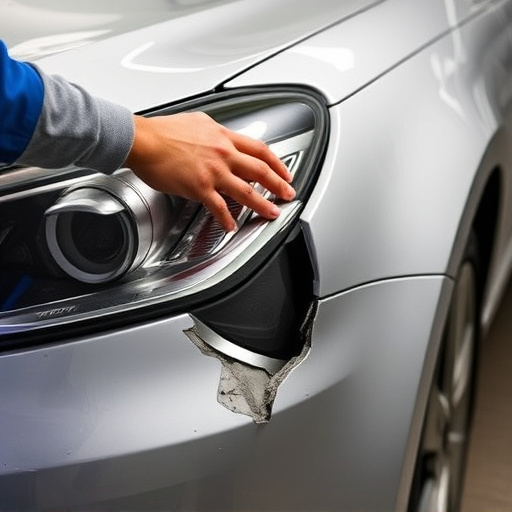
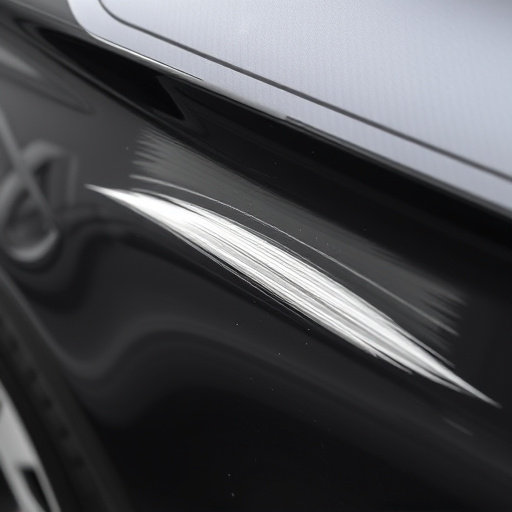
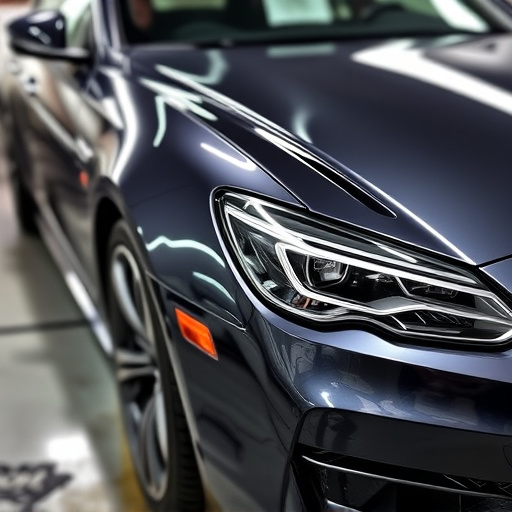
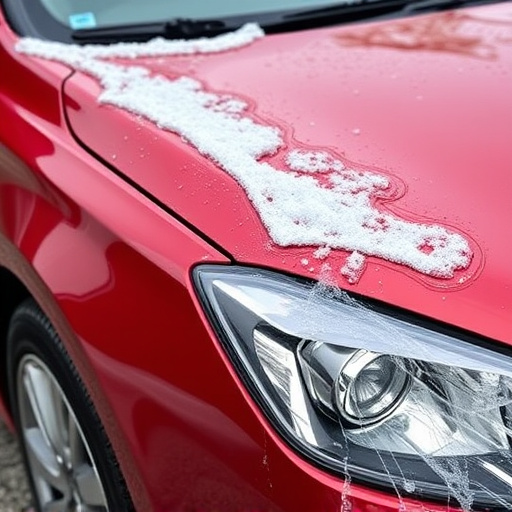
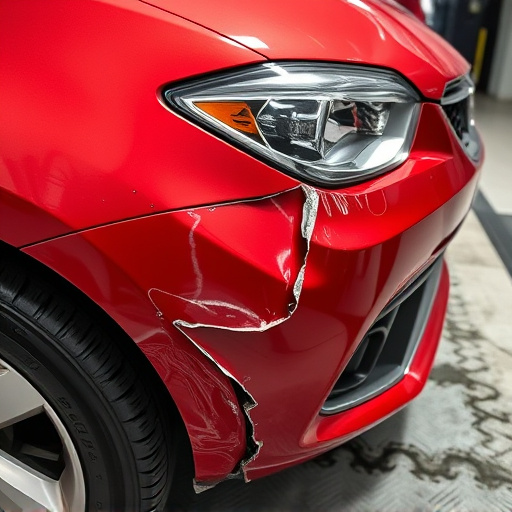
When assessing damage to your Tesla Model 3 front fascia, it’s crucial to inspect all visible components for any signs of denting, cracking, or missing parts. Start by visually examining the entire fascia, looking closely at the edges and corners where impact may be most likely to occur. Feel along the surface for any depressions or unusual contours that could indicate hidden damage.
Turn your attention to the headlights, as they are often among the first components to show signs of collision. Check for proper alignment, ensuring both headlights point straight ahead. Inspect the bulbs and housing for cracks, chips, or loose connections. If you notice any abnormalities, it may be necessary to consult a reputable collision repair shop specializing in Tesla Model 3 front fascia repair to ensure your vehicle’s safety and aesthetic appeal.
Repair Process: Step-by-Step Guide to Replacement
Repair Process: Step-by-Step Guide to Replacement
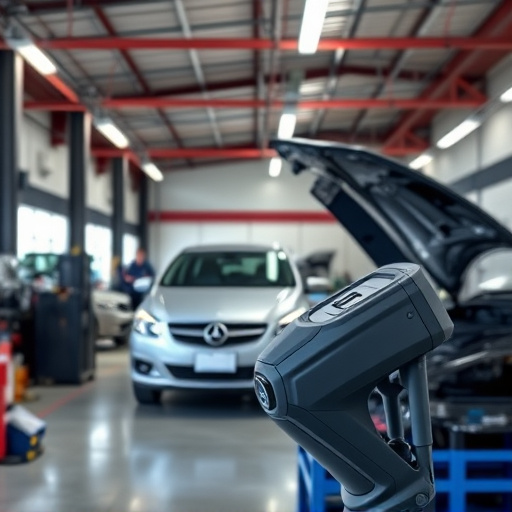
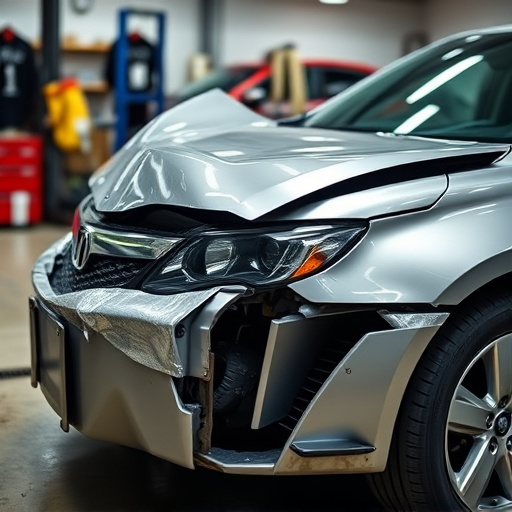
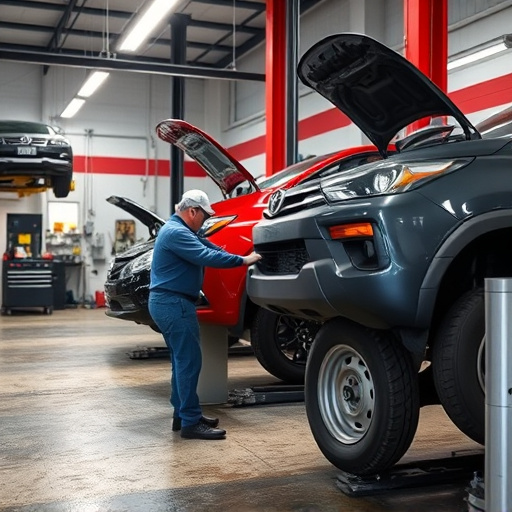
To embark on a Tesla Model 3 front fascia repair, gather the necessary tools and parts. This process involves careful disassembly and precise replacement to ensure optimal fitment and aesthetic harmony with your vehicle. Start by locating and securing the damaged fascia panel, often a result of minor collisions or road debris. Next, use specialized tools to carefully remove the existing headlight assembly, taking note of each screw and wire position for a seamless reassembly.
With the old fascia removed, inspect the underlying structure for any additional damage. Repair or replace as needed, ensuring all components are in good condition before proceeding. Once prepared, attach the new front fascia panel, aligning it precisely with your Model 3’s contour lines. Secure it firmly using the appropriate hardware, reassembling the headlight assembly and verifying its correct positioning. Complete the process by conducting a thorough fitment check, confirming that all lights function properly and the fascia is free from gaps or misalignments. This meticulous approach guarantees a professional Tesla Model 3 front fascia repair, enhancing both the vehicle’s appearance and safety features, alongside essential auto glass replacement and dent repair tasks.
Ensuring Fitment: Verifying Headlight Alignment and Functionality

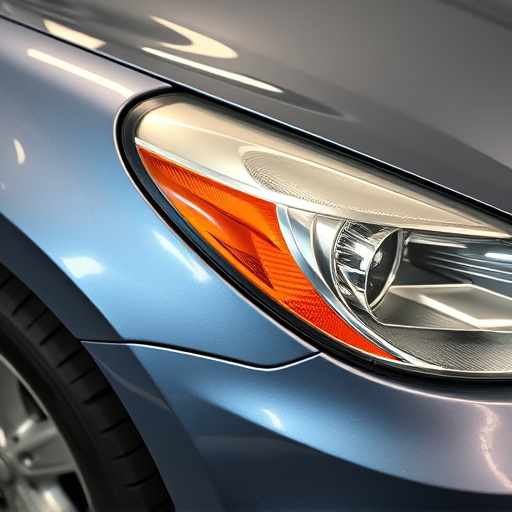
When undertaking a Tesla Model 3 front fascia repair, ensuring proper fitment is paramount. Before installing new headlights, conduct a thorough alignment check to guarantee they are perfectly aligned with your vehicle’s profile. This involves visually inspecting the headlight positioning relative to the front fascia and any other surrounding components. A level headlight assembly should be flush against the car’s body without any visible gaps or misalignments.
Additionally, test the functionality of each headlight by switching them on and verifying their beam pattern and intensity. This step is crucial as it ensures drivers have optimal visibility during night driving, enhancing safety on the road. Proper headlight alignment and operation not only improves driving experience but also underscores the importance of professional vehicle repair services for maintaining your Tesla’s aesthetic and performance standards, potentially avoiding more costly repairs down the line.
Repairing your Tesla Model 3’s front fascia and ensuring proper headlight fitment is a crucial task for any owner aiming to maintain their vehicle’s aesthetic and safety. By following the step-by-step guide outlined in this article, you’ll be equipped with the knowledge to assess damage, perform replacements, and verify alignment. Remember, timely maintenance of these components not only enhances your car’s appearance but also contributes to optimal driving conditions. With a bit of patience and the right tools, you can tackle these repairs yourself, saving time and money while keeping your Tesla in top form.