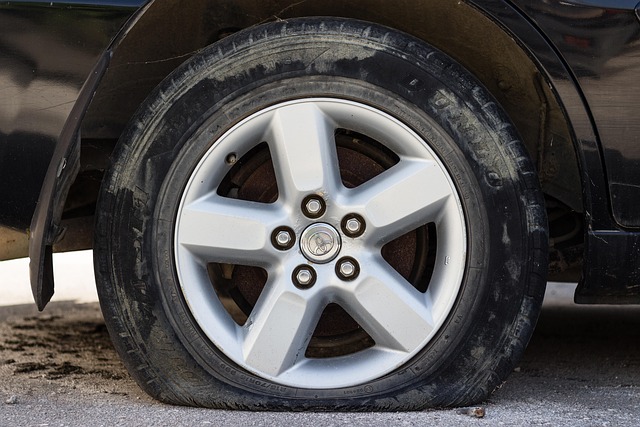


Mercedes hood stars require precise alignment for optimal performance and safety. This involves securing grille/bumper to chassis with bolts, brackets, and specialized tools. Misalignment can cause fender damage or paint scratches. Tools needed include a hood alignment jig, torque wrenches, new screws, and washers for accurate adjustment and structural integrity. Proper security after alignment ensures aesthetic appeal and driving safety. Refer to specific installation guidelines for each Mercedes model.
“Ensure your Mercedes’ iconic hood star stays secure after alignment with our comprehensive guide. Understanding the intricate mechanics of the Mercedes hood star and proper alignment techniques is crucial. This step-by-step process guarantees a precise fit, enhancing both vehicle aesthetics and structural integrity.
We’ll walk you through the essential tools and materials required, from precision sockets to alignment jigs, ensuring a seamless experience. Get ready to master the art of securing your Mercedes hood star like a professional.”
- Understand Mercedes Hood Star Mechanics
- Tools and Materials Needed for Alignment
- Step-by-Step Guide to Secure Hood Star After Alignment
Understand Mercedes Hood Star Mechanics

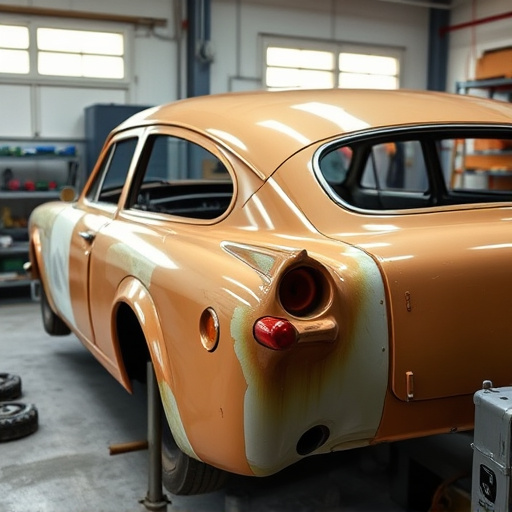
Mercedes hood stars are intricate components designed to enhance both the aesthetic appeal and protective capabilities of your vehicle’s front end. Understanding their mechanics involves grasping how they’re integrated into the car’s structure. The hood star, often referred to as a grille or front bumper, is attached to the vehicle’s chassis using a combination of bolts, brackets, and sometimes specialized alignment tools. This alignment ensures it’s securely positioned, allowing for optimal air intake while also withstanding potential impacts during collisions.
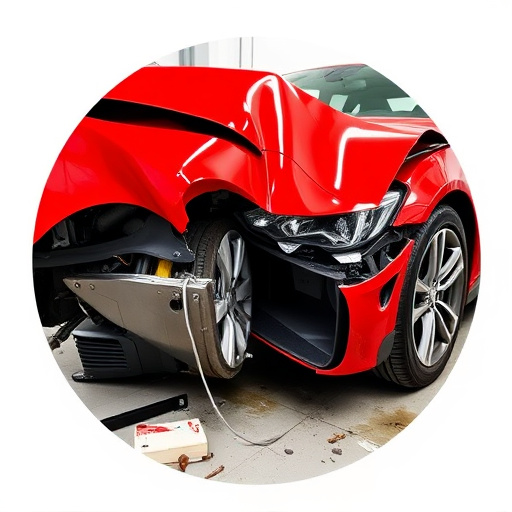
The process involves precise measurements and adjustments to align the hood star correctly. Any misalignment can lead to issues like fender repair needs due to improper impact distribution or even car scratch repair requirements from damaged paintwork. Therefore, securing the Mercedes hood star properly after alignment is not just about aesthetics but also vehicle safety and structural integrity.
Tools and Materials Needed for Alignment
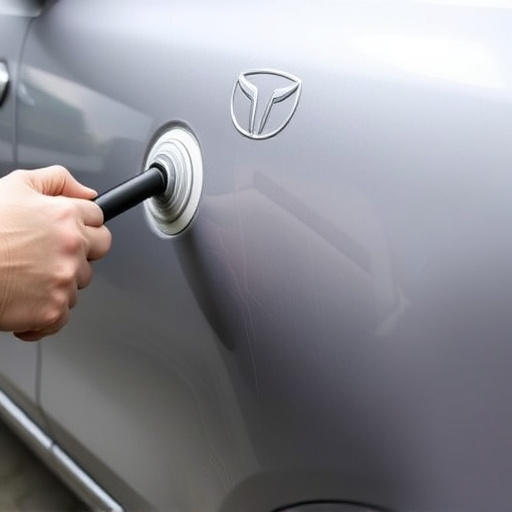
To ensure a successful Mercedes hood star alignment, several tools and materials are essential. At the core, you’ll need specialized equipment like a hood alignment jig, which is designed to hold the hood in precise position during the adjustment process. This tool guarantees accurate and uniform alignment across all critical points on the hood, aligning with your vehicle’s design specifications.
Complementing this, a set of high-quality torques wrenches is indispensable for securing the hood in place after adjustments. These tools ensure that each fastener achieves the correct torque, maintaining structural integrity. Additionally, a new set of hood screws and washers may be required, depending on the condition of your current parts. Remember, proper materials are key to achieving a seamless car repair service, ensuring not just accurate alignment but also longevity in your vehicle’s bodywork and auto painting.
Step-by-Step Guide to Secure Hood Star After Alignment

After aligning your Mercedes hood star, securing it properly is crucial to ensure both aesthetics and safety. Here’s a step-by-step guide to help you through this process:
1. Inspect for Damage: Begin by thoroughly inspecting the hood, fender, and surrounding areas for any signs of damage from the alignment or previous incidents. Ensure all components are in good condition before proceeding.
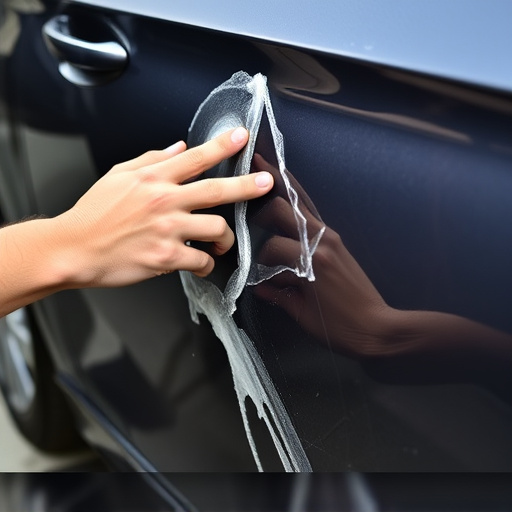
2. Clean the Surface: Clean the surface where the hood star will be secured to remove any dirt, grease, or debris. A clean surface ensures a strong bond between the hood star and the vehicle’s exterior. For best results, use a dedicated cleaner designed for automotive applications.
3. Apply Adhesive (if applicable): If your Mercedes hood star requires adhesive, choose a high-quality product specifically formulated for automotive use. Follow the manufacturer’s instructions for application, ensuring even coverage over the entire attachment area.
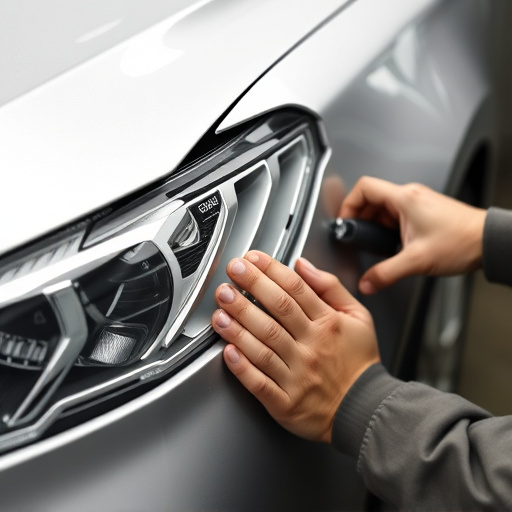
4. Position and Secure Hood Star: Carefully position the hood star in its correct alignment. Use clamps or weights to temporarily hold it in place if needed. This step ensures precise placement before permanent securing.
5. Secure with Hardware (if required): Some models may require additional hardware such as screws or brackets for a secure fit. Ensure these are properly fastened, adhering to the vehicle’s specific installation guidelines.
6. Check for Level and Alignment: Once secured, double-check that the hood star is level and properly aligned. Any misalignment can impact not only aesthetics but also safety during driving.
7. Final Inspection: Conduct a final inspection, checking all attachments and ensuring no debris or dirt has been left behind. A thorough check guarantees your Mercedes hood star will remain secure after alignment.
Securing your Mercedes hood star after alignment is a crucial step in maintaining your vehicle’s aesthetic appeal. By following the provided guide and using the right tools, you can ensure that your hood star remains aligned and protected. Remember, proper alignment not only enhances the car’s overall look but also prevents damage, making it an important task for every Mercedes owner.