
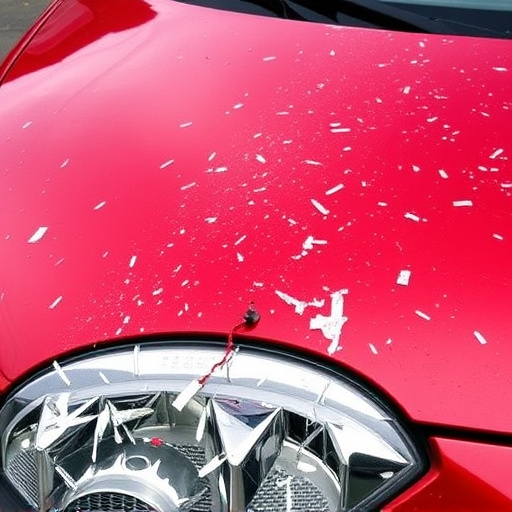

DIY hood dent removal requires identifying dent type and selecting tools like pry bars, heat guns, and putty knives. Gather safety gear and matching paint for a professional finish. Follow steps from tool preparation to prying out dents and smoothing with filler. Sand and repaint if needed for restored pre-dent condition using proper techniques.
Are you tired of looking at those unsightly hood dents? DIY hood dent removal is a cost-effective solution that can restore your vehicle’s look. This comprehensive guide breaks down the process into simple steps, ensuring you have everything you need before starting. We’ll walk you through understanding dent removal basics, gathering the right tools and materials, and successfully removing those pesky dents at home.
- Understanding Hood Dent Removal: The Basics
- Tools and Materials You'll Need for the Job
- Step-by-Step Guide to Removing Hood Dents at Home
Understanding Hood Dent Removal: The Basics

Hood dent removal is a process that involves correcting dents or dings on a vehicle’s hood, restoring its original shape and smooth finish. It’s a DIY project for car enthusiasts who want to save money and learn automotive body work. The basics include identifying the type of dent—shallow, deep, or impact—and gathering the right tools. For simple, shallow dents, a technique called “pinning” can be used, where you insert thin metal rods into the dent to pop it out. This method is accessible for those with basic skills and tools.
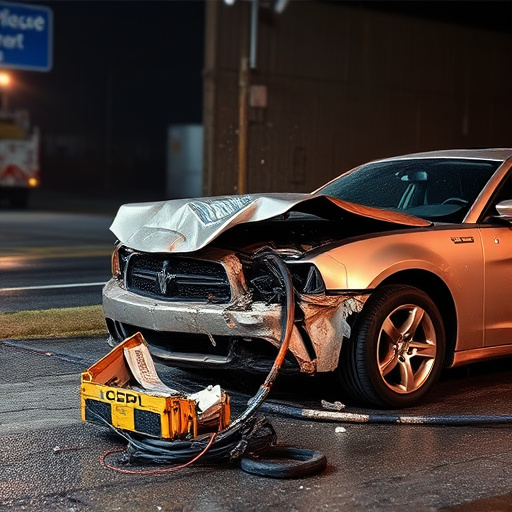
More complex dents may require a trip to a car body shop or professional auto body repairs. Techniques like using heat guns or specialized tools are employed to gently press out deeper dents. The process involves careful planning, precision, and sometimes paint work to match the hood’s original finish. Understanding your vehicle’s make and model is crucial for successful hood dent removal, ensuring you have the right tools and knowledge to achieve a professional result.
Tools and Materials You'll Need for the Job

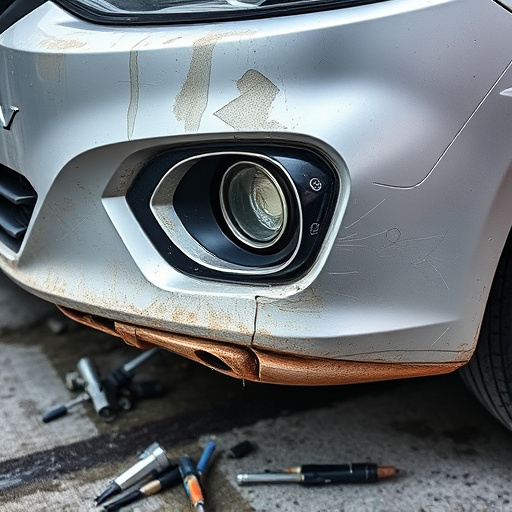
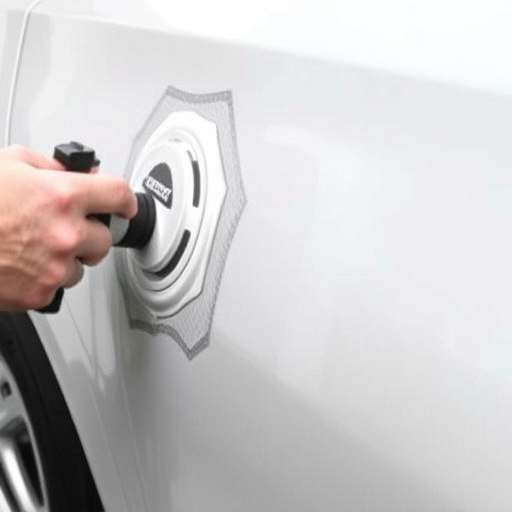
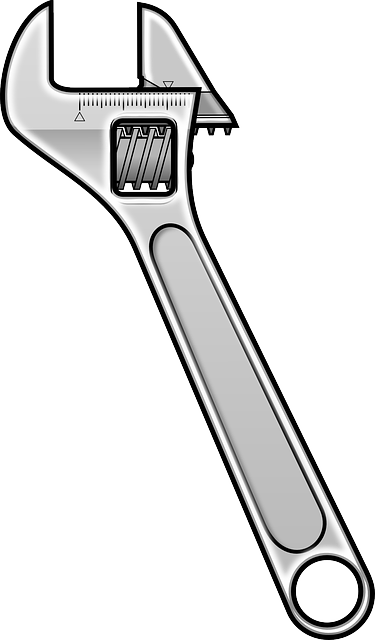
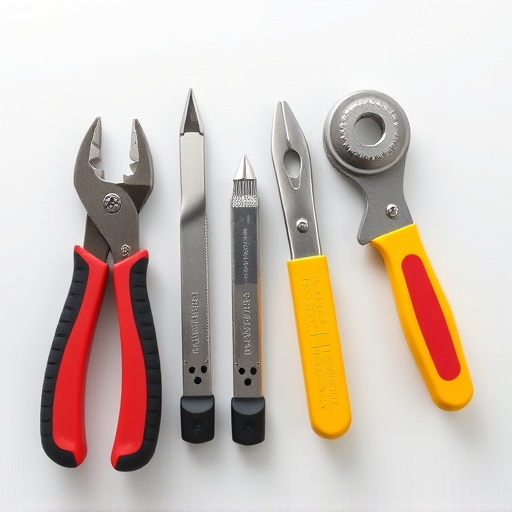
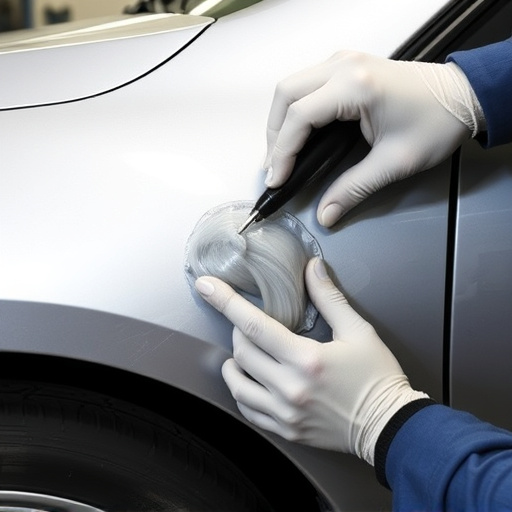
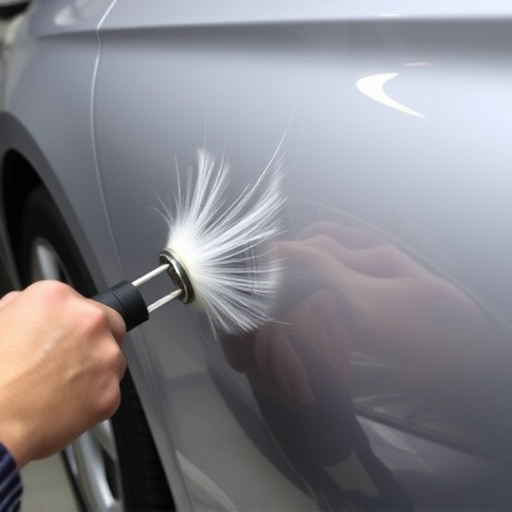
When tackling a DIY hood dent removal project, having the right tools and materials is key to achieving a flawless finish. First on your list should be a set of pry bars or dent removal tools designed specifically for this task. These tools come in various shapes and sizes, allowing you to access tight spaces and apply gentle pressure to pop out dents without causing further damage. Alongside these, you’ll also need some form of suction cup tool, ideal for lifting and separating the dent from the car’s body panel.
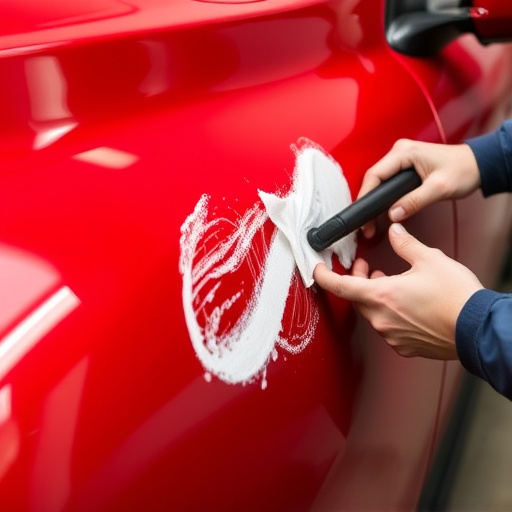
Don’t forget protective gear like gloves and safety glasses, as they’re essential during the process. For applying heat (a common method in dent removal), a heat gun is a valuable addition to your kit. However, be mindful that incorrect use of heat can damage the paint, so ensure you have the right temperature control settings. Lastly, gathering some high-quality putty or filler, primer, and paint in matching colors will help you blend and restore the hood’s original appearance, making it virtually indistinguishable from the rest of your car’s body (much like professional car paint services).
Step-by-Step Guide to Removing Hood Dents at Home
Removing hood dents at home can be a cost-effective and convenient solution for minor car damages. Here’s a step-by-step guide to help you through the process, ensuring hood dent removal is successful and safe. First, gather your tools: a dent puller (also known as a dent tool or extractor), a hammer, and some rubber mallets. Start by identifying the size and location of the dent. For best results, address the dent while it’s still fresh, as older dents may require professional automotive repair.
Place the dent puller on the dent’s edge and gently tap it with the hammer to secure a firm grip. Using the rubber mallets, carefully pry the puller up, applying gradual pressure until the dent pops out. Be cautious not to apply too much force, as this could damage the car’s bodywork. After successfully removing the dent, smoothen any remaining indentations using a putty knife or filler, matching it with your car’s original paint job. Once dry, sand the area gently and repaint if necessary, restoring your vehicle to its pre-dent condition.
Hood dent removal can be achieved effectively at home with the right tools and techniques. By understanding the basics of dent removal and following a step-by-step guide, you can restore your vehicle’s sleek look without breaking the bank. Remember, while this method offers a cost-efficient solution, for severe dents or complex cases, professional assistance might be required. With the right approach and materials, DIY hood dent removal is an achievable goal for car owners looking to save money and maintain control over their vehicle’s aesthetics.