


Dent repair techniques vary based on dent severity. Minor dents use DIY methods like dent pullers and body fillers, while severe damage requires professional restoration, including metal shaping and glass replacement. Proper tools and materials ensure quality repairs, impacting a car's aesthetics and value. A step-by-step guide offers cost-effective solutions for shallow dents at home, but deeper issues demand professional expertise.
Are you a car owner who’s ever encountered unsightly dents? Learn about effective dent repair techniques to restore your vehicle’s sleek appearance. This guide breaks down common dent damage, essential tools and materials, and provides a step-by-step home repair tutorial. By understanding dent repair principles, you can confidently tackle minor dents yourself, saving time and money.
- Understanding Common Car Dent Damage
- Tools and Materials for Repair
- Step-by-Step Guide to Fixing Dents at Home
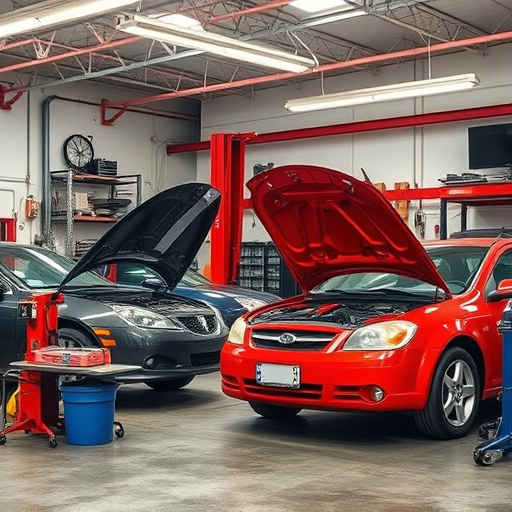
Understanding Common Car Dent Damage
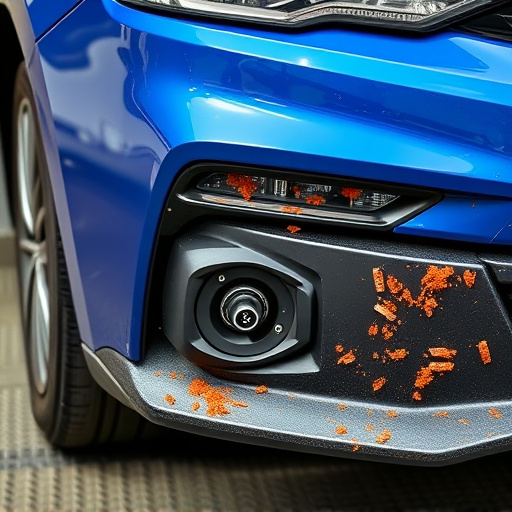
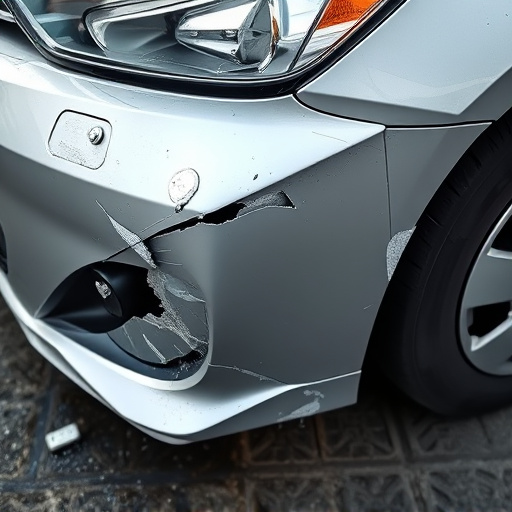
Car dents can arise from various causes—from minor fender benders to more severe collisions. Understanding common types of dent damage is crucial for car owners looking to employ effective dent repair techniques. One of the most prevalent issues is a ding or dent, often caused by objects like shopping carts, parking obstacles, or even a simple bump in a parking lot. These typically result in shallow indentations that can be addressed with simpler DIY methods or professional paintless dent repair techniques.
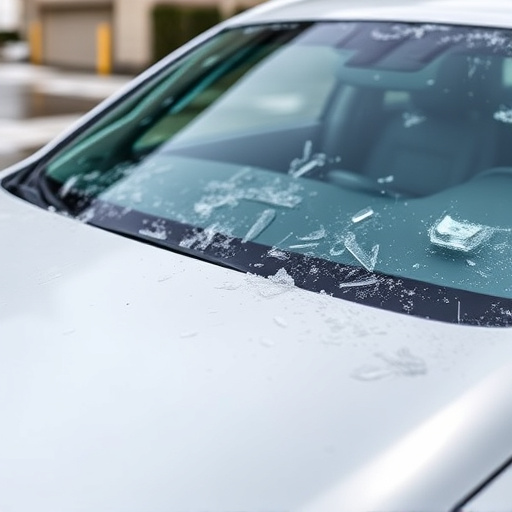
Another common form is deeper damage, such as creases or bent panels, frequently occurring after more substantial accidents. This level of collision damage usually requires more intensive automotive restoration processes, including metal shaping and sometimes replacement parts. Collision damage repair specialists are adept at handling these complex scenarios, ensuring that vehicles return to their pre-accident condition.
Tools and Materials for Repair
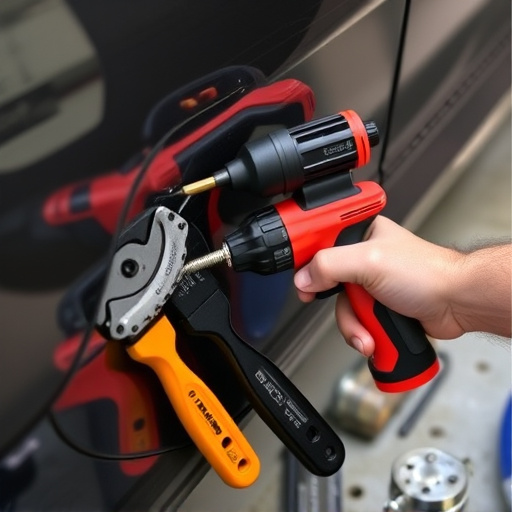
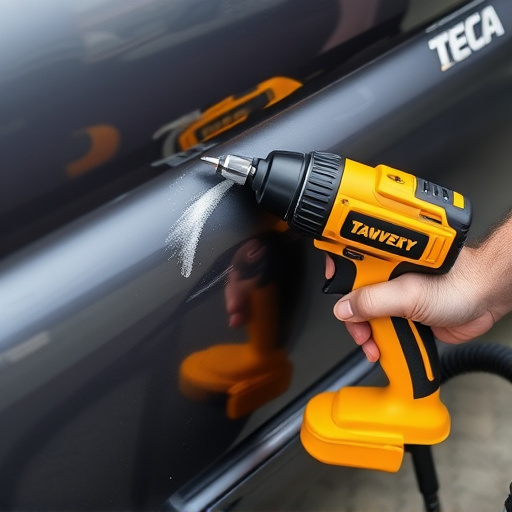
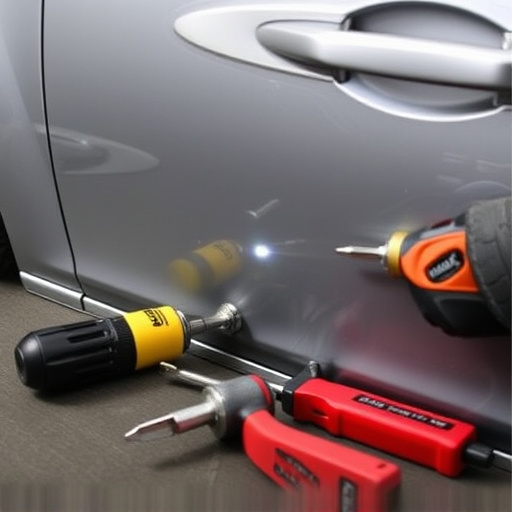
When it comes to dent repair techniques, having the right tools and materials is paramount for achieving a seamless fix. For smaller dents and dings, a professional-grade dent puller or claw hammer can work wonders. These tools gently pull the dented panel back into place without causing further damage. Additionally, a set of putty knives and a good quality body filler are essential for smoothing out deeper or more complex dents.
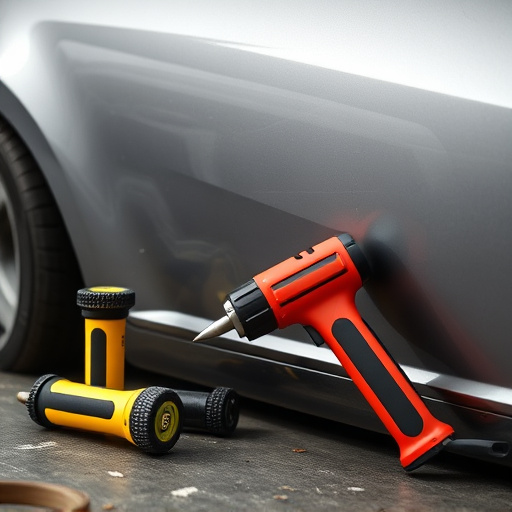
For more intricate repairs, especially involving auto glass replacement, specialized equipment like heat guns and vacuum pumps might be needed. These tools facilitate the removal of damaged panels or broken glass efficiently. Remember, the right materials can make all the difference in the final outcome, ensuring your car body shop’s repairs are both durable and aesthetically pleasing.
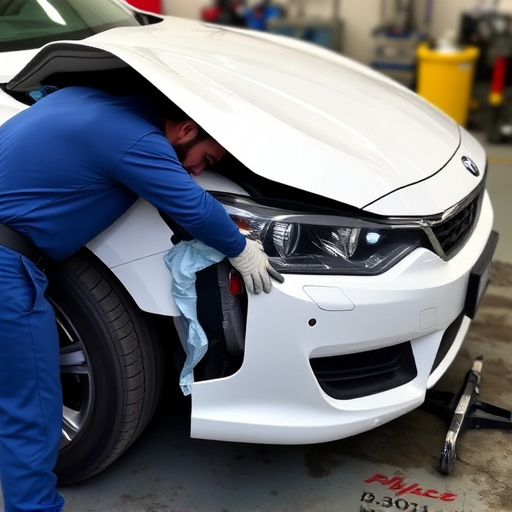
Step-by-Step Guide to Fixing Dents at Home
Fixing dents at home can be a cost-effective solution for minor damage. Before attempting any DIY dent repair techniques, assess the extent of the collision damage. If the dent is shallow and doesn’t affect the car’s structural integrity, you might be able to handle it yourself. Here’s a simple step-by-step guide:
1. Gather your tools and materials, which may include a dent puller (also known as a claw tool), a hammer, and some rubber mallets. Ensure proper ventilation as some methods use chemicals or heat.
2. Remove any debris from the dented area using a vacuum cleaner or compressed air. Clean the surface with a mild detergent to ensure better adhesion when applying repair compounds.
3. Use the dent puller to pop out the depressed metal. Position the tool along the edge of the dent and apply gentle but firm pressure until the metal returns to its original shape. Be careful not to over-expand the dent as it might affect the car’s overall appearance.
4. In case deeper dents, consider using a heat gun to warm up the damaged area, making it easier to work with. Apply heat for a few seconds at a time, allowing the metal to cool down between applications.
5. Once the dent is back in place, fill any gaps or indentations with automotive body filler (or putty). Smooth the surface with your finger or a wet sandpaper to ensure a uniform finish. Let it dry completely according to the product instructions.
6. Sand the repaired area gently using finer grit sandpaper for a seamless blend with the rest of the car’s panel. Clean the dust and check for any remaining imperfections.
7. Apply a coat of paint that matches your car’s color, using a spray gun or an airbrush for even coverage. Allow the paint to dry and cure as per the manufacturer’s guidelines before adding clear coat for protection.
Dent repair techniques are accessible to car owners with the right knowledge and tools. By understanding common dent damage, gathering appropriate materials, and following a detailed guide, you can effectively fix dents at home, saving time and money. With these strategies in mind, you’re equipped to tackle minor dent repairs, enhancing your vehicle’s appearance and extending its lifecycle.