Selecting the right vinyl for Tesla wrap repairs requires understanding material properties for flexibility, durability, and adhesion. Automotive shops should stock diverse options catering to scratch repair to restyling projects. Key considerations include finish, color matching, UV protection, and compatibility with car paint services. Meticulous preparation and precision in application are crucial for a professional finish and longevity.
Choosing the right vinyl for Tesla wrap repairs is crucial for achieving a factory-like finish and long-lasting protection. This comprehensive guide breaks down the intricacies of understanding different vinyl types, considering essential factors, and applying the perfect material for seamless repairs. Whether you’re a professional or an avid DIYer, these insights will empower you to navigate the process with confidence, ensuring your Tesla maintains its sleek and modern aesthetic.
- Understanding Different Vinyl Types for Tesla Wrap Repairs
- Factors to Consider When Choosing Repair Vinyl
- Applying the Right Vinyl: A Step-by-Step Guide
Understanding Different Vinyl Types for Tesla Wrap Repairs

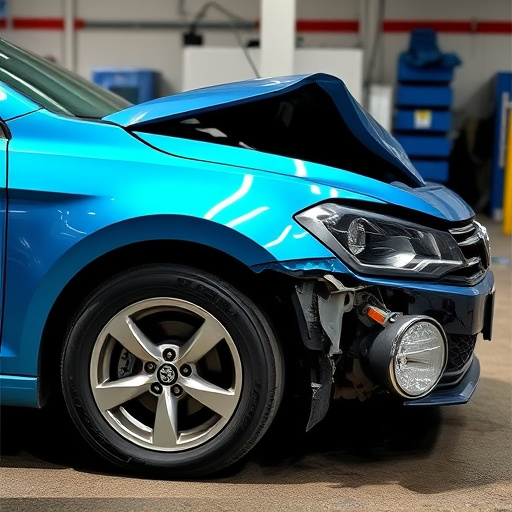
Choosing the right vinyl for Tesla wrap repairs involves understanding the unique properties of different materials. There are several types of vinyl available in the market, each offering distinct advantages and disadvantages for specific applications. For instance, soft vinyl is popular due to its flexibility and ease of application, making it ideal for intricate designs and curves found on Tesla vehicles. On the other hand, hard vinyl provides superior durability and resistance to scratches, chips, and stains—a must-have for areas prone to heavy wear like door panels and fenders.
When considering Tesla wrap repair, car owners should also look into the vinyl’s adhesive properties, as well as its compatibility with the vehicle’s surface. A high-quality vinyl that seamlessly adheres to the car’s body not only ensures a professional finish but also longevity. Moreover, automotive repair shops offering Tesla wrap services should stock a variety of vinyl options to cater to different customer needs and preferences, whether it’s for car scratch repair or more extensive restyling projects.
Factors to Consider When Choosing Repair Vinyl
When choosing the right vinyl for Tesla wrap repairs, several key factors come into play. First and foremost, consider the type of finish you want to achieve—matte, glossy, or something in between. This decision impacts not only the aesthetic appeal but also the durability and protection offered by the vinyl. Additionally, select a vinyl that aligns with your vehicle’s original paint as closely as possible to ensure seamless integration and maintain the car’s overall value.
Next, evaluate the quality of the vinyl itself, looking for high-grade materials that offer superior adhesion, resistance to scratches and UV damage, and long-lasting color vibrancy. It’s also crucial to consider the application process—some vinyls are easier to work with than others, especially when dealing with intricate designs or curved surfaces. Moreover, ensure compatibility with your chosen car paint services or body shop services, as well as the availability of necessary tools and training for a professional-grade repair.
Applying the Right Vinyl: A Step-by-Step Guide
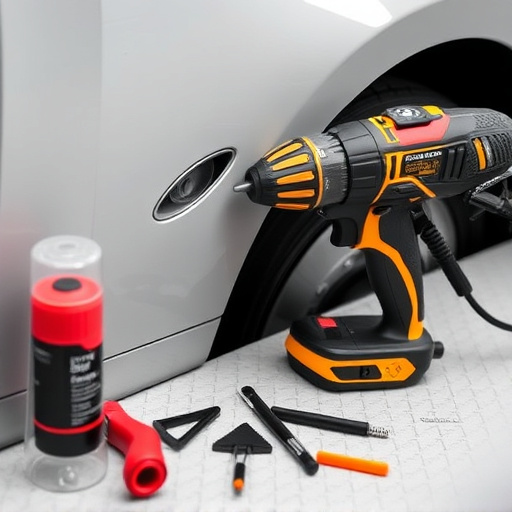
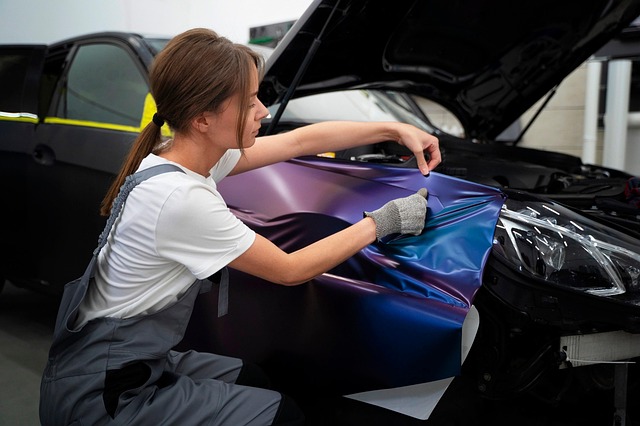
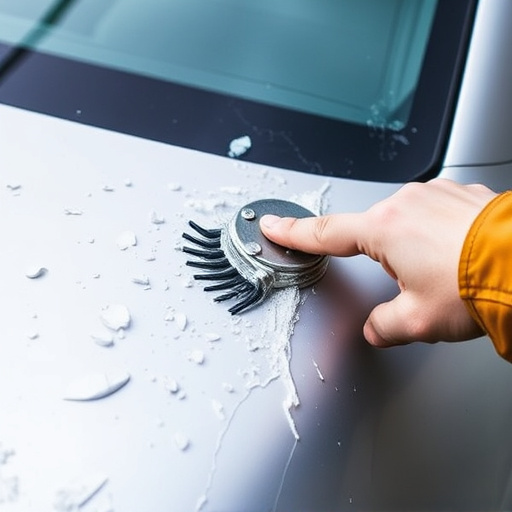
Applying the right vinyl for Tesla wrap repairs is a meticulous process that requires precision and attention to detail. Begin by preparing the surface of the car, ensuring it’s clean, dry, and free from any debris or imperfections. This step is crucial as it ensures optimal adhesion of the vinyl. Next, choose the appropriate vinyl type based on your desired finish and protection level. For a seamless Tesla wrap repair, opt for high-quality automotive vinyl with excellent stretch and flexibility to match the car’s curves smoothly.
Follow these steps for a successful application:
1. Measure and Cut: Measure the damaged area accurately and cut the vinyl to size using sharp scissors or a cutting tool designed for auto graphics.
2. Prepare Underlayment: If necessary, apply an underlayment or primer to enhance adhesion, especially on textured surfaces.
3. Positioning: Slowly and precisely position the vinyl onto the car, starting from one edge and smoothing it out as you go. Use a squeegee for even pressure and to remove any air bubbles.
4. Trim and Finish: Carefully trim excess vinyl using a sharp blade or trimmer, ensuring a clean and precise fit. Inspect the repair for any ripples or gaps before moving on to other areas.
When it comes to Tesla wrap repairs, selecting the appropriate vinyl is key. By understanding the various types available and considering factors like compatibility, durability, and aesthetics, you can ensure a successful and long-lasting repair. Following our step-by-step guide will help you apply the perfect vinyl, enhancing your Tesla’s appearance and value. Remember, the right choice in vinyl can make all the difference in achieving a seamless, professional finish for your Tesla wrap repair.