


Reparing a Tesla chrome delete involves using specialized tools like a heat gun and precision knives for safe, precise removal of damaged chrome. Wear protective gear and ensure good ventilation. Gather materials including a Chrome restore kit, inspect and prepare the area, apply heat, brush away residue, sand edges, and buff for a glossy finish, restoring your Tesla's original aesthetic.
“Tesla owners often face the dilemma of damaging their vehicle’s distinctive chrome delete features. This comprehensive guide tackles the common issue of chrome fading or peeling with a practical, DIY approach using a heat gun and specialized tools. Learn how to restore your Tesla’s chromed elements, enhancing its aesthetic appeal and longevity.
We’ll break down the process into understandable steps, covering safety precautions and offering insights on the best tools for the job. Say goodbye to unsightly chrome damage—we’ll teach you to master the art of Tesla chrome delete repair.”
- Understanding Tesla Chrome Delete Damage
- Tools and Safety Precautions for Repair
- Step-by-Step Guide to Chrome Restoration
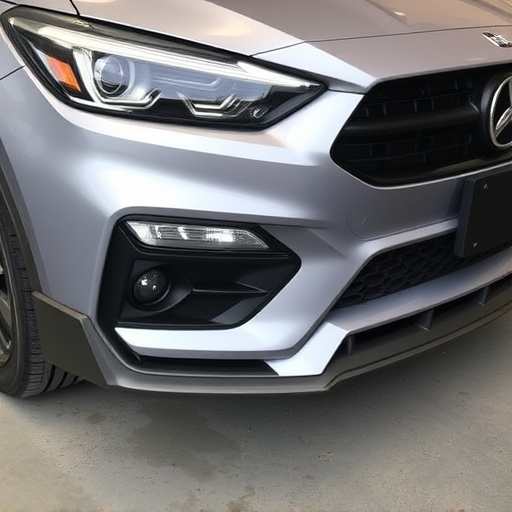
Understanding Tesla Chrome Delete Damage

Tools and Safety Precautions for Repair
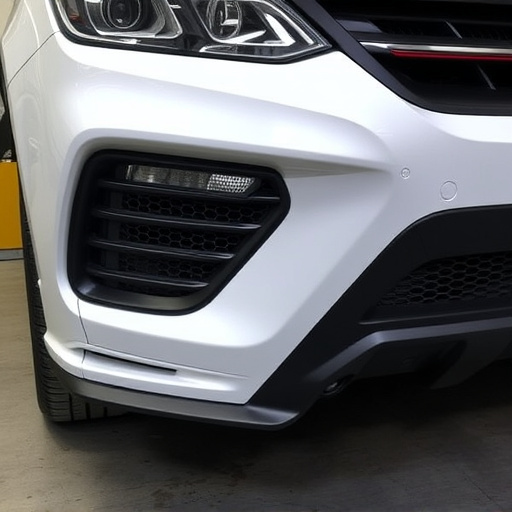
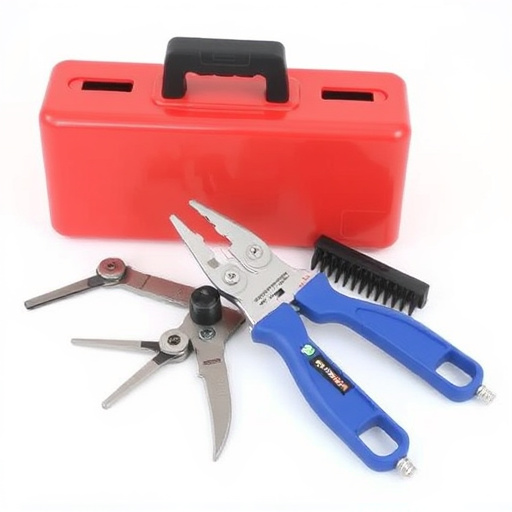
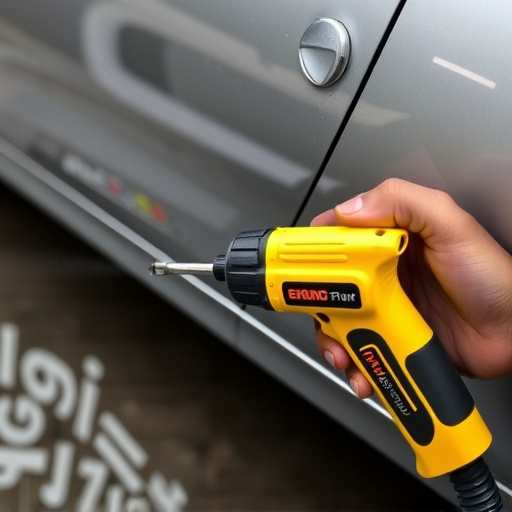
When undertaking a Tesla chrome delete repair, it’s essential to have the right tools for the job, including a heat gun, specialized cutting tools, and precision knives. These tools allow for precise manipulation and removal of the damaged or unwanted chrome components. Safety should be your top priority during this process. Always wear protective gear, such as safety glasses and gloves, to shield yourself from flying debris and intense heat. Ensure adequate ventilation in the work area to avoid inhaling harmful fumes from any chemicals used.
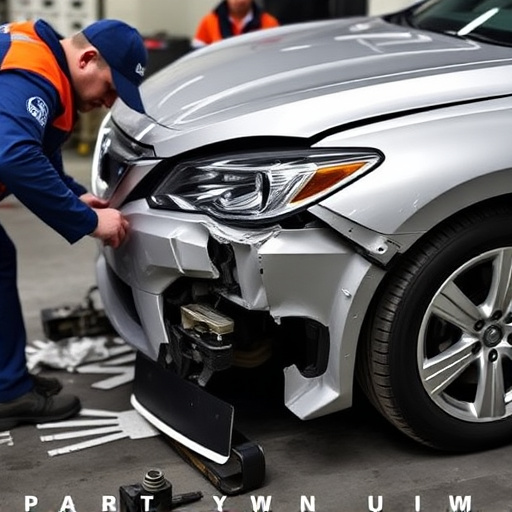
In addition to these primary tools, having a reliable auto glass replacement kit can be beneficial for fixing any shattered or cracked windows that may accompany the chrome repair. Moreover, understanding basic vehicle body repair techniques is crucial for making necessary adjustments and ensuring a seamless finish. Even if your Tesla has sustained hail damage repair needs, the skills acquired during this repair process will prove invaluable in achieving a restored and refined look.
Step-by-Step Guide to Chrome Restoration
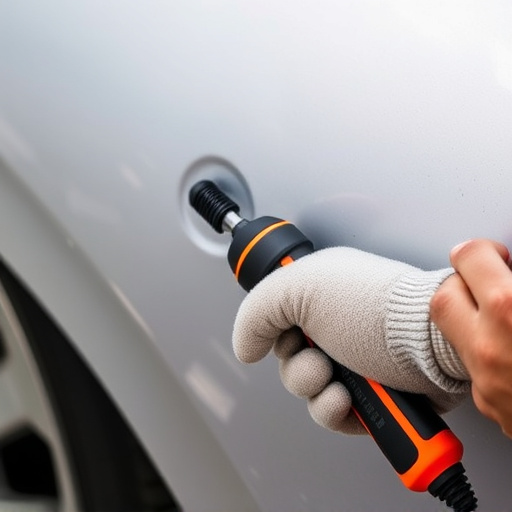
Restoring Tesla’s chrome delete can be a straightforward process when equipped with the right tools and techniques. First, prepare your workspace by gathering all necessary materials, including a heat gun, wire brushes, sandpaper, and a Chrome restore kit. Begin by inspecting the damaged area to understand the extent of the chrome deletion. Next, gently apply heat using the heat gun to loosen any remaining adhesive or residue while being careful not to overheat the surface.
Once the area is warm, use the wire brush to carefully remove loose material, taking care to avoid scratching the underlying metal. After cleaning, sandpaper can be employed to smoothen out any rough edges or imperfections. Follow the instructions in your Chrome restore kit to apply the restoration compound and ensure even coverage. Let it dry, then buff to a shine using microfibers. This meticulous process will not only fix the Tesla chrome delete but also bring back its original luster, making it look as good as new, just like at a top-notch vehicle body shop or auto repair services.
Tesla Chrome Delete Repair: Restoring Your Vehicle’s Elegance
By carefully understanding the damage caused by a Tesla chrome delete and utilizing the right tools, such as a heat gun and specialized equipment, you can effectively restore your vehicle’s aesthetic appeal. This step-by-step guide equips you with the knowledge to tackle this repair project safely and efficiently, ensuring your Tesla shines like new again. Remember, proper safety precautions are key when working on automotive surfaces, so always prioritize safety during the chrome delete repair process.