


Before replacing weather stripping, clear the area, ensure a temperature of 50-70°F (10-21°C), and gather tools. Measure and cut custom strips for precise fitment. Proper installation seals against elements, improves fuel efficiency, and protects vehicle condition, requiring careful preparation and expert guidance when needed.
Looking to enhance your home’s energy efficiency? Properly installing weather stripping replacement is a simple yet effective way to improve insulation and save on utility costs. This guide provides essential tips for success, covering everything from preparing your space and measuring custom strips to securing and sealing them for optimal performance. Master these steps, and you’ll not only boost comfort but also reduce energy loss caused by drafts.
- Prepare Your Space for Weather Stripping Installation
- Measure and Cut Custom Weather Strips
- Secure and Seal for Longevity and Efficiency
Prepare Your Space for Weather Stripping Installation

Before you begin installing new weather stripping replacement, it’s crucial to prepare your space for a seamless and effective process. Start by clearing the area around the doors or windows where the weather stripping will be fitted. Remove any debris, dirt, or old weather stripping that might be present. This ensures a clean surface for optimal adhesion when applying the new strips. Additionally, ensure the temperature is suitable for installation—ideally, between 50-70°F (10-21°C) to achieve the best results.
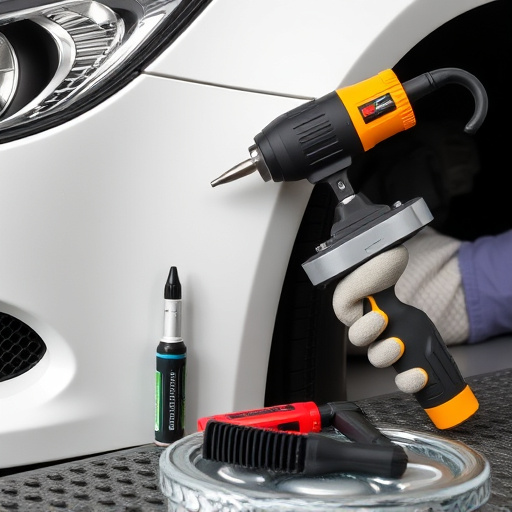
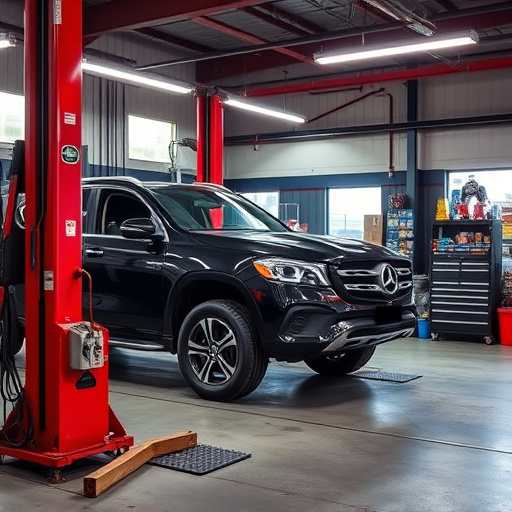
A well-prepared space includes taking inventory of your tools and materials. Gather all necessary components, including the new weather stripping, adhesive, applicators, or any other accessories recommended by the manufacturer. In case you’re undertaking an automotive collision repair or auto body repairs involving weather stripping replacement, it’s also wise to consider the expertise and services provided by a professional body shop. They can offer guidance tailored to your vehicle’s specific needs and ensure the job is done right.
Measure and Cut Custom Weather Strips

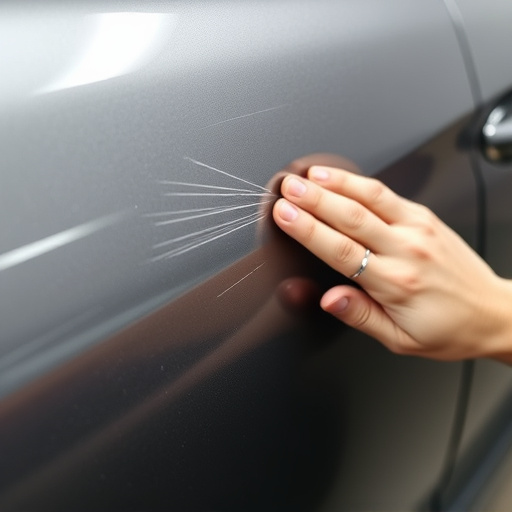
Measuring and cutting custom weather strips is a precise step in the weather stripping replacement process. Begin by removing the existing weather strips from your vehicle’s doors or windows, taking note of their length and width. This measurement will serve as a guide for cutting new, tailored strips that perfectly fit your car’s unique profile. Using a ruler or tape measure, mark the desired length on a piece of high-quality weather stripping material. Ensure accuracy by double-checking your measurements against the original strips.
Next, carefully cut the weather stripping to size using sharp scissors or a utility knife designed for such tasks. This DIY approach allows you to customize the fit, which is crucial in an automotive body shop where precise alignment ensures that your car remains sealed and protected from elements like rain and snow during a car collision repair or routine car paint repair. Remember, a secure seal not only enhances your vehicle’s aesthetics but also prevents water intrusion, ensuring the longevity of any recent or future car collision repairs.
Secure and Seal for Longevity and Efficiency

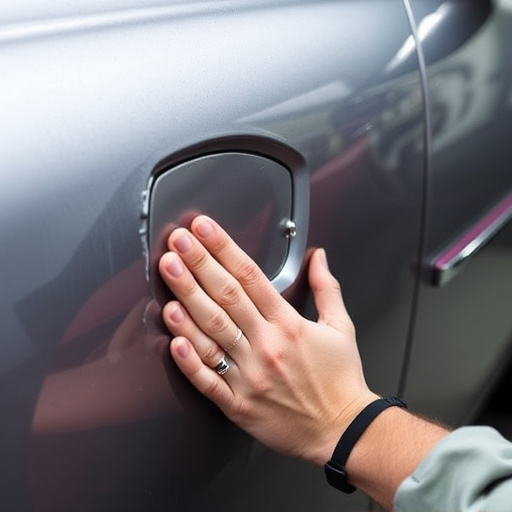
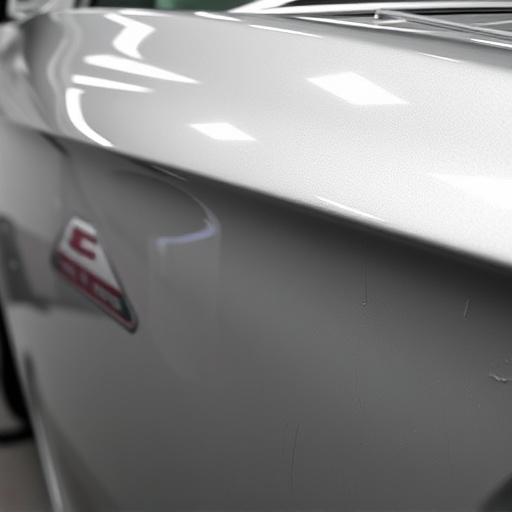
Proper installation of weather stripping replacement is key to ensuring longevity and efficiency in your vehicle’s performance. Once the new weather stripping is in place, it’s crucial to secure it tightly against the car body using appropriate tools and techniques. A snug fit prevents air leaks, which can lead to energy loss and higher fuel consumption. Additionally, sealing the edges with a high-quality sealant ensures water and moisture don’t penetrate into the vehicle’s interior or rust out sensitive components over time. This not only maintains the comfort of your ride but also protects against damage from harsh weather conditions, making it an essential step in any car body repair or maintenance routine.
A well-executed weather stripping replacement, coupled with expert car bodywork services, goes a long way in preserving the overall condition of your vehicle. The seamless integration of the new strips ensures they blend perfectly with the existing car body, maintaining the vehicle’s aesthetic appeal. Moreover, by blocking out elements like wind and rain, properly installed weather stripping enhances driving comfort during all seasons, making it an investment worth considering for any vehicle owner looking to keep their car in top shape.
Properly installed weather stripping replacement not only enhances your home’s energy efficiency but also extends the life of your doors and windows. By preparing your space, measuring accurately, cutting custom strips, and securing them with care, you’ll create a sealed barrier against the elements. This simple do-it-yourself project can significantly improve comfort levels and save on heating and cooling costs, making it a valuable investment for any homeowner considering weather stripping replacement.