
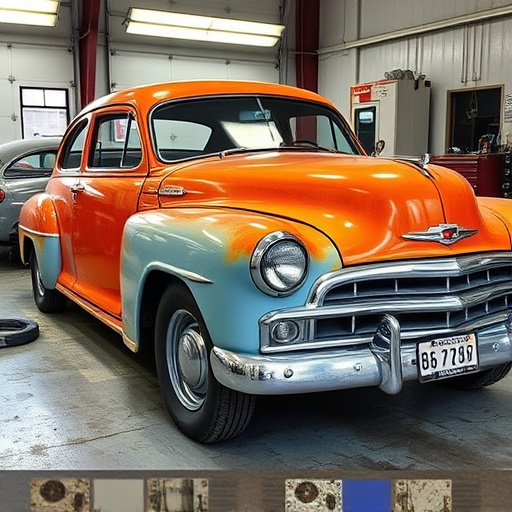


Before laser alignment after a collision, inspect your vehicle for damage, ensuring safety and functionality. Gather necessary tools and learn restoration procedures. Proper preparation facilitates accurate laser alignment, addressing wheel issues for safe handling and aesthetic repair. Test handling post-alignment, and proceed with collision repair services including dent removal. Precise alignment enhances safety, prevents wear, and saves costs.
After a collision, proper preparation is key for successful laser alignment. Before you begin, prioritize safety and assess any damage to your vehicle. Ensure all hazards are addressed and the area is secure. Gather the required tools, including a laser alignment machine compatible with your vehicle’s make and model, as well as replacement parts if needed. Follow these steps diligently for an accurate and efficient laser alignment post-collision.
- Assess Damage and Safety First
- Gather Necessary Tools and Equipment
- Step-by-Step Laser Alignment Process After Collision
Assess Damage and Safety First
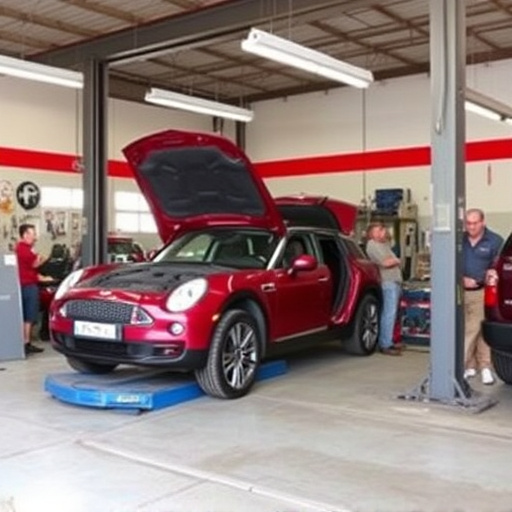
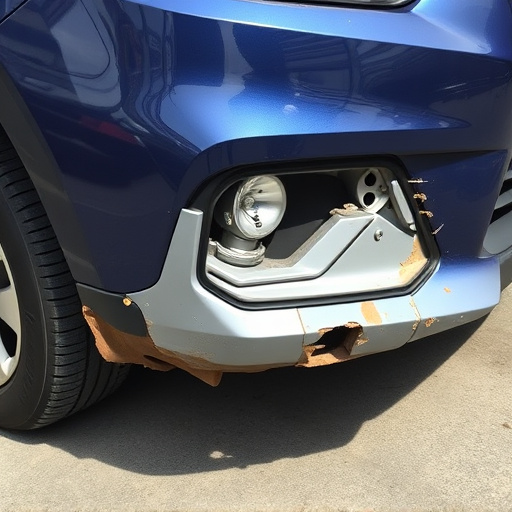
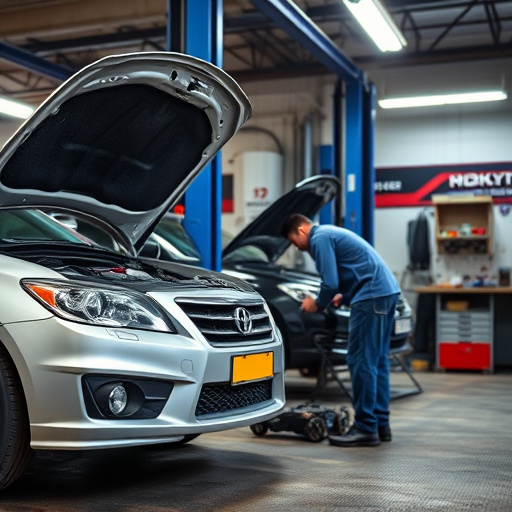
Before considering laser alignment after a collision, it’s paramount to assess the damage and prioritize safety. Following a car accident, conduct a thorough inspection of your vehicle to understand the extent of the harm. Look for any visible deformities, cracks, or misalignments in the frame and body panels. Check critical components like headlights, taillights, and signal lights for proper functioning. Ensure that all fluids are secure and there’s no sign of leaks. Safety should always be the top priority, so if you notice any concerning issues, consult a professional mechanic or autobody repair specialist before proceeding with laser alignment.
Remember, proper laser alignment is crucial to ensure your vehicle handles correctly and safely on the road. While frame straightening might be necessary for severe cases, laser alignment focuses on refining the vehicle’s suspension and steering systems post-colision. It helps realign wheels, correct camber issues, and restore optimal driving dynamics. By addressing these factors first, you lay the groundwork for effective autobody repairs and a more secure ride after the alignment process is complete.
Gather Necessary Tools and Equipment

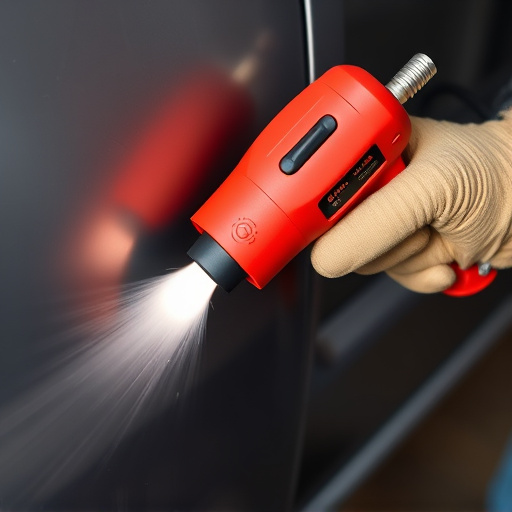
Before attempting laser alignment after a collision incident, it’s crucial to gather all necessary tools and equipment. This process requires specialized gear designed for precision and accuracy, such as laser sensors, alignment kits, and new or replaced parts specific to your vehicle model. Ensure you have access to a reliable power source to operate the laser systems effectively.
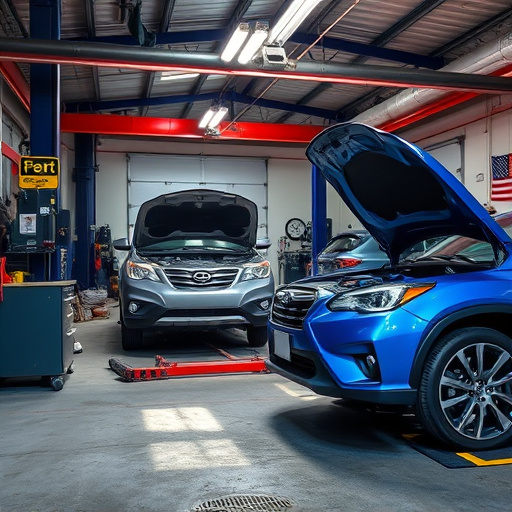
Proper preparation includes familiarizing yourself with the car restoration and automotive repair procedures involved in laser alignment. This may include checking for any necessary pre-alignment tasks, like assessing damage, replacing damaged components, and ensuring the suspension is secure. The goal is to create an environment conducive to accurate measurements and precise adjustments, ultimately facilitating successful vehicle collision repair.
Step-by-Step Laser Alignment Process After Collision
After a collision, ensuring proper vehicle alignment is crucial for both safety and aesthetics. Here’s a step-by-step guide on how to perform laser alignment post-collision:
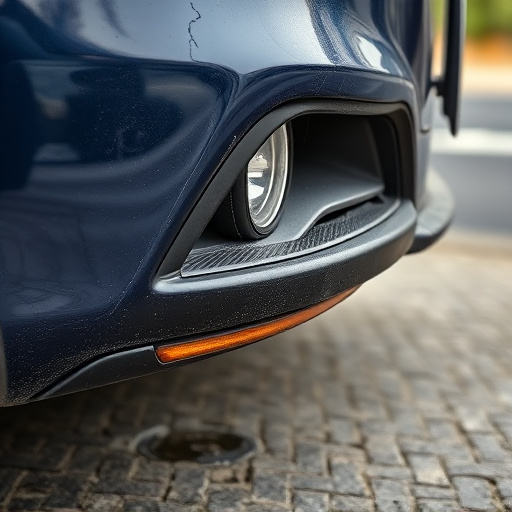
1. Assess Damage: Begin by thoroughly inspecting your vehicle for any damage, focusing on areas affected by the collision. This includes looking at the wheels, suspension, and chassis for any misalignments or deformities that require attention before proceeding with laser alignment.
2. Jack Up and Support: Use a jack to lift the vehicle safely and place it on sturdy jack stands. Ensure all four wheels are off the ground and secure. This step guarantees stability during the alignment process. Next, use laser alignment tools to check for any changes in camber, toe, or caster angles caused by the collision. These measurements will guide your adjustments.
3. Adjust as Needed: Based on the laser readings, make necessary adjustments using alignment shims or other mechanical means. Focus first on the wheels with significant deviations from their original alignment. Fine-tune each wheel individually until all measurements fall within manufacturer specifications.
4. Re-lower and Test: Once satisfied with the alignment, carefully lower the vehicle back to the ground. Drive it at safe speeds for a short distance to test the handling and stability, ensuring that the adjustments have improved the vehicle’s performance without causing any new issues. If everything feels and handles correctly, you’re ready to proceed with collision repair services to fix any visible damage, including car dent repair where necessary. Remember, precise alignment enhances safety and can prevent further wear on your vehicle’s components, ultimately saving costs in the long run.
After assessing damage, ensuring safety, and gathering the right tools, performing a laser alignment after a collision is a meticulous process that requires precision. By carefully following the step-by-step guide, you can restore your vehicle’s alignment to pre-collision specifications, enhancing safety and driving dynamics. Remember, proper laser alignment is key to maintaining your car’s performance and ensuring a smooth ride ahead.