


Tesla owners often face PPF (paint protection film) issues after track or road trips, leading to damage requiring professional restoration. Repair shops use specialized tools and materials for meticulous PPF repair, ensuring longevity and aesthetic appeal. DIY enthusiasts can also complete the task by acquiring quality components and following manufacturer guidelines, preserving Tesla's original paintwork and enhancing vehicle value.
After a track day or road trip, your Tesla’s Paint Protection Film (PPF) may show signs of wear and tear. This article guides you through understanding common PPF damage, preparing for repairs, and offers a step-by-step process to restore your vehicle’s protective coating like new. Learn the essential tools and materials required for an efficient Tesla PPF repair job, ensuring your car maintains its sleek, scuff-free exterior.
- Understanding Tesla PPF Damage After Track or Road Trips
- Tools and Materials Required for PPF Repair
- Step-by-Step Guide to Efficient PPF Restoration
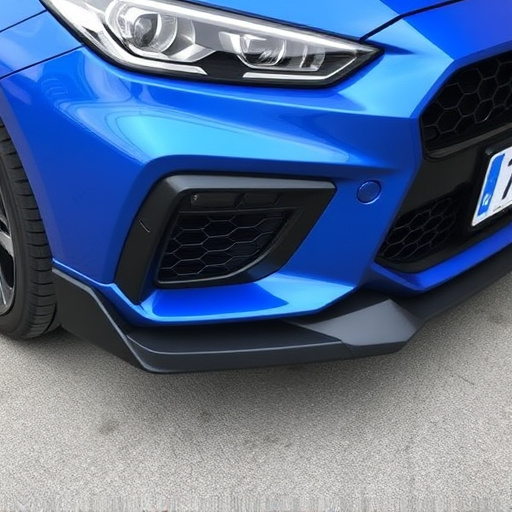
Understanding Tesla PPF Damage After Track or Road Trips
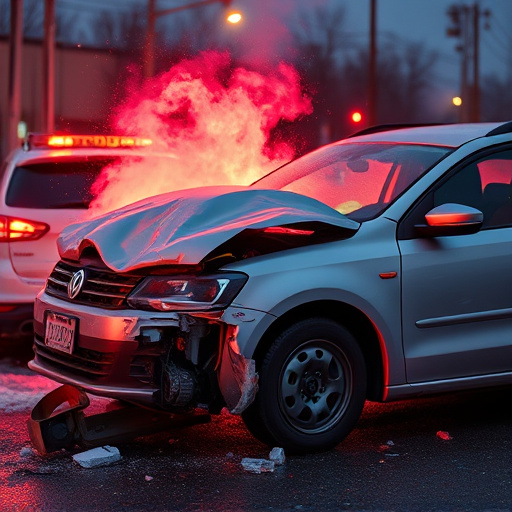
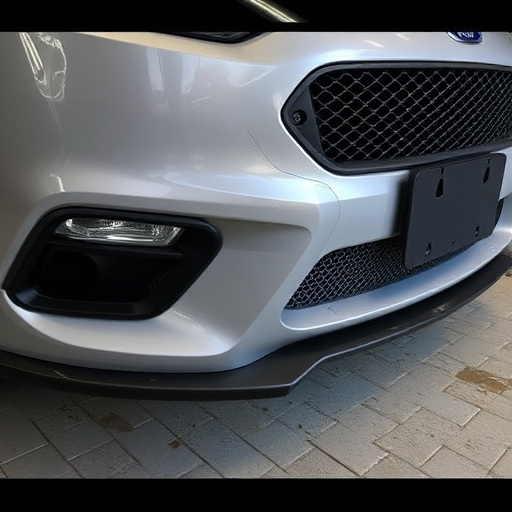
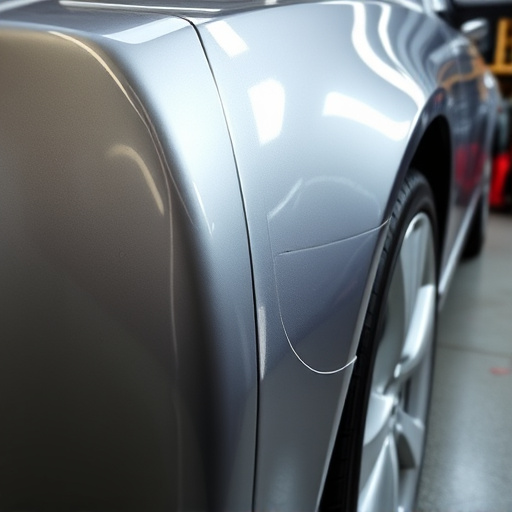
After track or road trips, Tesla owners often notice damage to their Paint Protection Film (PPF). This is a common concern among enthusiasts who push their vehicles to the limits on winding roads and race tracks. PPF protects the vehicle’s paintwork from scratches, chips, and other forms of abrasion, but intense driving conditions can still leave behind unsightly marks. Dings, small cracks, and delaminations are typical issues that require repair or replacement.
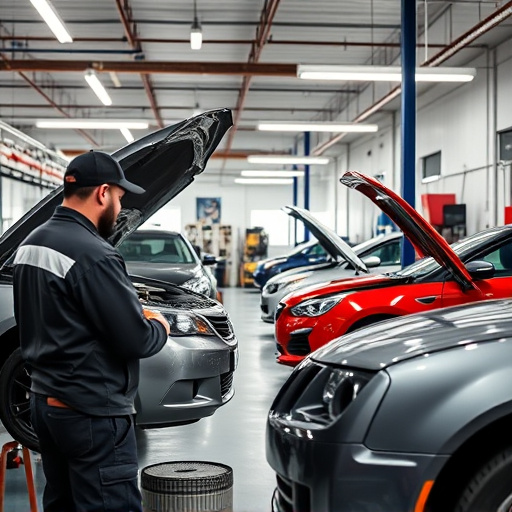
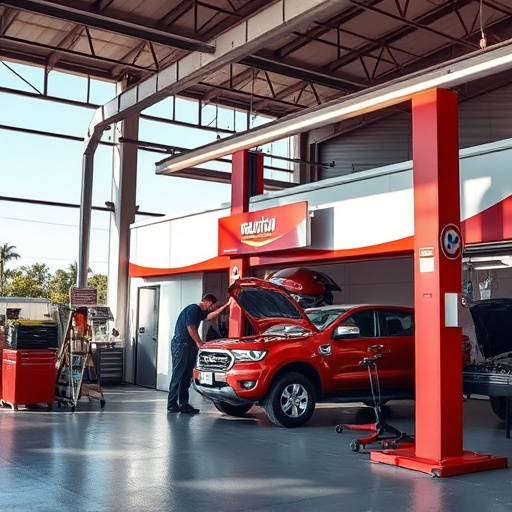
The automotive body shop specializing in luxury vehicle repair will often see these challenges as standard, with many customers seeking restoration services to restore their PPF to its original condition. Proper repair techniques, including using specialized tools and materials, can ensure the longevity of the PPF and maintain the vehicle’s aesthetic appeal.
Tools and Materials Required for PPF Repair
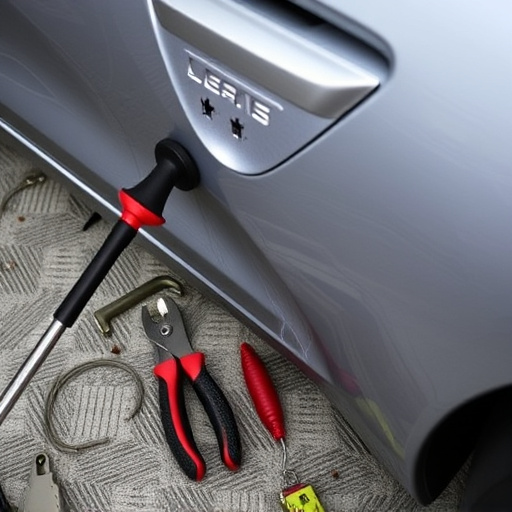
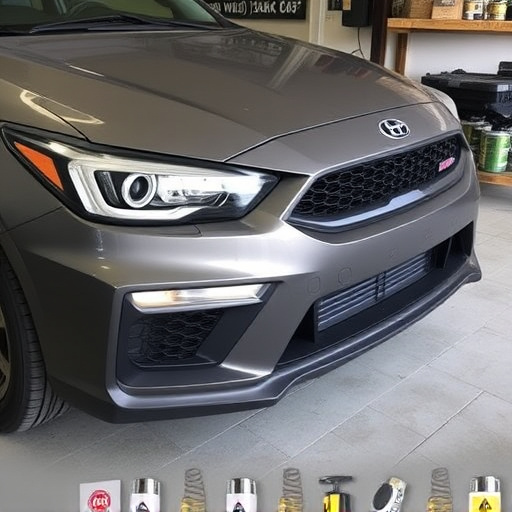
When it comes to repairing Tesla PPF (paint protection film), the right tools and materials are essential for achieving a flawless result. For this task, you’ll need a specialized kit designed specifically for PPF repairs. This typically includes a range of precision tools such as knife-like scalpel blades, applicator tools, and cleaning solutions formulated for paint protection films. Additionally, having a supply of replacement film sections, adhesive, and sealants will be crucial, especially if there are damaged or missing portions that require patching.
While some enthusiasts might consider visiting a collision repair center for luxury vehicle repairs, many find that with the right materials, PPF repair can often be done as a DIY project. The key lies in acquiring high-quality tools and components to ensure the longevity of your Tesla’s original paintwork. Remember, proper preparation and adherence to manufacturer guidelines will guarantee a successful and lasting repair.
Step-by-Step Guide to Efficient PPF Restoration
Restoring your Tesla PPF after a track or road trip requires a systematic approach to ensure optimal protection for your vehicle’s paintwork. Here’s a step-by-step guide to efficiently restore your Tesla PPF:
1. Preparation: Begin by washing your Tesla thoroughly, using dedicated car wash mitts and a high-quality shampoo to avoid scratching the PPF or the underlying paint. Ensure the surface is completely dry before proceeding. Gather all necessary tools, including a microfiber towel, PPF restoration kit (which includes cleaners, polishes, and applicators), and protective gear for your hands.
2. Inspect and Cleanse: Carefully inspect the PPF for any delaminated or damaged areas. Use the appropriate cleaner from your restoration kit to remove any residue, contaminants, or road grime. This step is crucial in ensuring a clean canvas for the restoration process. For stubborn stains or dents, consider professional dent removal services near you to maintain the integrity of your Tesla’s body and PPF. After cleansing, allow the surface to dry completely again.
3. Apply Restorative Compound: Using the applicator tools provided, gently apply the restorative compound to the PPF, following the product’s instructions for application technique and timing. This step helps to fill in minor imperfections and restore a smooth finish. Let it cure according to the manufacturer’s guidelines before moving on.
4. Polish and Wipe Down: Once cured, use a microfiber towel to apply the polish, buffing it into the PPF until a glossy finish appears. Remove any excess polish with another clean microfiber cloth. The final step involves wiping down the entire surface to ensure no residue is left behind. This meticulous process reveals a restored PPF that offers continued protection for your Tesla’s paintwork, enhancing its overall appearance and value, especially when compared to a standard auto repair near you or vehicle body repair.
After extensive track or road trips, Tesla’s Paint Protection Film (PPF) can sustain damage from stones, debris, and environmental factors. Repairs are essential to maintain the vehicle’s aesthetic appeal and protect the underlying paint. With the right tools and a detailed guide, Tesla owners can efficiently restore their PPF, ensuring their cars look as good as new again.