

R&R (remove and replace) is a vital process for OEM parts replacement in vehicles, requiring skilled technicians to disassemble, remove faulty components, install new, high-quality parts, and reassemble, maintaining original specifications while enhancing performance and reliability. This systematic approach includes planning, gathering tools/parts, removing damaged components, inspecting, cleaning, installing new pieces, double-checking fastenings, and testing through a test drive, applicable from simple fender repairs to complex body work. Best practices involve thorough inspection, adherence to manufacturer guidelines, proper disposal of old parts, and detailed record-keeping for environmental safety and future repair quality.
In the realm of original equipment manufacturer (OEM) parts replacement, understanding the fundamentals of R&R (Remove and Replace) is paramount. This article delves into the intricacies of this procedure, offering a comprehensive guide for mechanics and DIY enthusiasts alike. From grasping the basic concepts of removal and replacement to executing meticulous step-by-step processes, we explore best practices to ensure successful OEM parts installation.
- Understanding R&R: The Basics of Removal and Replacement
- Step-by-Step Guide: Executing an Effective R&R Procedure
- Best Practices: Ensuring Successful OEM Parts Replacement
Understanding R&R: The Basics of Removal and Replacement

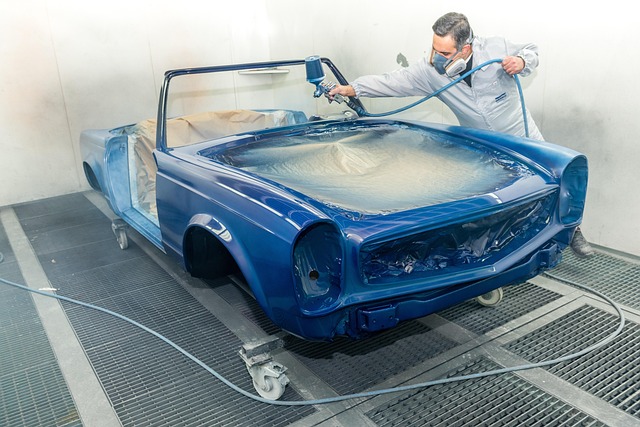
R&R, or Remove and Replace, is a fundamental process in OEM (Original Equipment Manufacturer) parts replacement procedures. It involves skillfully disassembling faulty or worn-out components from a vehicle, carefully removing them, and then installing new, like-new parts. This method ensures that the vehicle’s original specifications are maintained while enhancing its performance and reliability.
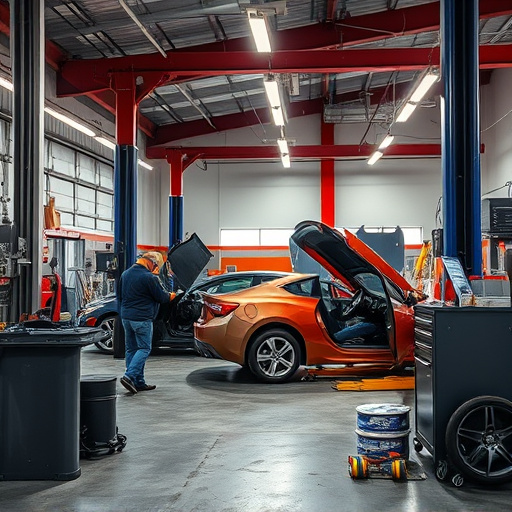
In automotive repair, especially in car repair services, understanding R&R is crucial. It demands precision and knowledge of how various vehicle systems operate together. Technicians must navigate the intricate network of components within the vehicle bodywork to access and replace parts efficiently. By mastering this technique, they can provide high-quality repairs that match or exceed the performance of OEM parts.
Step-by-Step Guide: Executing an Effective R&R Procedure

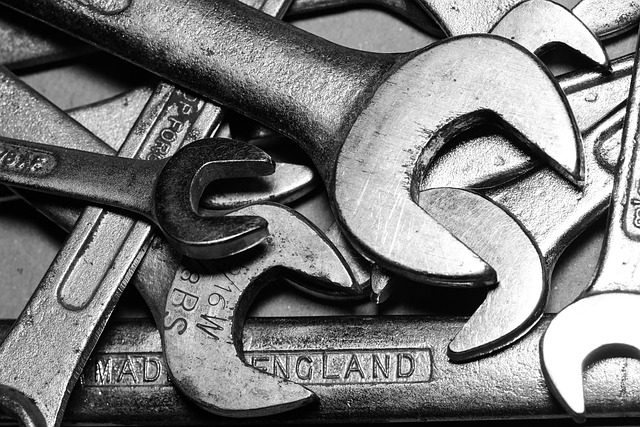
Executing a successful R&R (remove and replace) procedure requires meticulous planning and a structured approach. Here’s a step-by-step guide to ensure optimal outcomes in vehicle restoration or fender repair, among other vehicle body repairs. First, gather all necessary tools and parts specific to the replacement process. This includes removing the damaged part, inspecting the undercarriage for any related issues, and preparing the new part for installation. Next, carefully disassemble any components surrounding the faulty piece, taking note of how they connect.
Once the old part is thoroughly removed, clean the affected area to eliminate any debris or contaminants. Then, install the new component, ensuring proper alignment and secure fastening. Double-check your work by verifying that all bolts are tightly fastened and that no parts have been left exposed. Finally, reassemble the surrounding components and test drive the vehicle to confirm the repair’s effectiveness. This systematic R&R approach guarantees a seamless transition from damaged to restored, be it a simple fender repair or more complex vehicle body work.
Best Practices: Ensuring Successful OEM Parts Replacement
When performing R&R (remove and replace) procedures for OEM (Original Equipment Manufacturer) parts in vehicle collision repair or car dent removal scenarios, adhering to best practices is paramount. It starts with thorough inspection and diagnosis to identify not just the damaged components but also any underlying issues that could affect the replacement process or future performance. This involves using advanced diagnostic tools to scan for error codes and checking visual cues that might indicate related problems.
Successful OEM parts replacement also necessitates a meticulous R&R (remove and replace) strategy. This includes using the correct tools and following manufacturer guidelines strictly. Proper disposal of old components is another crucial step, as it ensures environmental safety and prevents potential hazards in future vehicle repair services. Additionally, keeping a detailed record of the removed parts, their conditions, and the R&R process itself can serve as a valuable reference for quality control and ensuring the longevity of vehicle repair services.
In conclusion, mastering R&R (remove and replace) techniques is a game-changer in original equipment manufacturer (OEM) parts replacement. By understanding the basics of removal and replacement, following a step-by-step guide, and adopting best practices, professionals can ensure successful OEM parts installation, leading to higher quality and performance standards. This approach streamlines procedures, reduces costs, and enhances overall efficiency in various industries.