
Inspect vehicle for damage, assess severity, and consider paintless dent repair for minor issues. Prepare surface by washing, drying, and addressing existing dents or scratches. Clean area, apply new vinyl wrap, smooth, let adhesive set, then trim for a flawless finish.
“Ensuring your vehicle’s sleek look doesn’t have to break the bank with a vinyl wrap repair replacement. This comprehensive guide navigates you through the process, from assessing damage to applying the new wrap. First, inspect your car for defects and gather essential materials. Then, meticulously prepare the surface, addressing any imperfections. Our step-by-step approach covers everything, from the right tools to the best techniques, ensuring a flawless vinyl wrap job that’ll make your vehicle stand out in the hustle and bustle.”
Assess Damage and Gather Materials

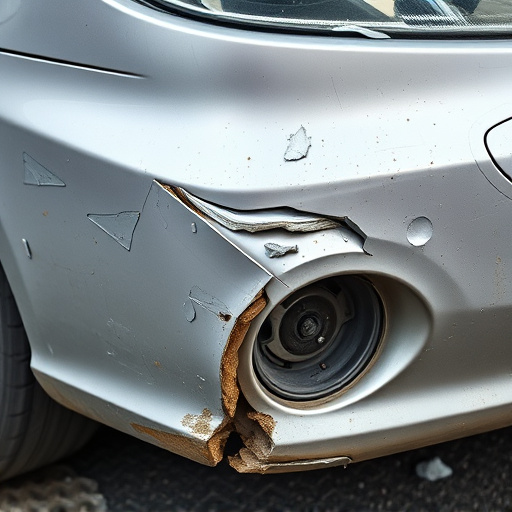
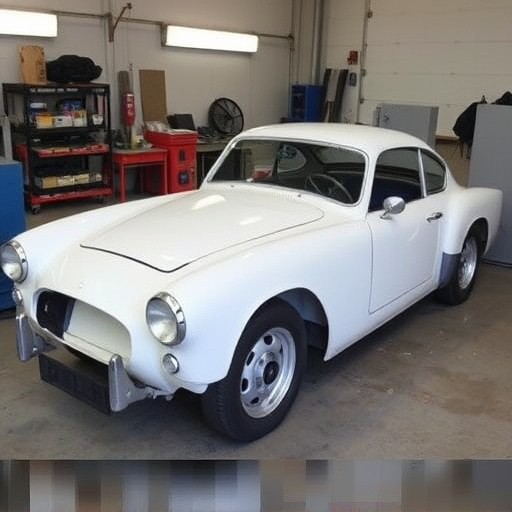
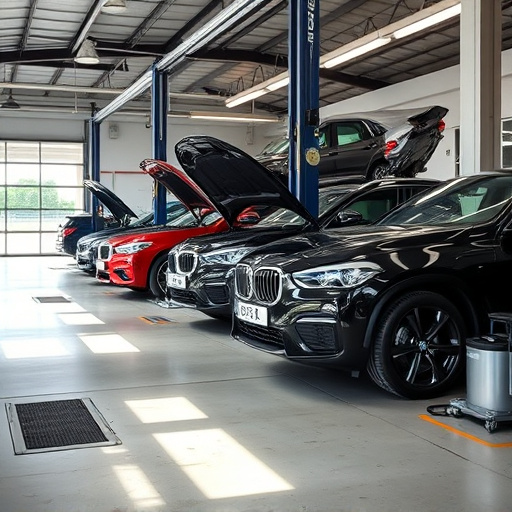
Before diving into the vinyl wrap repair replacement process, it’s crucial to thoroughly assess the damage and gather all necessary materials. Start by examining your vehicle closely, identifying any tears, cracks, or bulges in the vinyl. Check for loose edges or areas where the wrap has come loose from the underlying surface. Take note of the extent of the damage, as this will guide your repair approach. For minor scuffs and scratches, you might opt for a paintless dent repair technique, which preserves the original finish without traditional painting.
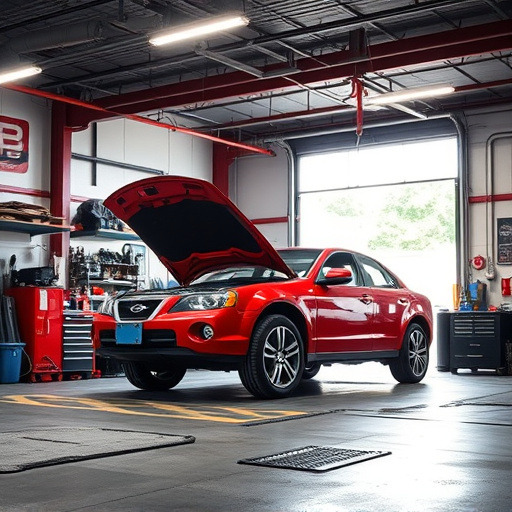
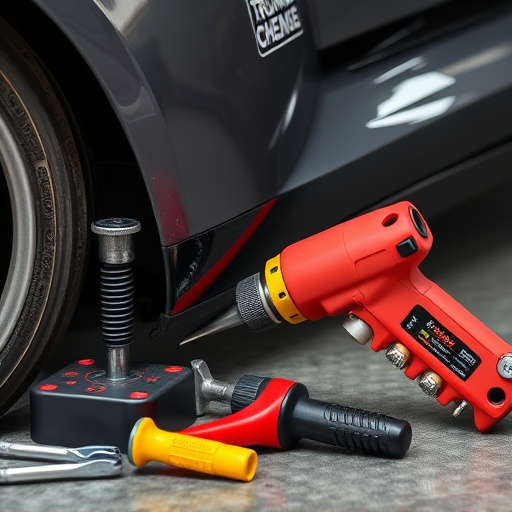
Gathering the right materials is key to a successful vinyl wrap repair replacement. You’ll need specific tools designed for this task, such as specialized knives, applicators, and heaters. Ensure you have enough fresh vinyl wrap to cover the damaged area fully. Consider also acquiring touch-up paints that match your vehicle’s color for seamless blending. If the damage is extensive or involves complex shapes, it might be wise to seek professional auto body services for guidance on the best approach and materials to use.
Prepare the Vehicle Surface
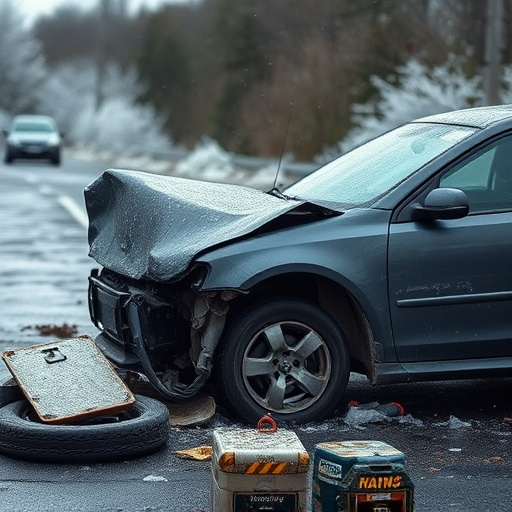
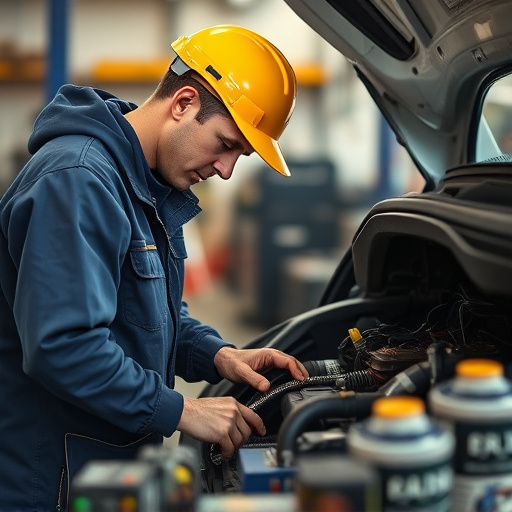
Before starting any vinyl wrap repair or replacement, preparing the vehicle surface is a crucial step. Begin by thoroughly washing and drying the car to ensure no dirt, grease, or debris remains on the surface. This initial cleaning process helps create a clean slate for the repair work, ensuring better adhesion of the new vinyl wrap.
Once the car is clean, inspect the area requiring repair for any existing damage such as dents, scratches, or cracks. Use appropriate tools to address these issues, whether through auto body repair techniques like dent removal or simple buffing and polishing for minor imperfections. A smooth and damaged-free surface is essential to achieving a professional finish with your vinyl wrap repair replacement.
Apply and Install Vinyl Wrap
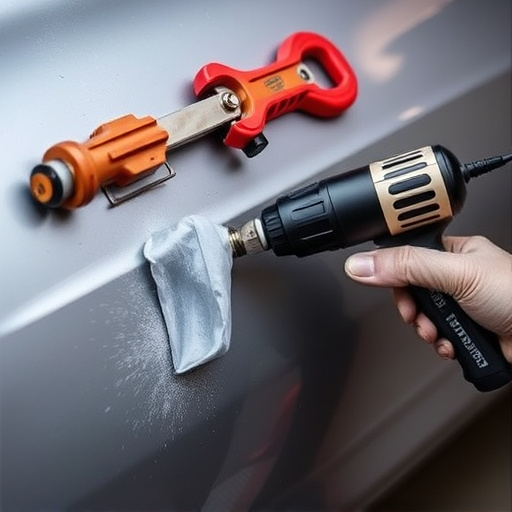
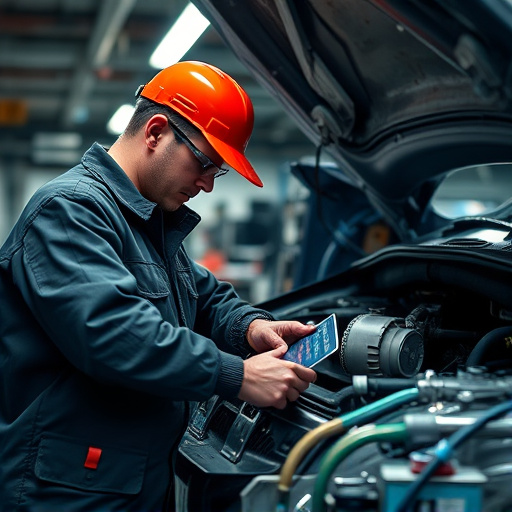
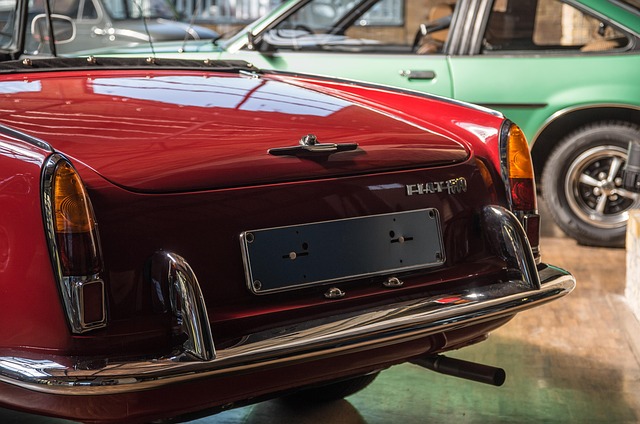
Applying and installing a vinyl wrap is a meticulous process that requires precision and attention to detail. After preparing your vehicle for the repair replacement, ensuring all surfaces are clean and free from debris, it’s time to move on to this crucial step. Start by carefully removing any existing damaged or faded sections of the wrap using specialized tools. This involves cutting along the edges with a sharp knife or cutter, taking care not to affect the surrounding intact material. Once the old wrap is removed, gently clean the area with a mild detergent and a soft cloth to eliminate any residual dirt or oil.
The new vinyl wrap should be cut according to your vehicle’s specifications, ensuring it fits perfectly. Position the wrap over the repaired surface, aligning it meticulously. Begin at the center and work outwards, smoothing out bubbles or wrinkles as you go. Use a smooth roller or a specialized tool to apply even pressure across the entire surface. This step ensures the wrap adheres securely without visible lines or air pockets. Allow the adhesive to set according to the manufacturer’s instructions before adding any final touches or trim to complete the vinyl wrap repair replacement process, effectively restoring your vehicle to its former aesthetic glory, if not enhancing it.
Preparing your vehicle for a vinyl wrap repair replacement involves careful assessment of damage, proper surface preparation, and meticulous application of new vinyl. By following these steps, you can ensure a durable and visually appealing finish that restores your vehicle’s aesthetic to its original glory. Remember, the key lies in attention to detail during each phase, from gathering the right materials to applying the wrap with precision, ultimately achieving a high-quality vinyl wrap repair replacement.