

Tesla touchscreen damage impacts functionality and aesthetics, prompting replacement by skilled technicians. Before replacing, update firmware, gather tools, power down the car, remove the damaged display, install a new touchscreen with precise alignment, reconnect cables, reassemble the dashboard, and test system functionality for optimal performance and vehicle value preservation.
Tesla vehicles are renowned for their cutting-edge technology, but even the most carefully used displays can suffer from cracks or scratches. If your Tesla’s touchscreen has seen better days, fear not! This guide will walk you through the process of replacing it yourself. We’ll cover common causes of damage, essential tools and steps needed, and a detailed, step-by-step installation process to get your Tesla’s display looking like new again, all while saving you time and money on professional repairs with easy-to-follow instructions for a successful Tesla touchscreen replacement.
- Understanding Tesla Touchscreen Damage
- Preparing for Replacement: Tools and Steps
- Installing a New Touchscreen: A Step-by-Step Guide
Understanding Tesla Touchscreen Damage
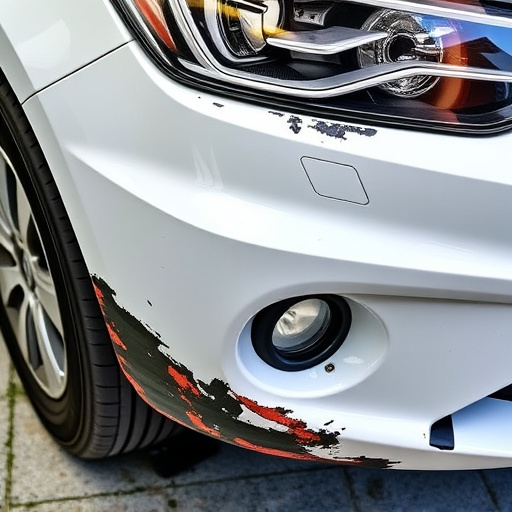
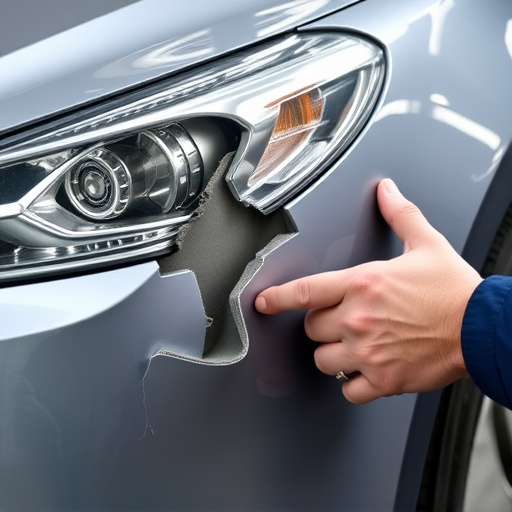
Tesla touchscreen damage can range from minor cracks to significant scratches, affecting the vehicle’s functionality and overall aesthetics. These issues often arise due to accidental impacts, harsh weather conditions, or even everyday wear and tear. A cracked or scratched Tesla touchscreen not only impairs the driver’s ability to access essential features but also reduces the car’s resale value.
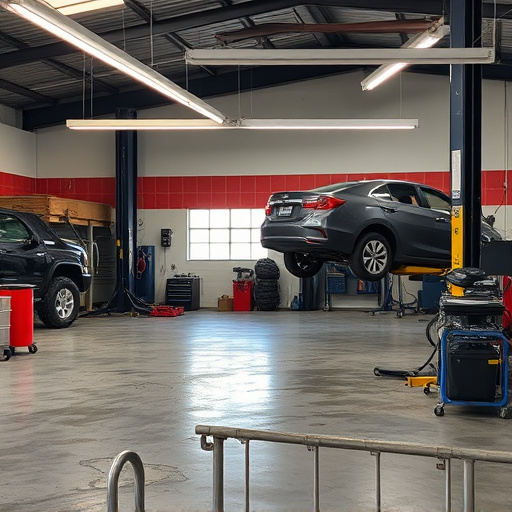
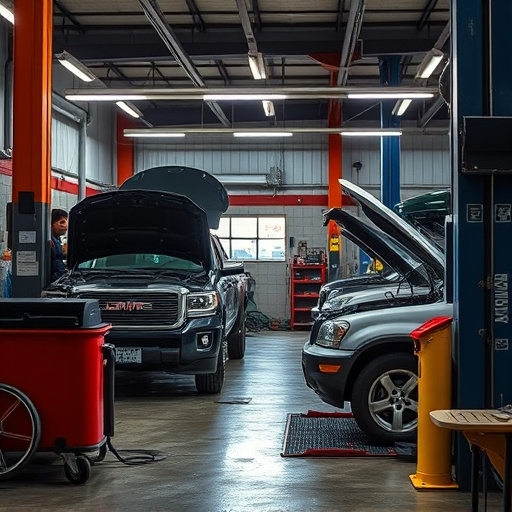
Many owners might consider a Tesla touchscreen replacement as a necessary step in automotive restoration. This process involves skilled technicians at a reputable car repair shop meticulously disassembling the dashboard to remove the damaged screen and installing a new one. A professional automotive restoration ensures that the replacement parts match the original specifications, providing a seamless fit and enhancing the car’s appearance and performance.
Preparing for Replacement: Tools and Steps
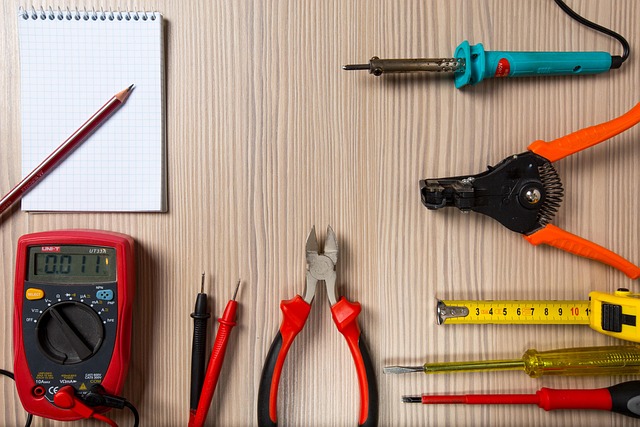
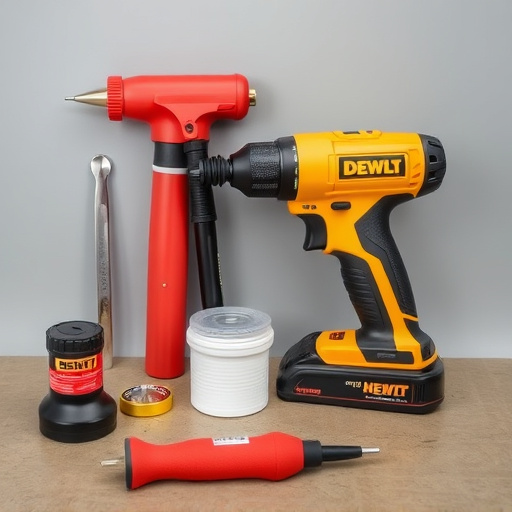
Before diving into the Tesla touchscreen replacement process, it’s crucial to gather the necessary tools and understand the steps involved. For a successful Tesla touchscreen replacement, you’ll need specific hardware like a new touchscreen module, screws, and adhesive. Software preparation is equally important; ensure your device is updated to the latest firmware for optimal compatibility.
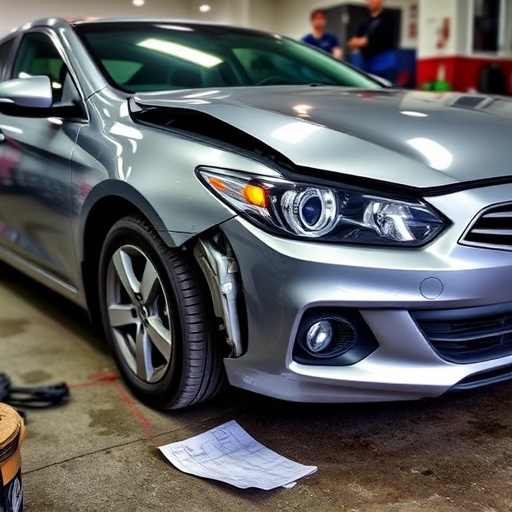
The process typically begins with powering down the vehicle and removing the cracked or scratched display carefully. This may involve detaching cables and connectors securely fastened within the dashboard. Then, precise disassembly of the surrounding components allows access to the auto collision center-level repair. Once exposed, the old touchscreen is carefully removed, and the new one installed, ensuring proper alignment for a seamless fit in the car restoration. Finally, reattaching the cables and reassembling the dashboard is crucial before powering on the system for a successful automotive repair.
Installing a New Touchscreen: A Step-by-Step Guide
Installing a new Tesla touchscreen is a process that requires precision and the right tools. Start by gathering all necessary components, including the replacement touchscreen, screws, and any other hardware specific to your model. Turn off your vehicle and ensure it’s in Park mode for safety. Remove the damaged or scratched display carefully, taking note of how the wires connect to the motherboard. Clean the area thoroughly before proceeding to the next step.
The new touchscreen should be aligned perfectly with the vehicle’s frame. Secure it in place using the screws provided, ensuring a tight fit. Reconnect all wires and check for any loose connections. Test the touchscreen functionality, including touch response and display quality. If everything functions as expected, you’ve successfully completed your Tesla touchscreen replacement, restoring your vehicle to its original condition through expert auto body services.
Replacing a Tesla’s cracked or scratched touchscreen is now a feasible task with the right knowledge. By understanding the damage, preparing your tools, and following a step-by-step guide, you can successfully install a new touchscreen, enhancing your vehicle’s functionality and aesthetics. With these straightforward steps, you’re well on your way to achieving a like-new Tesla display, ensuring a seamless and satisfying DIY experience for all car enthusiasts.