


After an auto body restoration, proper storage is key to preserving your newly refurbished vehicle. This guide offers essential tips for ensuring your car remains in pristine condition. From pre-storage checks, including a thorough inspection and meticulous cleaning, to selecting a secure, climate-controlled facility, every step matters. Learn how to choose the right location, maintain optimal conditions, and perform regular post-storage care to keep your auto body restoration looking its best for years to come.
- Pre-Storage Checks and Preparations
- – Inspect the restored car for any potential issues or imperfections
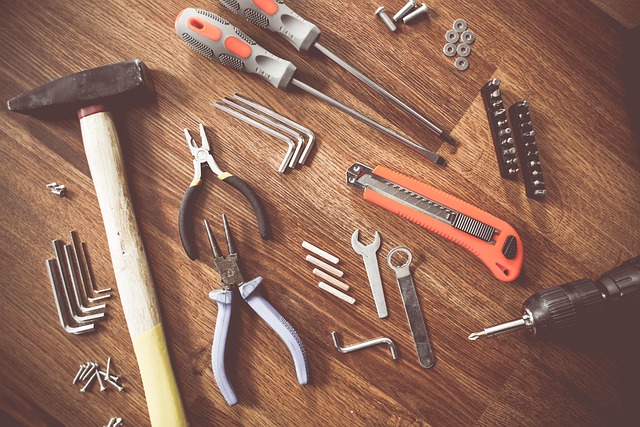
- – Ensure all parts are secure and functioning properly
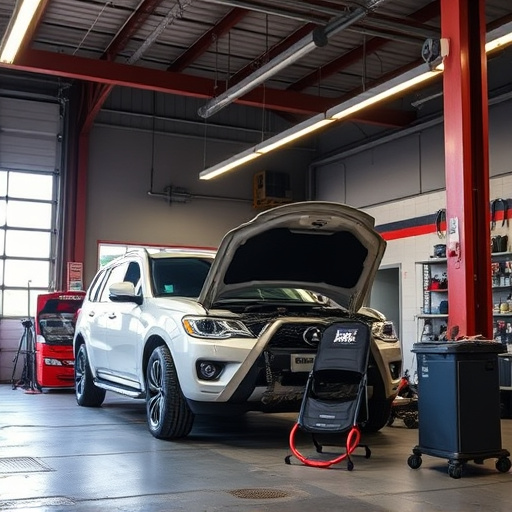
Pre-Storage Checks and Preparations

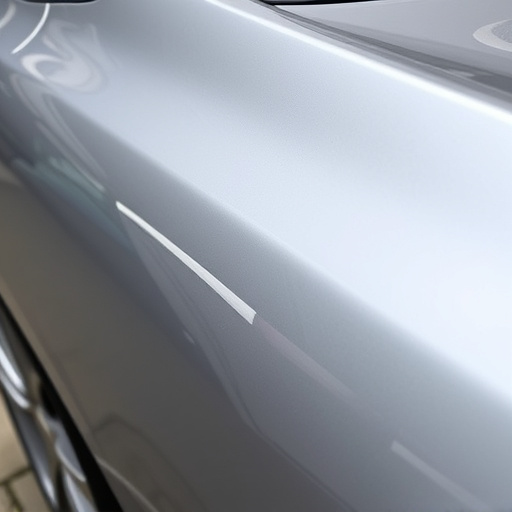
Before storing a vehicle following an auto body restoration, it’s crucial to perform thorough pre-storage checks and preparations. Start by inspecting every inch of the car’s exterior for any signs of loose debris or paint imperfections. This step is vital as it ensures that your freshly restored vehicle remains in pristine condition. Pay close attention to detailed areas like trim pieces, emblems, and wheels, which can be particularly susceptible to damage during storage.
Additionally, ensure proper auto maintenance by checking the fluid levels—engine oil, coolant, brake fluid, and windshield washer fluid. Top off any low levels to maintain optimal performance. It’s also recommended to clean and inspect the car’s underbody for any foreign objects or potential rust spots. These measures, combined with regular auto body services, will safeguard your investment, ensuring that the restoration process is not compromised during storage.
– Inspect the restored car for any potential issues or imperfections

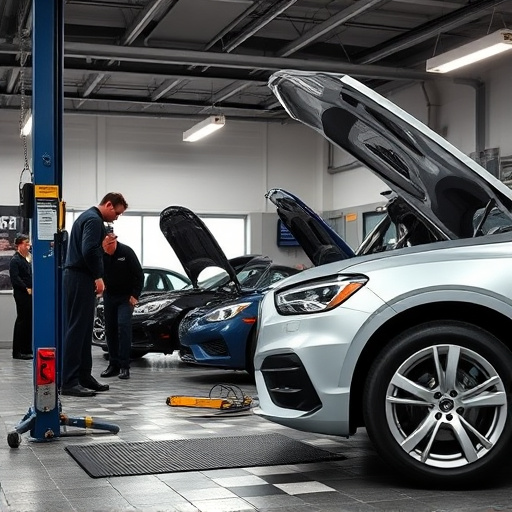
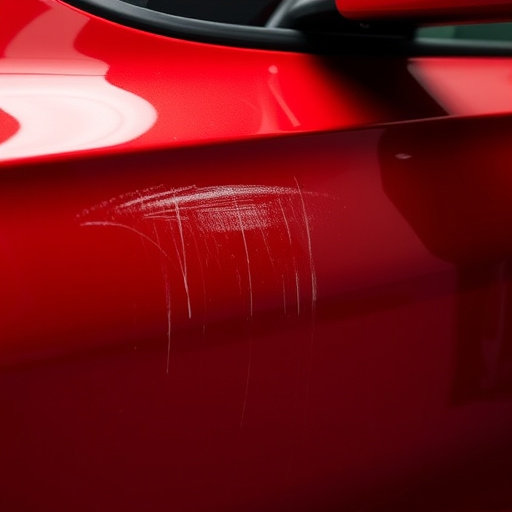
After completing an auto body restoration, it’s crucial to conduct a thorough inspection to ensure the car is in optimal condition. This involves carefully examining the paint job, checking for any signs of damage or imperfections, and verifying that all repairs have set properly. An experienced technician will look for things like misaligned panels, uneven paint finishes, or residual dents that might have been missed during the restoration process.
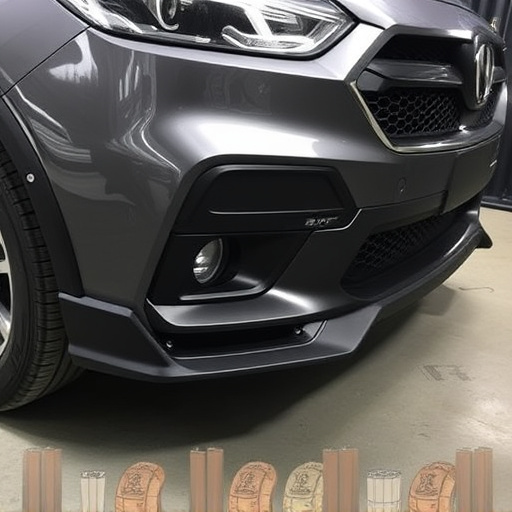
Focusing on details such as trim, hardware, and glass is also essential. Ensure all components are securely fastened and in good working order. The final step involves comparing the restored vehicle against original specifications and images to confirm a job well done. This meticulous inspection ensures not only a visually appealing car but also one that performs optimally, setting the stage for continued auto maintenance and reliable performance ahead.
– Ensure all parts are secure and functioning properly

After an auto body restoration, the final step in the process is ensuring your vehicle is properly stored and maintained to preserve its new look and structural integrity. Begin by thoroughly inspecting every part that has been repaired or replaced. All components should be securely fastened and functioning optimally. This includes checking for any loose screws, bolts, or welds, which could compromise the restoration work.
A crucial aspect of storage is preventing further damage during this period. Ensure all glass is in place and secure, tires are properly inflated, and all electrical systems operate correctly to avoid any unexpected issues. Regular maintenance checks will help identify potential problems early on, ensuring your auto body restoration stays in top condition until you’re ready to put it back on the road or display it as a prized possession.
After completing an auto body restoration, proper storage is key to preserving your vehicle’s new look and ensuring its longevity. Before tucking away your restored car, conduct a thorough inspection, addressing any minor issues or imperfections. Make sure all components are secure and in optimal working order, from the chassis to the finishes. With these pre-storage checks complete, you can confidently store your auto body restoration masterpiece, knowing it’s in the best possible condition.