

Flexible bumper repair addresses damage to vehicle's front or rear bumpers, offering DIY solutions from dent removal using paintless dent repair kits to complete bumper replacement. Successful repairs require proper tools, materials (including adhesives and paint), skill, patience, assessment of damage, and careful adherence to manufacturer instructions for cleaning, priming, and adhesive application.
Considering a DIY flexible bumper repair? You’re not alone. Bumper damages can be frustrating, but fixing them doesn’t have to be. This guide breaks down everything you need to know about repairing your flexible bumper yourself. From understanding damage types and available repair options, to the tools and materials required, and a detailed step-by-step process – we’ve got you covered. Discover how to save time and money while ensuring a secure and effective fix.
- Understanding Flexible Bumper Damage and Repair Options
- Tools and Materials Needed for DIY Flex Bumper Repair
- Step-by-Step Guide to Flexible Bumper Replacement at Home
Understanding Flexible Bumper Damage and Repair Options
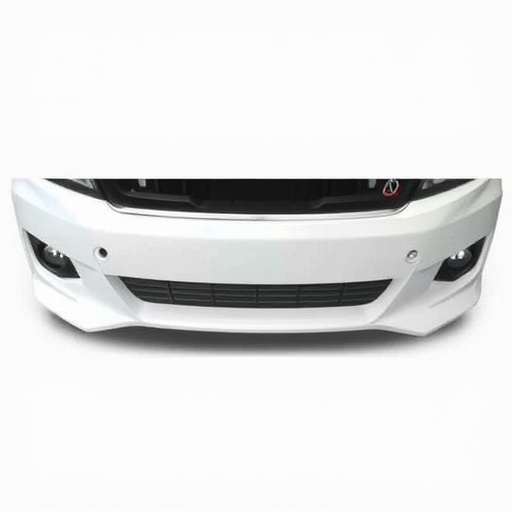
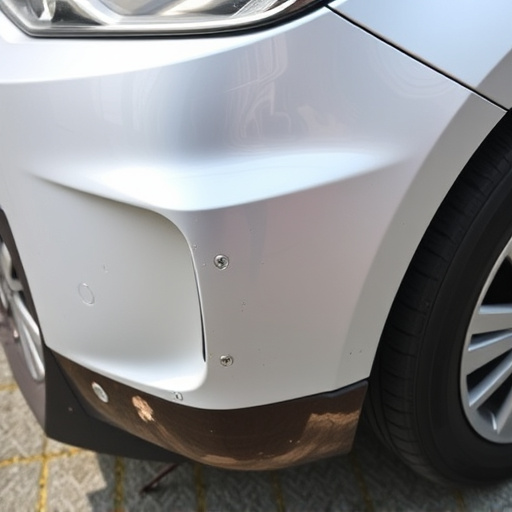
Bumpers are among the most vulnerable parts of a vehicle, often taking the brunt of minor collisions and bumps. Flexible bumpers, designed to absorb impact energy, can be damaged in various ways—from shallow dents to severe crumpling. Understanding the extent of the damage is crucial before attempting any repair, whether it’s a DIY project or a trip to the auto shop.
Flexible bumper repair offers several options, starting with dent removal techniques like paintless dent repair (PDR), which is ideal for minor dings and can be performed by seasoned enthusiasts. For more severe cases, replacement may be necessary. Many auto repair services provide comprehensive solutions, including custom fabrication or pre-fabricated kits, ensuring a precise fit that restores both the aesthetic and structural integrity of your car’s front or rear bumper.
Tools and Materials Needed for DIY Flex Bumper Repair
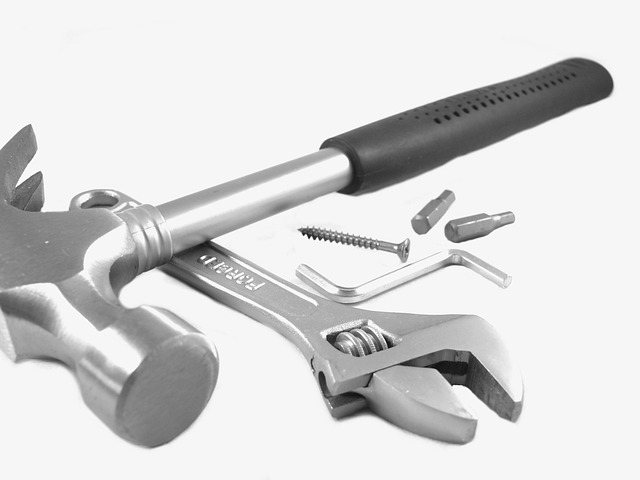
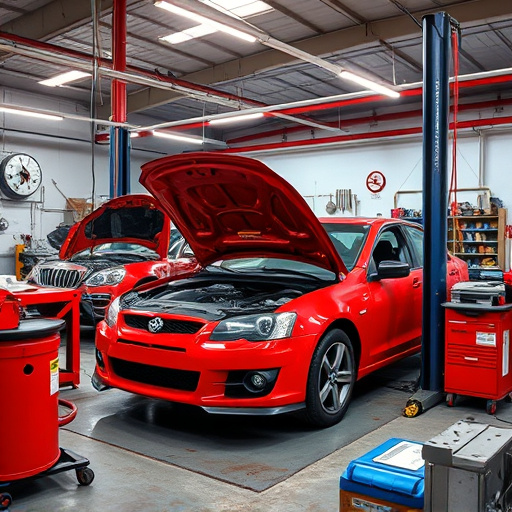
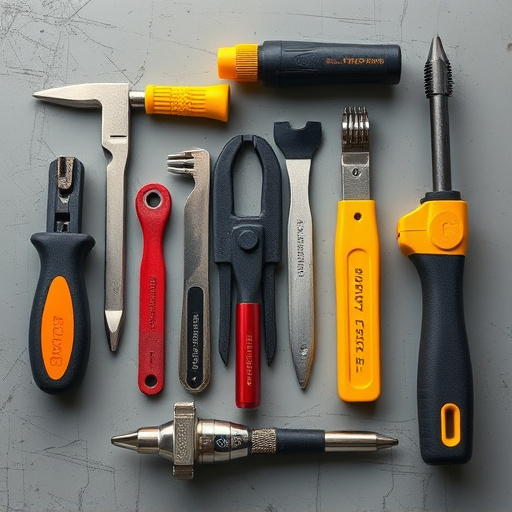
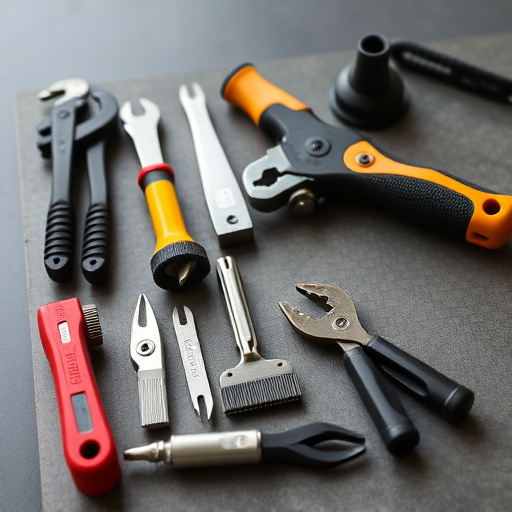
When considering a DIY flexible bumper repair, having the right tools and materials is paramount for success. For this type of auto body repair, you’ll need a few essential items to ensure the job gets done effectively. Start with basic tools like a set of wrenches and sockets suitable for your vehicle’s make and model, as well as a sturdy jack and jack stands for safe car lifting and support.
Additionally, secure access to tire services and auto body repair kits designed specifically for flexible bumper repairs is crucial. This includes specialized adhesives, fillers, and primers that mimic the properties of the original bumper material. Some essential materials include a flexible bumper repair kit with all necessary components, sandpaper for smoothing, and a high-quality paint match for blending in with your vehicle’s bodywork.
Step-by-Step Guide to Flexible Bumper Replacement at Home
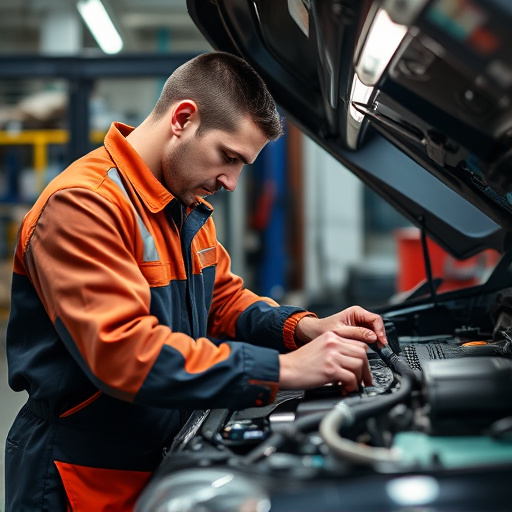
Repairing a flexible bumper yourself can save you time and money, but it does require some skill and patience. Here’s a simple step-by-step guide to help you through the process at home.
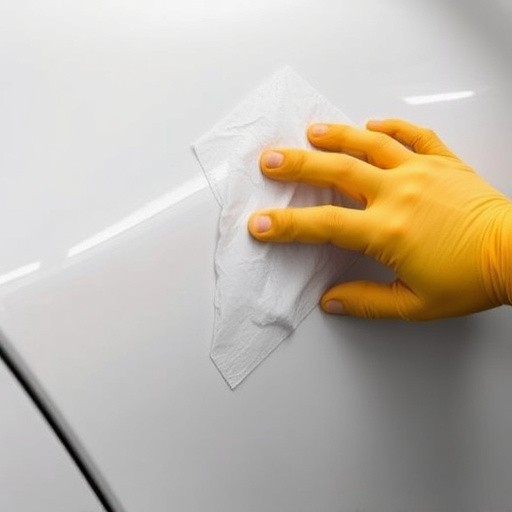
First, assess the damage. If the bumper is dented or slightly cracked, you might be able to pop it back into place with some force and the right tools. Use a rubber mallet and pry bars to gently realign the bumper, being careful not to cause further damage. Once aligned, secure it with clamps while the adhesive sets. For more severe damages, such as complete separation or significant cracks, you’ll need to replace the entire flexible bumper. Purchase a compatible replacement from an auto parts store or online, ensuring it fits your vehicle model. Remove the old bumper by detaching any hardware and carefully cutting off the damaged section with a sharp blade. Clean the area thoroughly before installing the new bumper. Follow the manufacturer’s instructions for cleaning and priming, then apply adhesive according to the recommended guidelines. Press the new bumper into place firmly and secure it with clamps until the adhesive sets completely.
Flexible bumper repair is a viable DIY project for those looking to save costs and enhance their vehicle’s aesthetics. By understanding the type of damage your bumper has sustained and gathering the necessary tools and materials, you can effectively address the issue at home. Following a simple step-by-step guide ensures a successful and satisfying flexible bumper replacement, allowing you to avoid expensive dealership repairs. Remember, with the right approach, DIY enthusiasts can master flexible bumper repair, keeping their vehicles looking as good as new while saving money along the way.