


ADAS Recalibration Glass is a vital tool for car repair shops to precisely calibrate Advanced Driver Assistance Systems (ADAS) sensors in controlled conditions, enhancing safety system performance and extending sensor lifespans. Before recalibration, verify systems' functionality, check tire pressure, inspect ADAS sensors, update diagnostic data, and perform meticulous testing after recalibration to ensure optimal safety and secure driving experiences.
Advanced Driver Assistance Systems (ADAS) rely on precise sensor calibration for safety-critical functions. One crucial tool in maintaining this accuracy is ADAS recalibration glass. This specialized glass enables the recalibration of key sensors, ensuring optimal performance and enhancing vehicle safety. Our comprehensive guide breaks down essential steps for proper usage, from understanding the glass’s function to detailed preparation and post-recalibration testing procedures.
- Understanding ADAS Recalibration Glass: Essential Tools for Accurate Sensor Calibration
- Step-by-Step Guide: Preparing Your Vehicle for Successful Recalibration
- Maximizing Safety: Best Practices for Post-Recalibration Testing and Verification
Understanding ADAS Recalibration Glass: Essential Tools for Accurate Sensor Calibration

ADAS Recalibration Glass: Essential Tools for Accurate Sensor Calibration
In today’s advanced automotive landscape, ADAS (Advanced Driver Assistance Systems) play a pivotal role in enhancing road safety. These systems rely heavily on sensors to detect and interpret surrounding environments, enabling features like adaptive cruise control, lane-keeping assist, and automatic emergency braking. To ensure the optimal performance of these sensors, regular calibration is crucial. This is where ADAS Recalibration Glass comes into play as an indispensable tool for car repair shops and automotive body shops.
The glass is designed to facilitate precise recalibration of various sensors within a vehicle’s ADAS framework. By simulating specific driving conditions in a controlled environment, auto repair services can accurately adjust sensor readings, ensuring they align with real-world scenarios. This meticulous process not only improves the efficiency of safety systems but also extends the lifespan of sensors, making it an essential step for maintaining a vehicle’s overall performance and reliability.
Step-by-Step Guide: Preparing Your Vehicle for Successful Recalibration

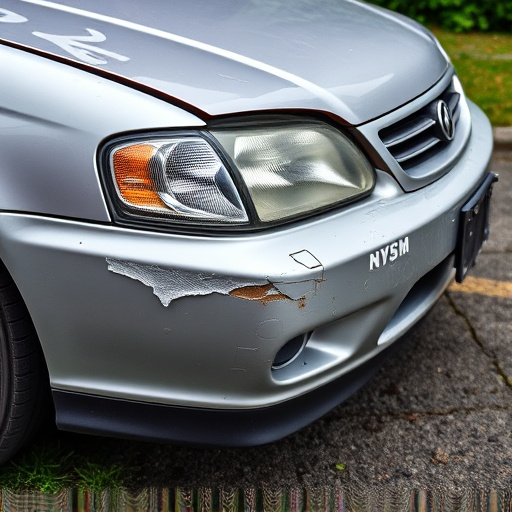
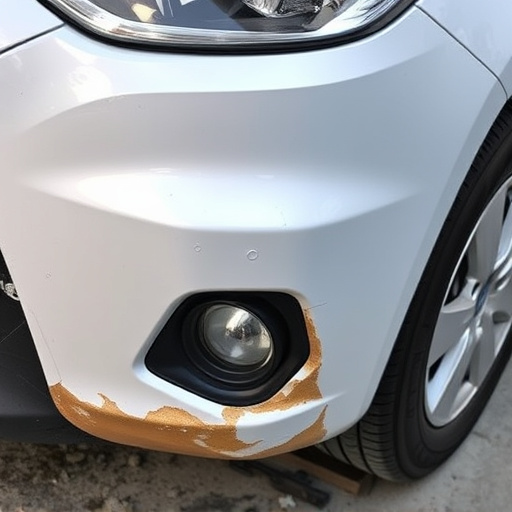
To prepare your vehicle for successful ADAS recalibration using specialized glass, start by ensuring all systems are functional and up-to-date. Check that your vehicle’s tire pressure is at the recommended PSI levels; even slight variations can affect sensor readings. Next, schedule a comprehensive fleet repair service or collision repair if necessary, addressing any existing damage to ensure optimal conditions for recalibration.
Inspect the ADAS sensors for any debris or obstructions. Clean the area thoroughly and consider replacing worn-out components like wipers or camera lenses. Before initiating the process, connect your vehicle to a diagnostic tool to retrieve the latest system data. This step is crucial as it allows for precise adjustments and ensures the recalibration glass will align with your ADAS’s current specifications.
Maximizing Safety: Best Practices for Post-Recalibration Testing and Verification

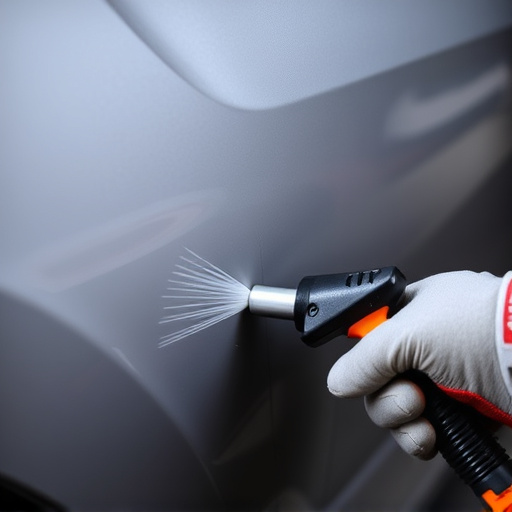
After recalibrating ADAS (Advanced Driver-Assistance Systems) with ADAS recalibration glass, it’s paramount to perform thorough testing and verification to ensure optimal safety performance. This involves a multi-step process that should never be skipped. First, conduct pre- and post-recalibration comparisons using specialized diagnostic tools to validate the system’s functionality across all relevant sensors and cameras. Verify that each component is operating within specified parameters and that there are no errors or anomalies present.
Additionally, test the ADAS systems in various driving scenarios, including different weather conditions and road environments, to ensure accurate performance. Real-world testing replicates the conditions under which these systems operate daily, helping to identify any potential issues. Following best practices for collision repair and autobody repairs, ensure that all physical components are in perfect condition and aligned correctly. This meticulous approach guarantees that the recalibrated ADAS system operates at peak efficiency, enhancing overall vehicle safety and providing drivers with a reliable, secure driving experience.
ADAS recalibration glass is a powerful tool that ensures your vehicle’s advanced driver-assistance systems (ADAS) function optimally and safely. By following the step-by-step guide and best practices outlined in this article, you can effectively prepare your vehicle for recalibration, maximize safety, and take full advantage of your ADAS features. Remember, proper calibration is key to enhancing driving experiences and preventing potential accidents.