


Identifying and repairing Tesla heated seat and HVAC issues requires a systematic approach. Check power supply integrity, inspect sensors and control modules for regulation problems, and use diagnostic tools to pinpoint faults within the electrical network after removing external dents. Repair involves isolating components, replacing parts, and testing systems for successful Tesla electrical repair.
Struggling with malfunctioning heated seats or HVAC systems in your Tesla? This comprehensive guide is tailored for owners facing these common issues. Learn how to identify potential Tesla electrical problems within the heating systems, master the art of diagnosing malfunctions related to both HVAC and seat heating, and follow a step-by-step approach to performing efficient repairs yourself. Take control of your vehicle’s comfort with this invaluable resource for DIY Tesla electrical repair.
- Identifying Tesla Electrical Issues in Heating Systems
- Diagnosing Malfunctions: HVAC and Seat Heating
- Step-by-Step Guide to Tesla Electrical Repair
Identifying Tesla Electrical Issues in Heating Systems
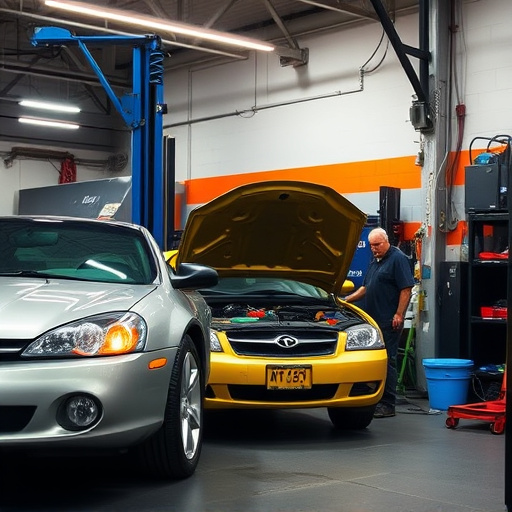
In the realm of Tesla electrical repair, identifying issues within the heated seat and HVAC (Heating, Ventilation, and Air Conditioning) systems is a critical task. Often, the first signs of trouble manifest as unexpected behavior in these comfort features. For instance, if a previously warm seat suddenly fails to heat or the air conditioning system blows cold air instead of the desired temperature, it could point to faulty electrical connections or damaged components within the vehicle’s intricate electrical network. These systems, like any other part of a Tesla, rely on precise electrical signals for optimal performance.
When addressing Tesla electrical repair for heated seats or HVAC malfunctions, it’s important to approach the problem systematically. Technicians should start by checking for loose or corroded wires, as even a minor connection issue can lead to significant comfort disparities. Moreover, examining sensors and control modules responsible for temperature regulation is crucial. Just as one would meticulously restore a classic car with paint repair or dent repair techniques, meticulous troubleshooting and replacement of faulty parts are essential to return the vehicle’s interior climate control systems to their intended functionality.
Diagnosing Malfunctions: HVAC and Seat Heating
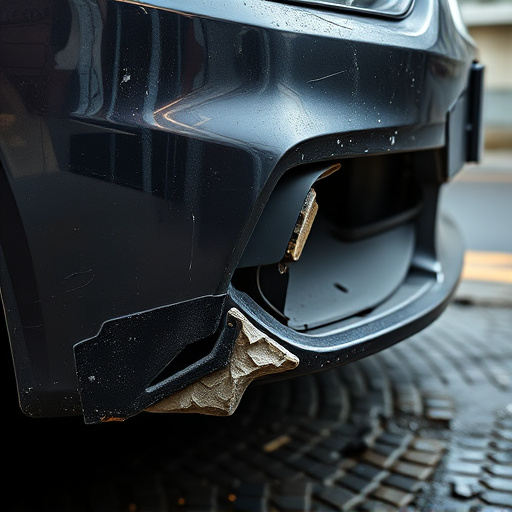
Diagnosing malfunctions in a Tesla’s heated seats or HVAC system requires a systematic approach. Start by checking for power supply issues, as an interruption in the electrical flow can cause various problems. Inspect connections at fuses and relay boxes, ensuring they’re secure and undamaged. A fender bender or minor accident might damage these components, requiring professional dent removal services to fix any physical dents that could disrupt wiring. Once power is confirmed, move on to sensor and control module checks. These play a crucial role in regulating temperature and seat heating levels, and their malfunction can lead to uncomfortable driving experiences.
If the problem persists, consider more advanced diagnostic tools to pinpoint exact issues within the complex electrical network of your Tesla. Remember, efficient Tesla electrical repair often involves understanding these intricate systems and their potential interactions with other components, such as sensors or control modules, which could be affected by external events like car dent removal.
Step-by-Step Guide to Tesla Electrical Repair
Tesla electrical repairs for heated seat or HVAC malfunctions can seem daunting, but with a structured approach, it becomes manageable. Here’s a step-by-step guide to help you navigate this process:
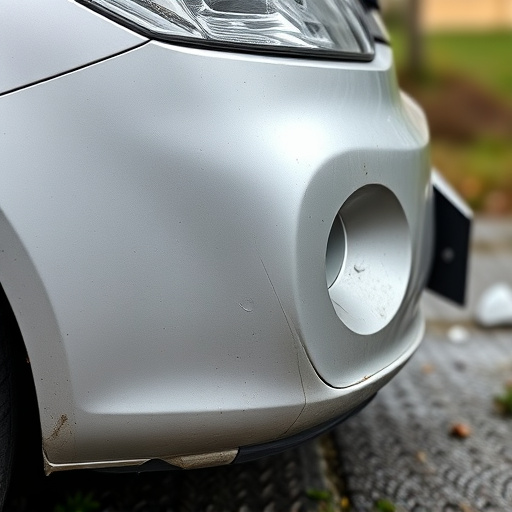
1. Identify the Problem: Start by pinpointing the exact issue. Is it a heated seat that’s not heating up? Or an HVAC system that isn’t blowing cold air? This will guide your troubleshooting and repair process. For instance, if it’s a car dent removal situation with the HVAC, ensure you address the dent first as it could interfere with proper air circulation.
2. Check Power Supply: Verify the power supply to the faulty component. Use a multimeter to check for voltage at the relevant circuit breaker or fuse box. A vehicle collision repair might have disrupted these connections, so careful inspection is key. If there’s no power, move on to the next step; if power is present, proceed with diagnostics.
3. Diagnose the Issue: Use a scan tool to retrieve diagnostic trouble codes (DTCs) from the Tesla’s onboard computer. These codes will help narrow down the problem area, whether it’s a faulty sensor, wiring harness, or a control unit glitch.
4. Isolate and Repair: Once diagnosed, isolate the faulty component(s). If it’s a simple replacement, like a burned-out fuse or a damaged wire, replace them with new ones. For more complex issues, consult a professional Tesla repair manual for step-by-step instructions. Remember, proper installation is crucial to avoid future malfunctions.
5. Test and Verify: After the repair, test the system thoroughly. Ensure the heated seats heat up evenly or that the HVAC system blows air at the desired temperature and strength. This testing phase confirms successful Tesla electrical repair.
When faced with heated seat or HVAC malfunctions in your Tesla, it’s crucial to address them promptly through proper Tesla electrical repair. By understanding the identification and diagnosis processes outlined in this article, along with a step-by-step guide, you’ll be equipped to navigate these issues effectively. Remember that prompt action can prevent more complex problems down the line, ensuring your Tesla remains a reliable and comfortable mode of transport.